One stop supplier of water treatment parts&accessories


3012 ro membrane price: How to get the best deals online.
Okay, so, I was messing around with my water filter setup at home, you know, the whole reverse osmosis thing. I’d been using this 3012 RO membrane for a while, and it was time for a change. Figured I’d share my little adventure here, just in case anyone’s curious about how these things go down.
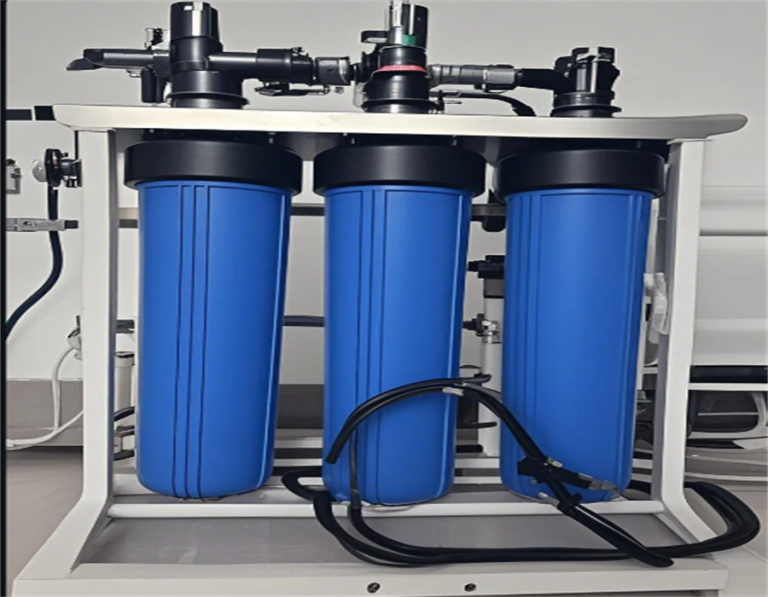
First off, I gathered all my tools and the new membrane. I’m not gonna lie, I was a bit nervous. I mean, I’ve swapped out filters before, but a whole membrane? That felt like a bigger deal. Anyway, I made sure I had the right one – a 3012, just like the old one. I laid everything out on the counter: wrenches, the new membrane, some towels, you know, the usual stuff you need when you’re dealing with water and pipes.
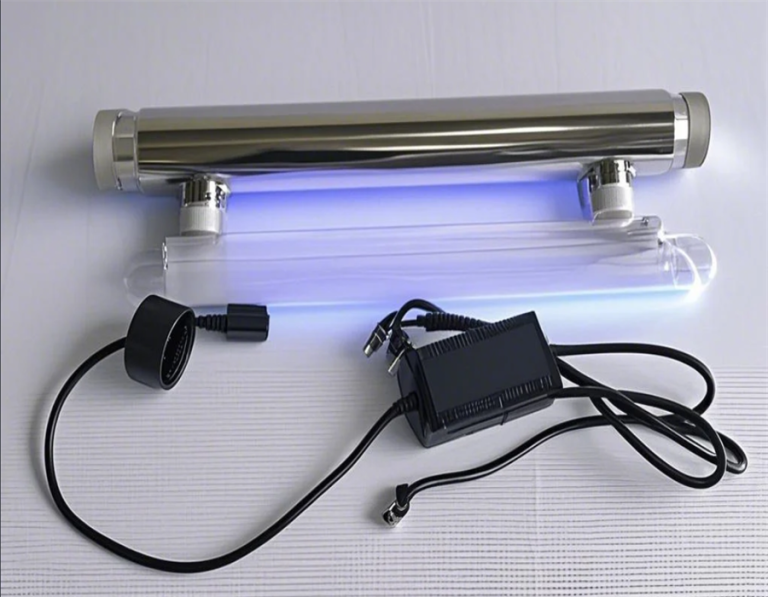
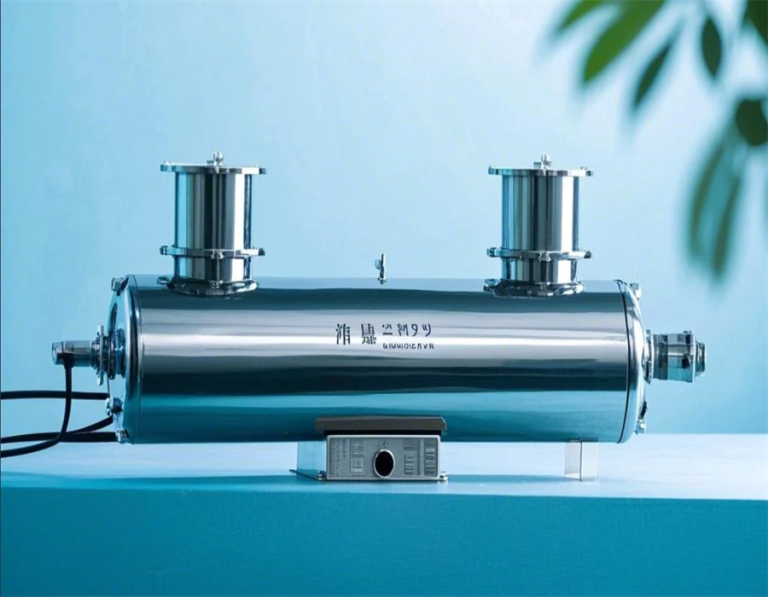
Next, I shut off the water supply to the system. This is super important, unless you want a mini flood in your kitchen. Then, I opened up the housing where the old membrane was sitting. It’s this cylindrical container, usually pretty easy to spot in the RO system. I used my wrench to loosen it up, and boy, was it snug! Took a bit of elbow grease, but I finally got it open.
Pulling out the old membrane was, well, kind of satisfying. It was all gunked up, which I guess is to be expected after months of use. I made a mental note to maybe check these things a little more often. Then, I gave the inside of the housing a quick wipe down, just to get rid of any leftover residue.
Inserting the New Membrane
- I grabbed the new 3012 membrane and carefully slid it into the housing. It’s important to get it in there just right, so I took my time and made sure it was seated properly.
- Once it was in, I screwed the housing back together, tightening it with the wrench. Not too tight, though, you don’t want to crack anything.
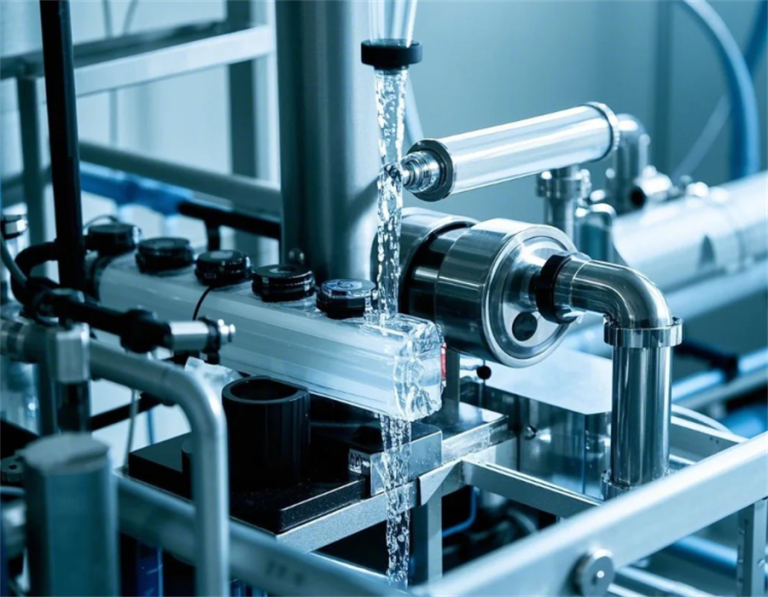
With the new membrane in place, I turned the water supply back on. I watched closely for any leaks, holding my breath for a second there. Thankfully, everything looked good – no drips, no unexpected sprays of water. Phew!
Finally, I let the system run for a while, flushing out any air or loose particles from the new membrane. The water looked a bit cloudy at first, but it cleared up after a few minutes. I tested the water with one of those little TDS meters, and the numbers were looking good – much lower than before, which means the new membrane was doing its job.
So yeah, that’s my 3012 RO membrane replacement story. Not exactly rocket science, but it felt good to do it myself. Plus, I saved a few bucks by not calling a pro. If you’re thinking about doing this yourself, I’d say go for it. Just take your time, double-check everything, and don’t be afraid to get your hands a little wet!