One stop supplier of water treatment parts&accessories


Unraveling the 6 – Stage Reverse Osmosis System Diagram: A Comprehensive Guide
Introduction
In the world of water purification, the 6 – stage reverse osmosis system stands out. But what exactly does the 6 – stage reverse osmosis system diagram entail? This article will explore the components, functions, issues, solutions, and real – life applications of such a system. Understanding this can help you make informed decisions about water purification for your home or business.
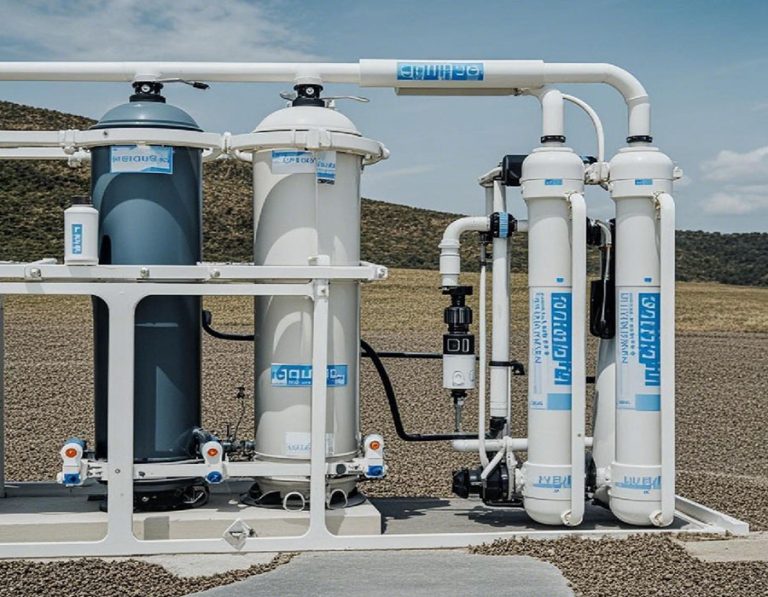
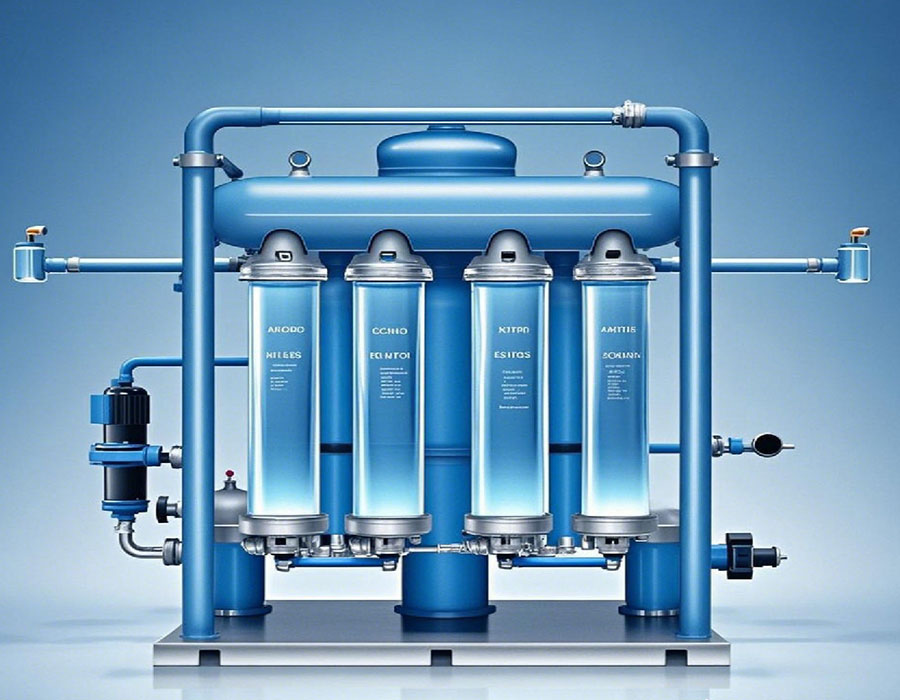
Decoding the 6 – Stage Reverse Osmosis System Diagram
First Stage: Sediment Filtration
The initial in the 6 – stage reverse osmosis system is sediment filtration. A sediment filter, often made of polypropylene, traps large particles like sand, dirt, and rust. This protects the more delicate components downstream. For example, it can remove particles as small as 5 microns.
Second Stage: Carbon Filtration
Following sediment filtration is carbon filtration. Activated carbon filters eliminate chlorine, organic compounds, and some heavy metals. Chlorine, if not removed, can damage the RO membrane. This stage significantly improves water taste and odor.
Third Stage: Another Sediment Filter
A second sediment filter, usually with a finer pore size, further refines the water. It catches any remaining small particles that might have passed through the first sediment filter. This ensures the water is ultra – clean before reaching the RO membrane.
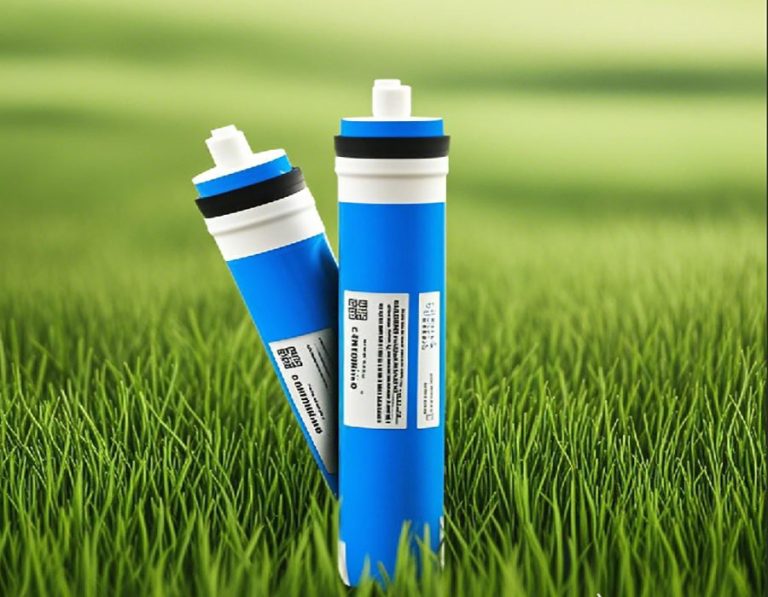
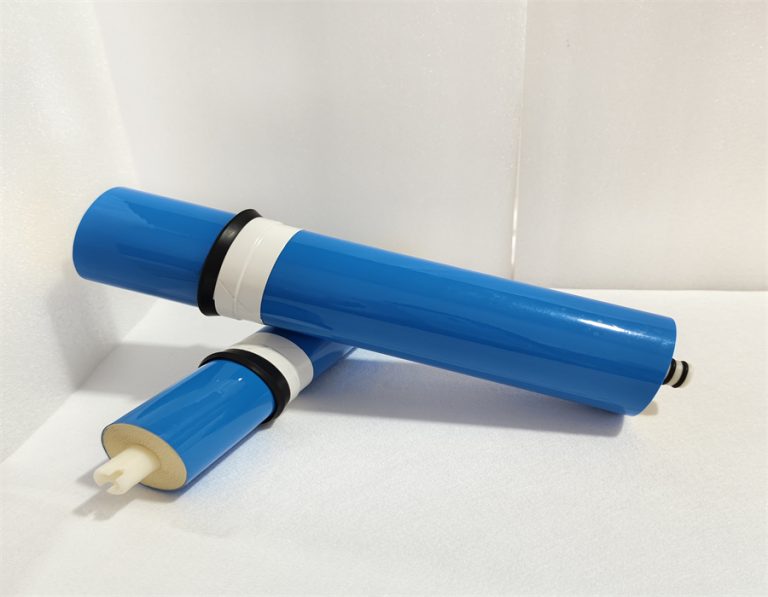
Fourth Stage: The RO Membrane
The RO membrane is the heart of the system. It’s a semi – permeable barrier that removes up to 99% of dissolved solids, including salts, minerals, and contaminants (source: Water Quality Association). However, it requires proper pre – treatment to function effectively.
Fifth Stage: Post – Carbon Filtration
After the RO membrane, post – carbon filtration takes place. This stage polishes the water, removing any remaining traces of taste, odor, or fine particles. It enhances the overall quality of the purified water.
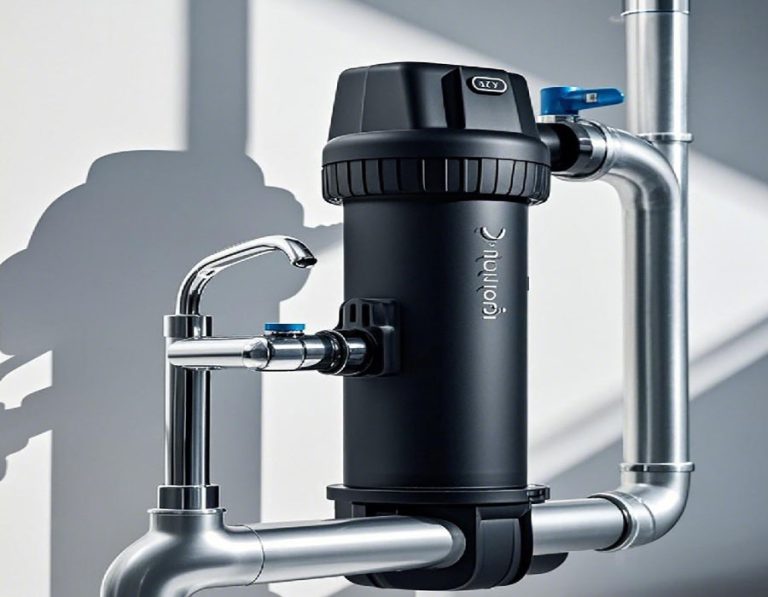
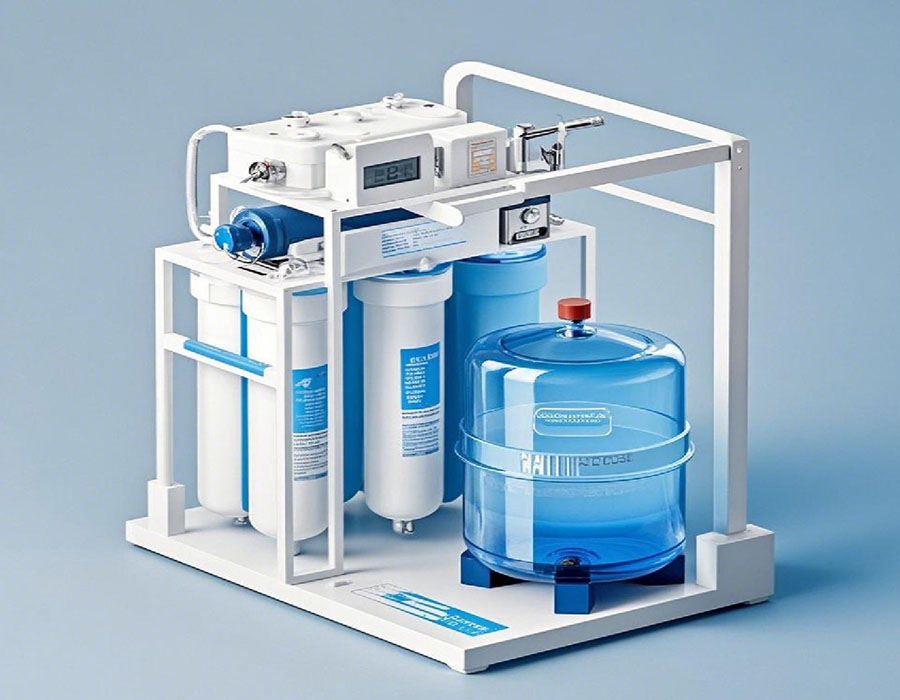
Sixth Stage: Storage and Distribution
The final stage involves storing the purified water in a tank and distributing it for use. The storage tank allows for a continuous supply of clean water, even when the ROsysten is not actively producing.
Comparison of 6 – Stage vs 4 – Stage RO Systems
| System | Number of Filtration Stages | Level of Purification | Cost |
| 6 – Stage RO | 6 | Higher, more comprehensive | Generally higher |
| 4 – Stage RO | 4 | Good, but less comprehensive | Lower |
Problems Encountered in 6 – Stage RO Systems
Membrane Fouling
The RO membrane can get fouled by organic matter, bacteria, or inorganic salts. This reduces water flow and filtration efficiency. In industrial settings, membrane fouling can lead to a 40% decrease in water production within six months (source: Industrial Water Treatment Journal).
Clogged Filters
Over time, sediment and carbon filters can become clogged. A clogged filter restricts water flow, putting extra stress on the system and reducing its overall performance.
Leakage
Leakage can occur in the pipes, connections, or storage tank of the RO system. This not only wastes water but can also cause damage to the surrounding area.
Solutions to 6 – Stage RO System Problems
Membrane Cleaning and Replacement
Regular membrane cleaning, using appropriate chemical cleaners, can remove fouling. If the membrane is severely damaged, replacement is necessary. This helps maintain optimal water production and filtration.
Filter Replacement
Filters should be replaced according to the manufacturer’s recommendations. This ensures that the system continues to function effectively and provide clean water.
Leak Detection and Repair
Regularly inspect the system for leaks. Use leak – detection tools if needed. Once a leak is detected, promptly repair it to prevent water wastage and damage.
Step – by – Step Guide for Maintaining a 6 – Stage RO System
- Inspection: Regularly check all components of the system, including filters, membrane, pipes, and connections. Look for signs of wear, clogging, or leakage.
- Filter Replacement: Replace sediment and carbon filters as scheduled. Mark the replacement dates on a calendar to avoid forgetting.
- Membrane Maintenance: Follow the recommended membrane cleaning schedule. If the membrane is old or damaged, replace it.
- Leak Check: Periodically check for leaks. Use a flashlight to inspect hard – to – reach areas. If a leak is found, repair it immediately.
- Water Quality Testing: Test the purified water regularly. Use water testing kits to check for contaminants. This helps ensure the system is working properly.
Our Team’s Experience
We were working with a small – scale food production facility. They had installed a 6 – stage RO system but noticed a decline in water quality. After inspection, we found that the RO membrane was severely fouled due to improper pre – treatment. By improving the pre – treatment process and replacing the membrane, the water quality returned to the desired level.
Common Mistakes to Avoid
⚠ Warning: One common mistake is neglecting regular maintenance. Skipping filter replacements or membrane cleaning can lead to system failures. Another mistake is using incorrect cleaning agents on the membrane, which can damage it irreparably.
Conclusion
Understanding the 6 – stage reverse osmosis system diagram and its components is crucial for maintaining a reliable water purification . By following proper maintenance procedures and avoiding common mistakes, you can ensure a steady supply of clean, safe water.
Practical Checklist
- Regularly inspect all components of the RO system.
- Replace filters as per the manufacturer’s schedule.
- Clean or replace the RO membrane as needed.
- Check for leaks regularly and repair them promptly.
- Test the purified water quality periodically.
Remember, a well – maintained 6 – stage RO will serve you well in providing high – quality purified water.