One stop supplier of water treatment parts&accessories


ro membrane and housing: Whats best for your needs? Get the lowdown here!
Today, I want to share a little project I did with a reverse osmosis (RO) membrane and its housing. So, I’ve been wanting to improve the water quality at my place because, honestly, the tap water is kinda hard. I did some digging and decided to go the RO route. This is what happened.
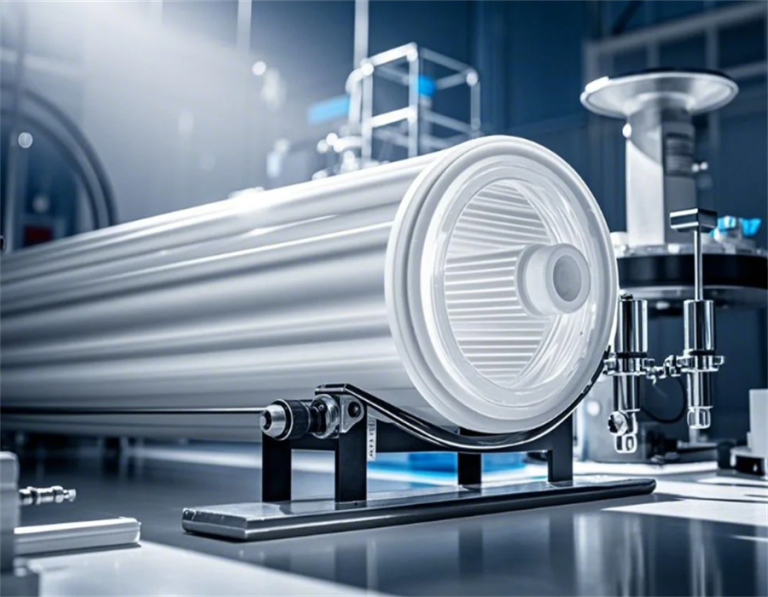
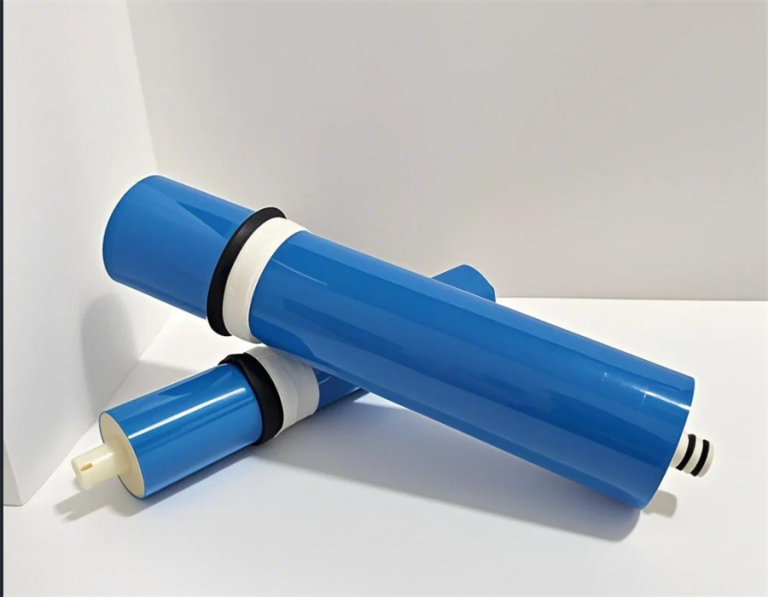
First off, I had to pick a membrane housing. I found out that there’s a bunch of these, and they are mostly made of PVC or stainless steel. I went with a PVC one ’cause it’s way lighter and seemed easier to handle. Plus, it’s supposed to be pretty good at resisting corrosion, so that’s a win.
Next up was the RO membrane itself. I read that when you’re picking one, you gotta think about a few things, like how much water you use and the quality of the water you’re starting with. In my case, I just need enough for my home, so I didn’t need anything too heavy-duty. And, I know for a fact my water is hard, so I made sure to look for a membrane that can handle that. There was mention of something called an ultra-low pressure membrane which could save on pump costs, but it seemed more geared towards larger systems than what I needed.
- Getting the Right Stuff
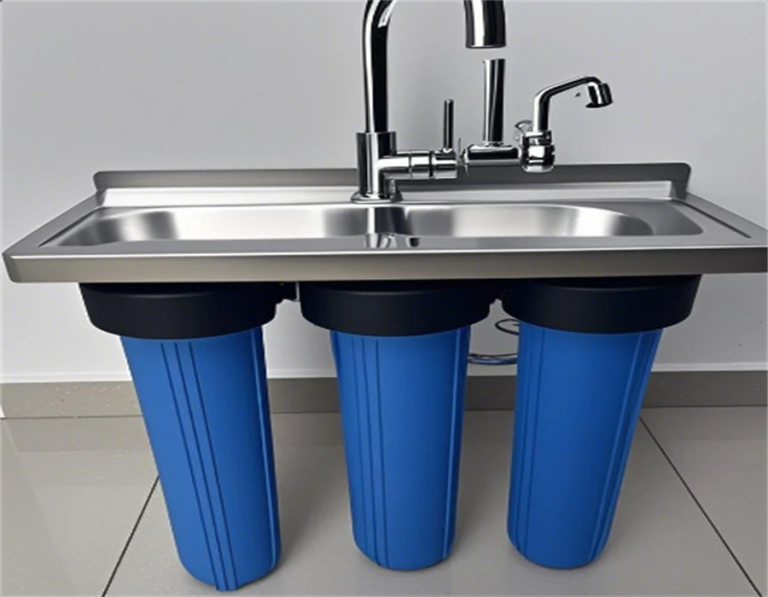
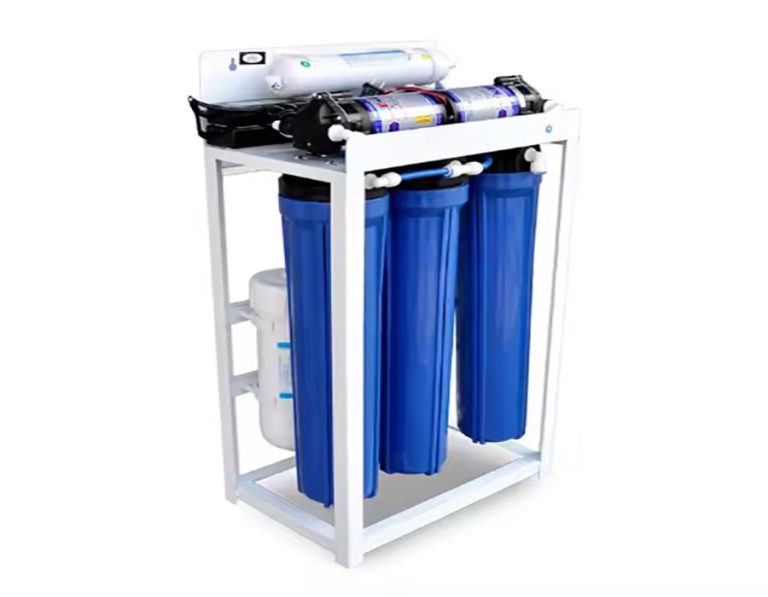
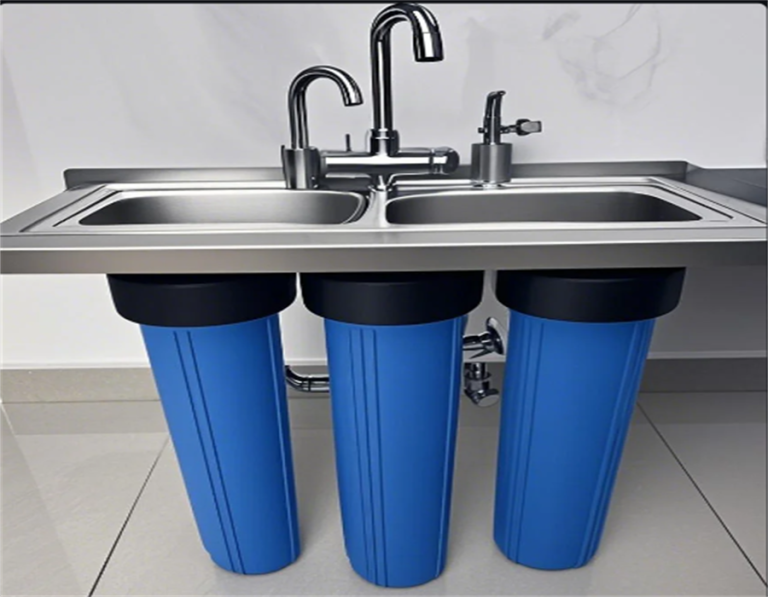
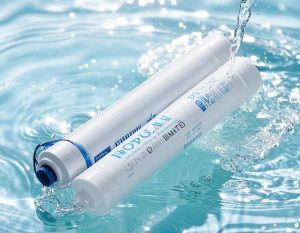
I ended up ordering a standard 50 gallons per day membrane, which I figured was more than enough for my needs. Also grabbed a sediment filter and a carbon filter, ’cause I read they’re pretty important for protecting the membrane and getting rid of chlorine and other stuff.
- Setting Everything Up
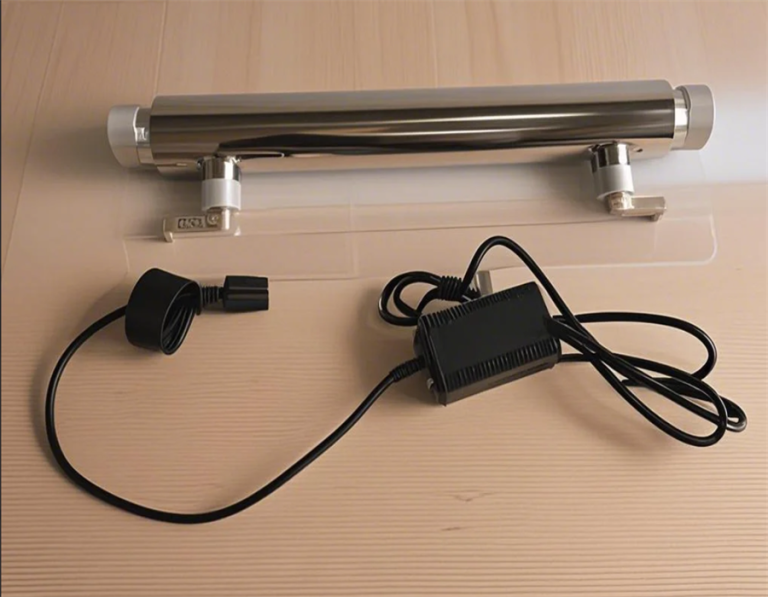
Putting it all together was a bit of a hassle, but not too bad. I connected the filters to the housing and then the housing to my water supply. I also had to install a small water pump since I heard RO systems need a good amount of pressure to work right. I got a 1 HP pump, and it seems to be doing the job.
- Testing the Waters
Once everything was hooked up, I ran the system for a bit to flush it out. Then came the moment of truth: testing the water. I used one of those water quality test kits, and man, the difference was clear as day! The RO water was so much softer than my tap water. Plus, it tasted way better, no more weird chlorine aftertaste.
There was mention that RO membranes can reduce water flow quite a bit, and whole-house systems are rare because of this. But for my needs, focusing on drinking water, this hasn’t been an issue.
Wrapping Up
All in all, it was a pretty cool project. It took some time and effort, but getting quality water right from my tap now is totally worth it. I learned a lot about water hardness, filtration, and a bit about plumbing too. If you’re thinking about doing something similar, I’d say go for it! Just make sure to do your research and get the right parts for your specific needs.
Oh, and one last thing, if your water’s super hard, you might wanna pre-treat it to make your membrane last longer. I’m still figuring that part out, but so far, so good!