One stop supplier of water treatment parts&accessories


housing membrane ro: Where to buy? Check these places for best deals and values
So, guys, I’ve been messing around with setting up a reverse osmosis system at home, mostly because I wanted better-tasting water and to ditch the plastic bottles. It’s been a bit of a journey, so I figured I’d share my experience, especially regarding the housing membrane RO part, which, let me tell you, is crucial.
First off, I started researching what kind of RO system would fit my needs. There are tons of options out there, but I needed something not too complicated to install and maintain. I watched a bunch of videos and read through a lot of articles. Finally, I decided on a standard under-sink system, mainly because it wouldn’t take up too much space.
Getting the Right Parts
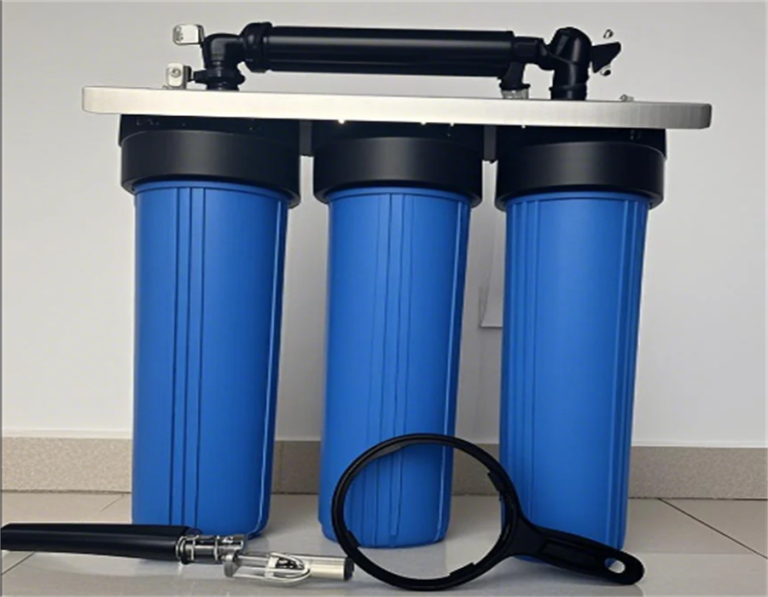
Once I settled on the type of system, the next step was to gather all the parts. The RO membrane housing was particularly important because it’s where the magic happens – the water gets filtered. I learned that not all housings are created equal. Some are more durable, and others might be compatible with a wider range of membranes. After comparing a few, I went for one that was recommended for its durability and compatibility, even though it was a bit pricier. I figured it’s better to invest a bit more now than to deal with issues later.
- Checked online stores for deals on RO membrane housings.
- Looked for housings that fit standard 4 or 5 stage RO systems.
- Read reviews to gauge the quality and ease of installation.
Installation Day
When the parts arrived, I cleared out the space under my sink and got to work. Installing the system was a bit challenging. I had to drill a hole in my sink for the RO faucet, which was a first for me. The instructions were pretty clear, but it still took some time to get everything connected properly. The housing membrane RO part was actually one of the easier components to install. It was just a matter of screwing it in place and connecting the tubes. But, making sure there were no leaks took a bit of patience and a lot of checking and rechecking.
Testing the Waters
After everything was set up, I turned on the water and waited. It was a bit slow at first, but then the filtered water started to flow. I filled up a glass and took a sip. The difference was noticeable right away. The water tasted so much cleaner and fresher. It felt great to finally have the system up and running.
Maintenance and Observations
It’s been a few months now, and the system has been working great. I’ve been keeping an eye on the water quality and flow rate. I learned that the membrane needs to be replaced every couple of years, depending on usage and water quality. I also found out that cleaning the housing and other components regularly helps maintain the system’s efficiency.
One thing I realized is the importance of choosing a quality membrane. I initially considered a cheaper one, but after reading more about it, I decided to go with a well-known brand, Dow Filmtec, as it was suggested for its effectiveness and longevity. It was a good decision because the water quality has been consistently great.
Overall, setting up the housing membrane RO system was a rewarding project. It took some research, effort, and time, but having clean, great-tasting water on tap is definitely worth it. Plus, I feel good about reducing my plastic bottle usage. If you’re thinking about installing an RO system, my advice is to do your research, choose quality components, and be patient with the installation process. It’s a bit of work, but the results are worth it.