One stop supplier of water treatment parts&accessories


Best ro membrane casing? Here are our top picks for durable and reliable ro membrane casing.
Alright, so the other day, I got my hands dirty with this whole reverse osmosis (RO) membrane casing thing. I’ve been meaning to get our water filter system up to snuff, and the membrane casing seemed like the place to start. Honestly, I wasn’t too sure what I was doing at first, but it turned out to be quite an interesting little project.
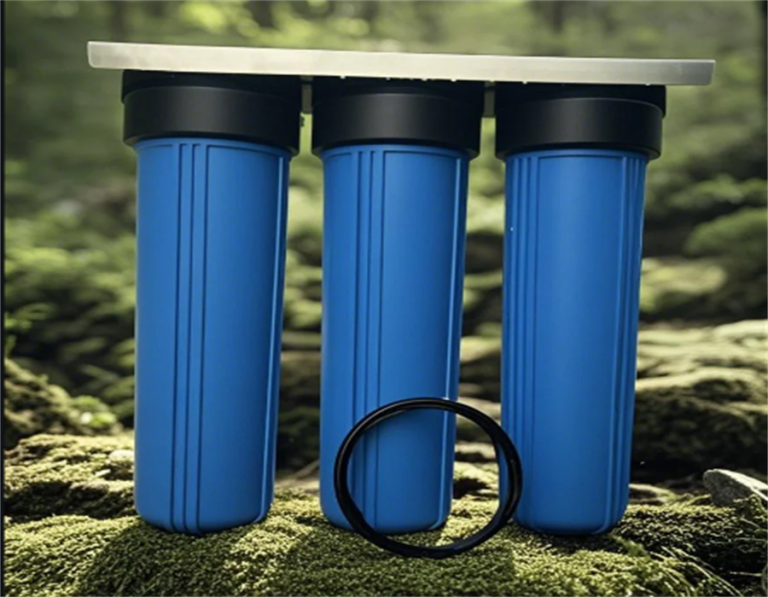
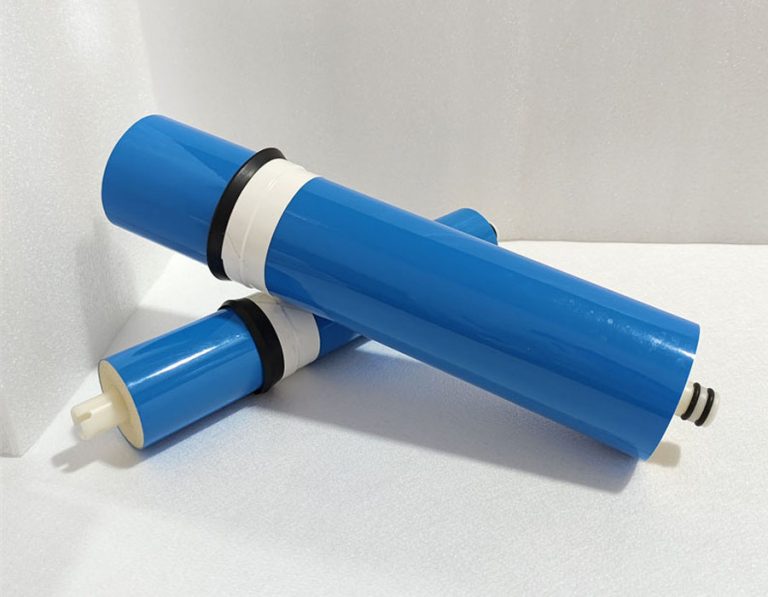
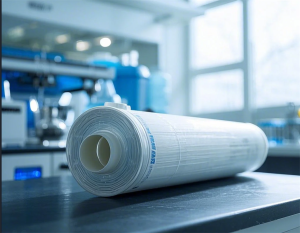
First off, I went online to look for a new casing. Nothing fancy, just something that would get the job done. After a bit of browsing and comparing, I ordered a universal one that seemed to fit most standard membranes. I’m no expert, but I figured a universal one would be a safe bet. It arrived a couple of days later, and I gotta say, it looked pretty solid.
Next up was actually putting the thing in. I started by shutting off the water supply to the filter system, that way it’s safe and easy. Then, I unscrewed the old casing. It was a bit grimy, which was probably a good sign that it was time for a change. Getting the old membrane out was a bit of a hassle, it was stuck pretty good. I’ll admit, I might have used a bit more force than necessary, but hey, it came out eventually.
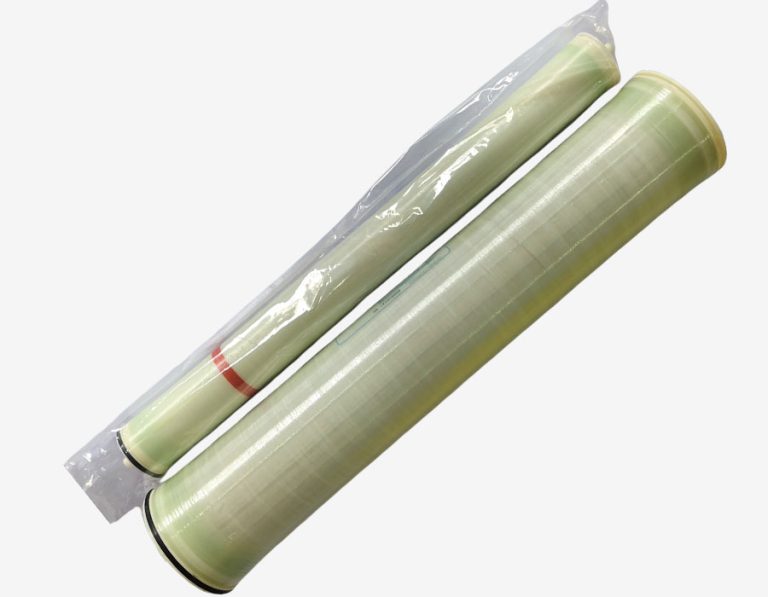
Putting in the new membrane and casing was way easier. It slid right in, and I just had to make sure it was seated properly. I screwed the new casing back on, turned the water supply back on, and checked for leaks. Thankfully, there were none. I’m no plumber, but I felt pretty accomplished at that moment.
I let the water run for a few minutes to flush out any air or loose bits from the new membrane. The water pressure seemed a bit better, but I guess time will tell how much of an improvement it really is. All in all, it wasn’t as hard as I thought it would be. Just a bit of elbow grease and some patience, and it was done.
Here’s a quick rundown of what I did:
- Ordered a universal RO membrane casing online.
- Turned off the water supply and removed the old casing.
- Took out the old membrane.
- Put in the new membrane and screwed on the new casing.
- Turned the water back on and checked for leaks.
- Ran the water for a bit to flush the system.
My Thoughts
Honestly, I’m pretty happy with how it turned out. Saved a bit of money by doing it myself instead of calling a professional. Plus, I learned a thing or two about our water filter system. If you’re thinking about doing this yourself, I’d say go for it. Just make sure you get the right parts and take your time. It’s not rocket science, but it does require a bit of care. And hey, if I can do it, I bet you can too.