One stop supplier of water treatment parts&accessories


Home master RO membrane replacement: Easy steps to do it yourself!
Okay, so the other day, I had to replace the RO membrane in my Home Master. I’ve had this thing for a few years, and it was time for a refresh. It’s not super complicated, but you do need to pay attention to what you’re doing.
First off, I made sure to shut off the water supply. You can do this by closing the ball valve on the water line. I don’t have that, so I just turned the angle-stop feed water valve clockwise until it was tightly closed. No water, no mess, right?
Then, I depressurized the system. I know it sounds technical, but basically, I just opened the faucet on my sink until the water stopped flowing. This step is crucial; otherwise, you’re gonna have a hard time getting the membrane housing open.
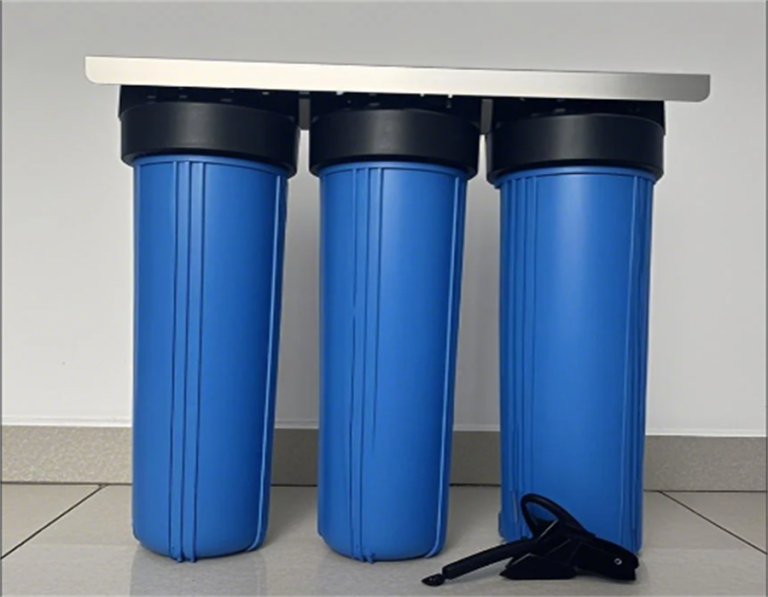
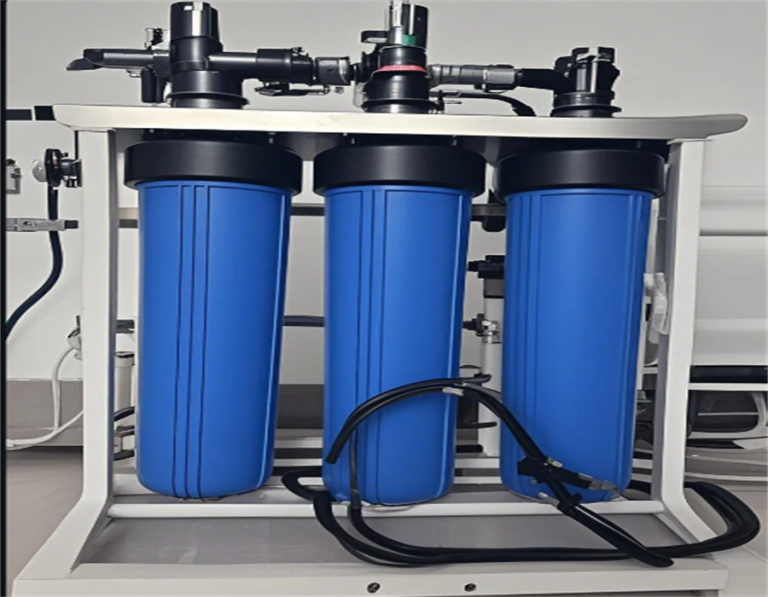
- Find the membrane housing: It’s usually the biggest canister on the unit. Mine is pretty easy to spot.
- Open the housing: I used a housing wrench for this. It gives you the leverage you need. If you don’t have one, you might be able to do it by hand, but the wrench makes it way easier.
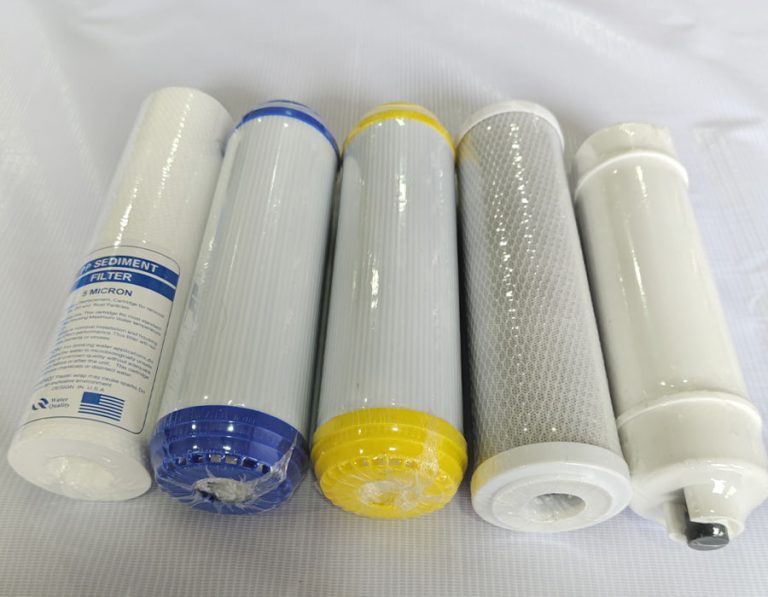
- Pull out the old membrane: Once the housing is open, you can just pull the old membrane out. It might be a little gunky, so be prepared for that.
Before putting in the new membrane, I took some scissors and trimmed about half an inch off the end of the tubing connected to the housing. Just to make sure it was clean and would fit snugly. You don’t want any leaks.
Installing the New Membrane
- Insert the new membrane: Slide the new membrane into the housing. Make sure it’s all the way in and seated properly.
- Close the housing: Put the cap back on the housing and tighten it with the wrench. Don’t overtighten, but make sure it’s secure.
After that, I turned the water supply back on, slowly at first, just to check for any leaks. Then I let the system run for a few hours to flush out the new membrane and fill up the tank. Oh, and I wrote the date on the new membrane with a marker, so I know when to replace it next time.
It took me maybe an hour in total, and that’s with taking my time and double-checking everything. Now my water tastes great again, and I’m good to go for another few years. It’s not a bad DIY project, and you save some money doing it yourself rather than calling a professional.