One stop supplier of water treatment parts&accessories


How to Clean RO Membrane Properly? Simple Steps for You!
Okay, so, I gotta tell you about this whole RO membrane cleaning thing I went through. I mean, who knew these things needed so much attention? Anyway, I noticed my water was starting to taste a bit off, and the flow was getting weaker. That’s when I realized, “Oh boy, it’s time to clean the RO membrane.”
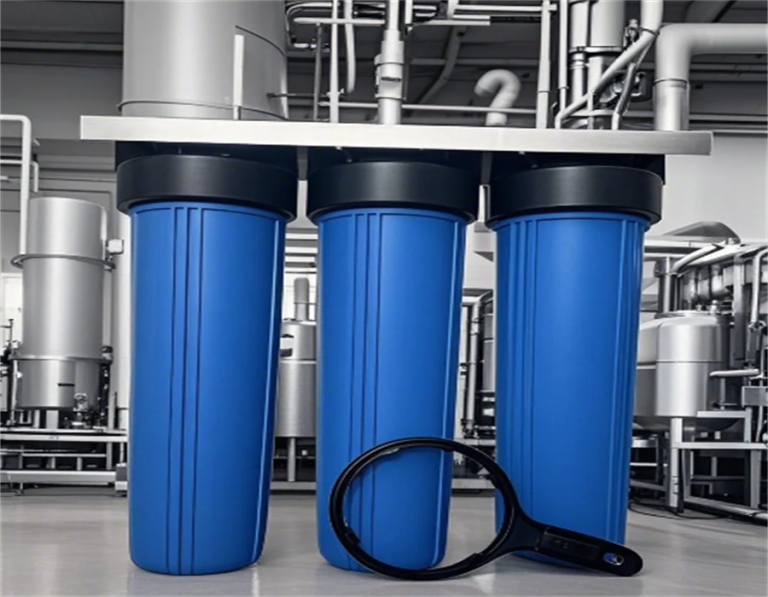
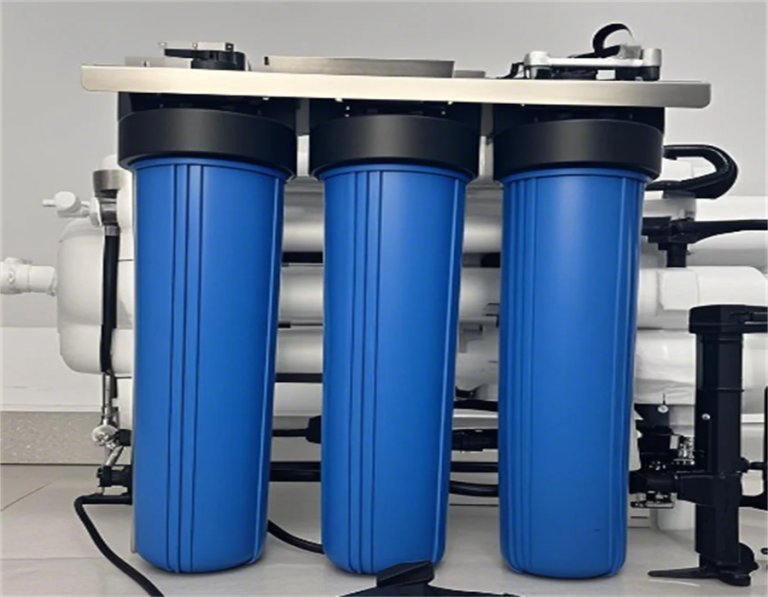
First, I turned off the water supply to my RO system. You don’t want any surprises while you’re messing around in there. Then, I found the pre-filters and the membrane housing. Usually it’s a series of tubes or canisters. I carefully unscrewed these things – honestly, I felt like a plumber for a minute there. Out came the old pre-filters, and let me tell you, they were looking pretty nasty.
Getting to the Membrane
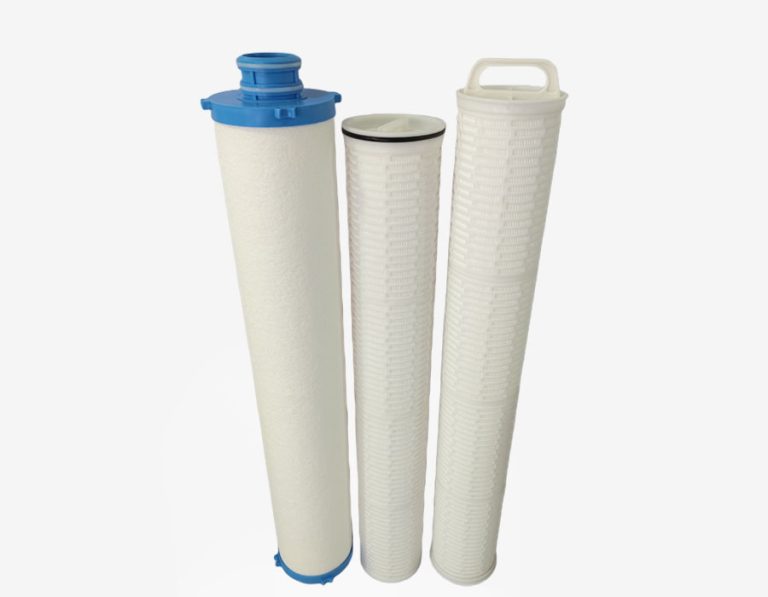
Next, I got to the star of the show – the RO membrane itself. It’s usually in a longer housing. I unscrewed the end cap and gently pulled out the membrane. It’s this tightly wound, plastic-looking thing. Now, this is where it gets a bit interesting.
The Cleaning Process
I did some reading, and there are a few ways to clean these membranes. Some people use special RO cleaning chemicals, others use stuff you have at home, like bleach or vinegar. I wanted to use a product like hydrogen peroxide but I went with a diluted bleach solution – just a little bit, you don’t want to damage the membrane. I mixed it with water in a clean bucket.
- Soaking: I carefully placed the membrane in the bleach solution and let it soak for about 30 minutes. I swirled it around every now and then to make sure the solution got into all the nooks and crannies.
- Rinsing: After the soak, I rinsed the membrane thoroughly with clean water. You really gotta get all that bleach out. I probably rinsed it for a good 15 minutes, just to be safe.
Putting It Back Together
Once the membrane was squeaky clean, I put everything back together. I replaced the pre-filters with new ones – always a good idea. Then, I carefully slid the membrane back into its housing, screwed everything back on, and turned the water supply back on.
I let the system run for a while, flushing out any remaining cleaning solution. It took a few hours for the water to taste normal again, but wow, what a difference! The flow was strong, and the water tasted crisp and clean. It’s like I had a brand-new RO system. So, yeah, that’s my RO membrane cleaning adventure. It’s not as scary as it sounds, and it’s definitely worth the effort. Trust me, your taste buds will thank you!