One stop supplier of water treatment parts&accessories


ro membrane diagram explained. Heres how reverse osmosis systems actually work
Okay, so the other day I was messing around with my reverse osmosis water filter at home. I got it a while back ’cause the tap water here tastes kinda funky. I figured it was time to change the filters, and I realized I didn’t really know what each part did. I mean, I knew it made the water better, but that was about it.
So, I started looking up some ro membrane diagram online. I just typed it into the search bar – didn’t even capitalize anything. You know, just wanted to get a basic idea of the whole setup.
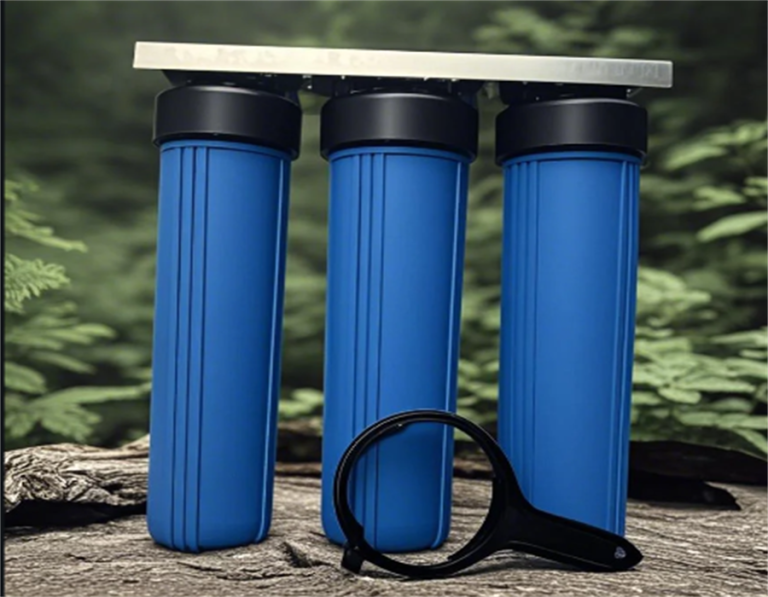
I found a bunch of diagrams, some were super complicated, and others were pretty simple. I wanted something in the middle, something that showed the main parts without getting too technical. Eventually, I found one that made sense. It showed the water coming in, going through a couple of pre-filters, then hitting the RO membrane, and finally going through a post-filter before coming out of the faucet.
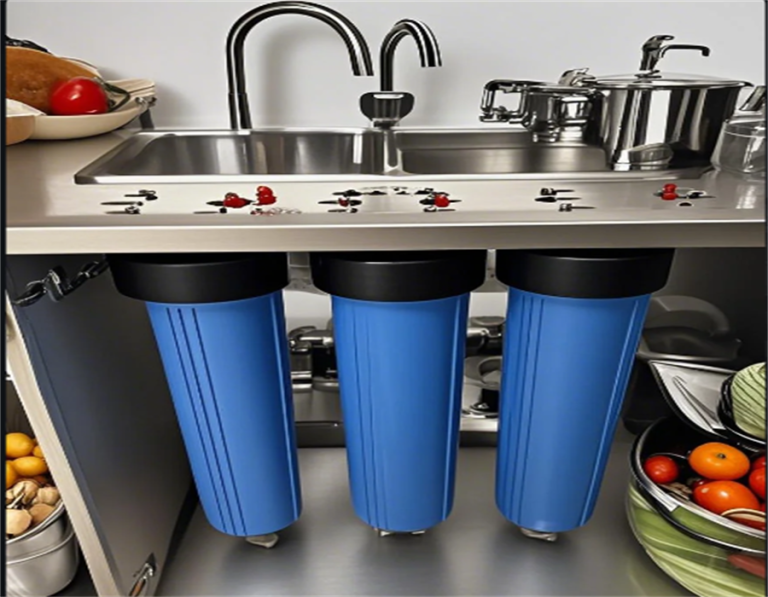
I started tracing the path of the water with my finger on the screen. It was kind of cool to see how it all worked. The first filter, the one they call the sediment filter, that one takes out the big chunks of stuff in the water, like dirt and sand, you know, the visible things.
Then the water goes to a pre-carbon block. I figured this one probably deals with the taste and smell. Like, if your water smells or tastes like chlorine, this filter’s probably got you covered.
- Sediment Filter: Gets rid of the big stuff like dirt and sand.
- Pre-Carbon Block: Probably helps with taste and smell, like chlorine.
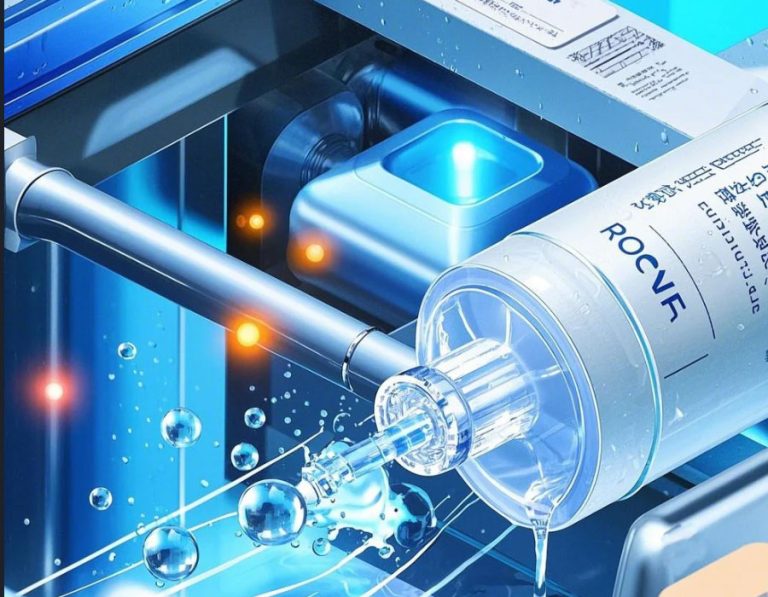
- RO Membrane: This is where the magic happens, I guess.
- Post-Carbon Filter: A final polish for the water, I assume.
RO Membrane – The Main Show
But then I got to the actual RO membrane part. This is where it gets interesting. Apparently, this membrane is super fine, like, really, really tiny holes. It basically forces the water through these tiny holes, and only the water molecules can fit. It’s like a bouncer at a club, only letting in the VIPs – in this case, the water molecules.
All the other stuff, like minerals, salts, and other junk that makes the water taste bad, they get left behind. They call it the “reject stream.” So, basically, the bad stuff goes down the drain, and the good, clean water goes to a little storage tank.
Finally, the water goes through a post-carbon filter. I guess this is like the final touch, just making sure the water is as pure as possible before it hits your glass.
After looking at that diagram and reading a bit more about it, I felt like I finally understood my RO system a little better. I even took apart my own filter just to see if I could identify all the parts. It was a bit of a mess, not gonna lie, but I managed to get it all back together. Now, when I drink that filtered water, I’ll know exactly what it went through to get that clean. Pretty neat, huh?