One stop supplier of water treatment parts&accessories


4×40 RO Membrane Housing Explained: Find Out Why It is Important for You
Hey everyone, it’s your boy back again with another hands-on project to share. Today, we’re diving into the world of 4×40 RO membrane housings. Let me walk you through my little adventure with this thing.
So, I needed to set up a water filtration system, not for my house, but for a small workshop I’ve been working on. I wanted clean water, not just for drinking, but also for some of the processes we do there. It’s not a huge industrial setup, but it’s more than your average home filter system. After some digging around, I decided to go with a reverse osmosis system, and that’s where the 4×40 RO membrane housing comes into play.
Getting Started
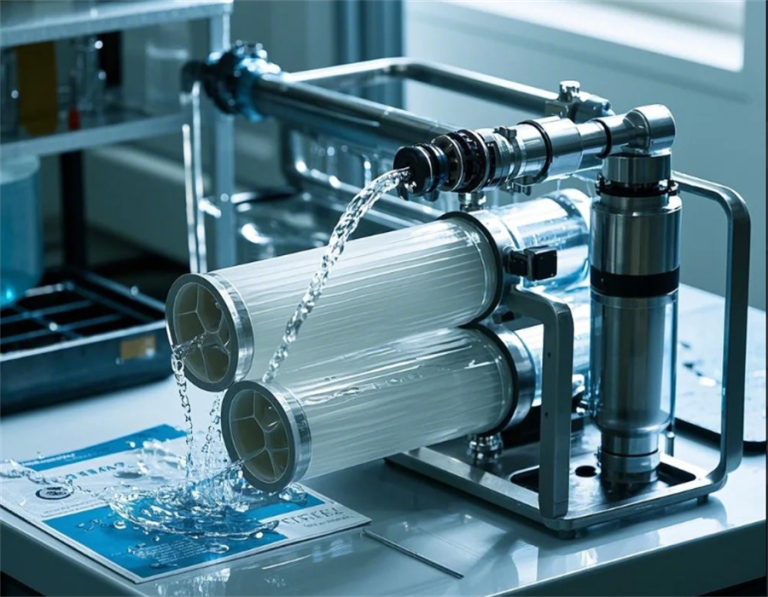
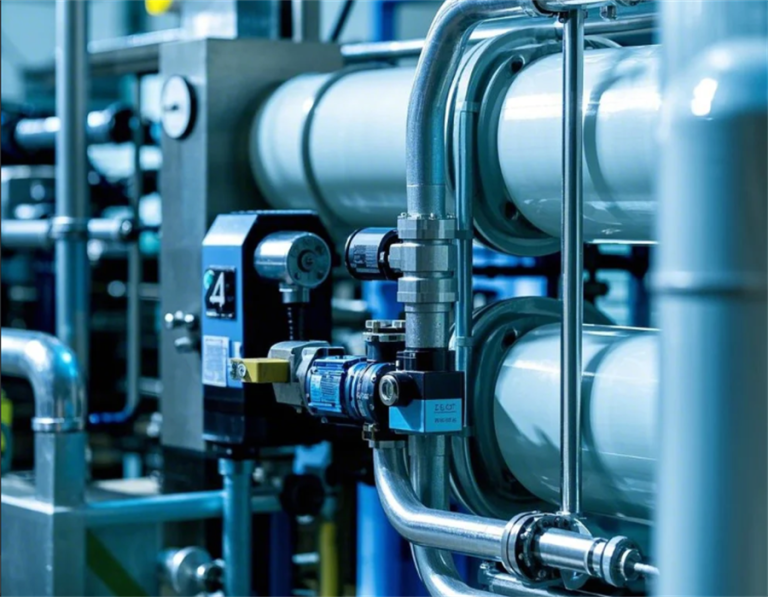
First off, I got my hands on a stainless steel 4×40 housing. Why stainless steel? Well, from what I gathered, it’s durable and looks kinda sleek, which is a plus. I’ve seen some made of FRP (that’s Fiber Reinforced Polymer for those not in the know), but I felt more comfortable with stainless steel. It just felt sturdier, you know?
The Setup
Setting it up was a bit of a learning curve. This housing is meant to hold the RO membrane, which is basically the heart of the whole filtration process. The membrane is this delicate thing that filters out all the tiny stuff you don’t want in your water – like heavy metals and minerals. Think of it as a super-fine sieve.
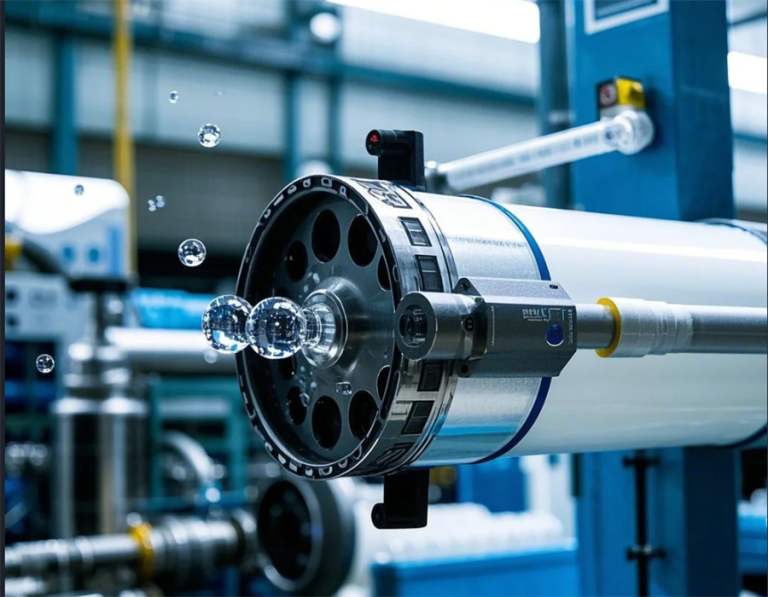
This particular housing is designed for 4×40 inch membranes, which seems to be a pretty standard size. It has these 3/4 inch male product water tubes, which I learned are often called “stinger style”.
The Process
- Getting the Membrane: First, I had to get a compatible RO membrane. I went with one that’s supposed to produce about 3000 gallons per day. Sounds like a lot, but for our workshop needs, it’s just about right.
- Inserting the Membrane: Carefully, I placed the membrane inside the housing. It’s important not to damage it, as any tears or holes can mess up the whole filtration process. Apparently, things like chlorine can “burn” holes in the membrane, which is a big no-no.
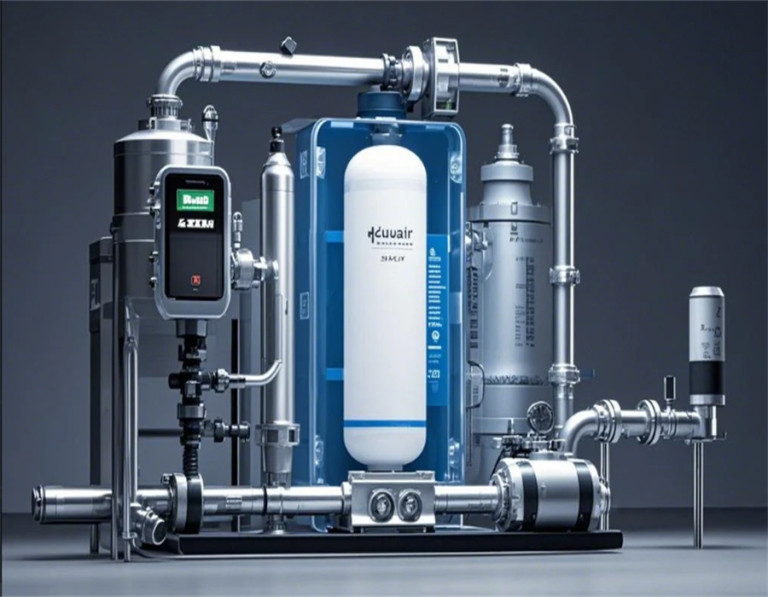
- Connecting the Tubes: Next up was connecting the feed, drain, and product water tubes. The housing had clear markings, which made it somewhat easier. The feed water goes in, gets filtered through the membrane, and comes out as clean product water. The leftover, concentrated water goes out the drain.
- Testing it Out: After everything was hooked up, it was time to test it. I slowly turned on the water supply, checking for any leaks or issues. It’s a bit nerve-wracking the first time, not gonna lie.
Observations
The water that came out was noticeably cleaner. I did a few basic tests, comparing it with the tap water, and the difference was clear as day. It’s pretty satisfying to see something you’ve set up yourself actually working.
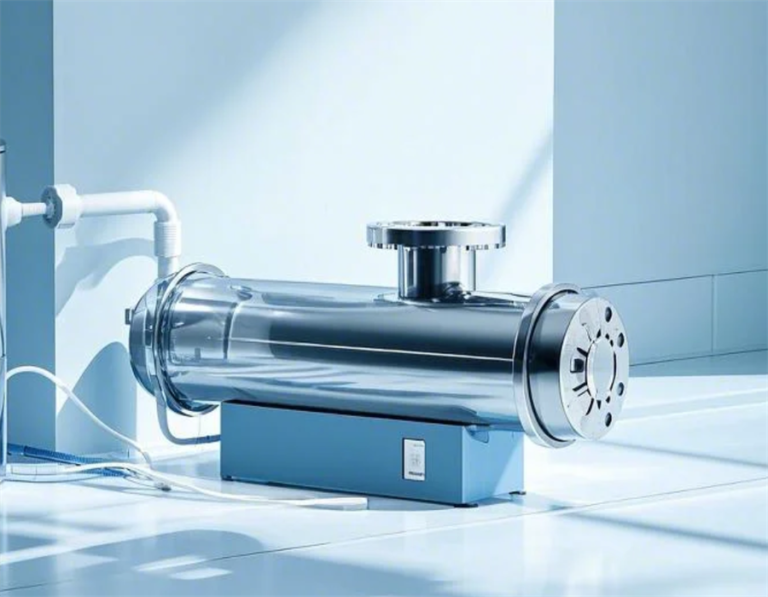
I also noticed that the housing was able to handle a good amount of pressure. The specs said it could handle up to 300 psi, which is more than enough for our needs.
Final Thoughts
All in all, it was a successful project. It wasn’t as straightforward as I initially thought, but hey, that’s part of the fun, right? Learning something new and getting your hands dirty. Plus, now we have a reliable source of clean water at the workshop, which is a huge win.
Would I recommend this to others? If you’re dealing with water filtration on a scale that’s more than your average home but not quite a massive industrial setup, then yeah, definitely. Just be prepared to do a bit of research and get your hands a little dirty. It’s a rewarding experience, seeing the fruits of your labor – or in this case, the clean water from your setup.
That’s it for my RO membrane housing adventure. Hope you guys found this helpful or at least interesting. Catch you in the next one!