One stop supplier of water treatment parts&accessories


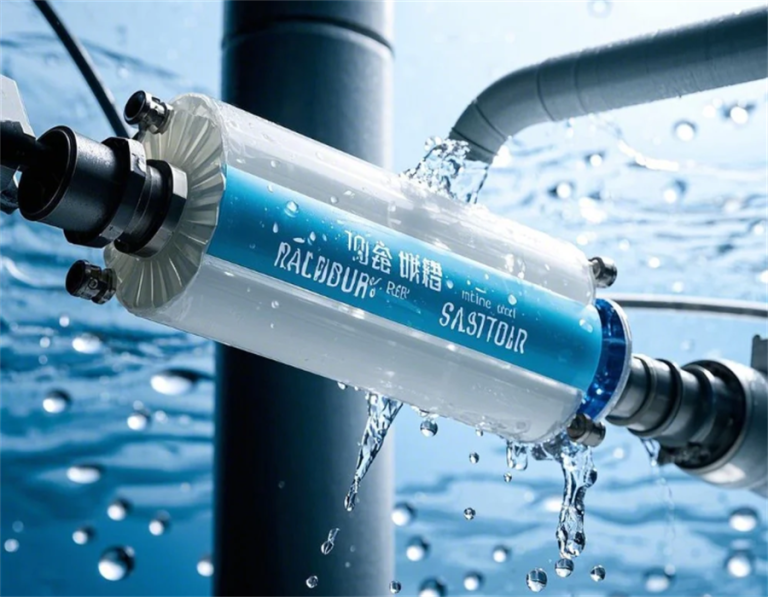
Need brondell h2o+ circle ro membrane replacement filter? Find it Here
So, I’ve been using this Brondell H2O+ Circle RO system for a while now, and it’s been pretty good. But like any other machine, filters gotta be changed, you know? Today, I’m gonna walk you through how I replaced the RO membrane filter, the RF-40. It is not that hard, really.
First things first, I turned off the water supply to the system. Safety first, right? You don’t want water spraying everywhere when you start messing with the filters. There’s usually a little valve under the sink or wherever your system is hooked up. Just gave that a twist, and the water was off.
Next, I opened the faucet on my sink to release any pressure that was built up in the system. I just let it run until the water stopped flowing. This makes it easier and safer to open up the filter housing.
Locating and Removing the Old Filter
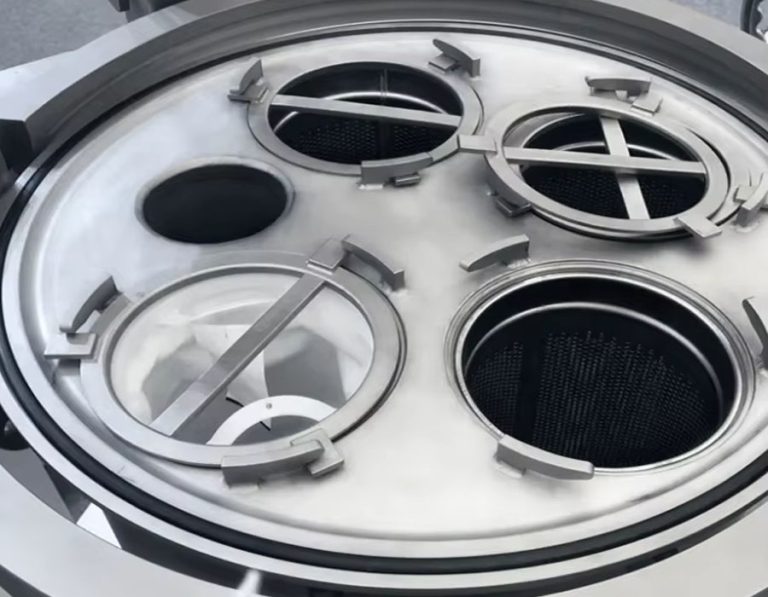
Then, I located the RO membrane filter housing. It’s the biggest one of the four filters in the Circle system. It is usually labeled, so it was easy to spot. It has “RO Membrane” written on it, so I know it is the right one. Once I found it, I twisted the housing counterclockwise to unscrew it. It might be a bit tight, so I had to use a little muscle, but it eventually came loose.
With the housing off, I could see the old filter inside. Pulled it straight out. It was pretty gunked up, which is good, means it was doing its job! It also shows that I definitely needed to replace it.
Inserting the New Filter
Now, time for the new filter. I took the new RF-40 filter out of its packaging. It is important to make sure the O-rings are properly seated. Then, slid it into the housing, making sure it was aligned correctly. Just pushed it in until it was snug.
After that, I screwed the filter housing back onto the system, turning it clockwise this time. I made sure it was tight enough to prevent leaks, but not too tight that I’d have trouble getting it off next time.
Flushing the System
Once everything was back in place, I turned the water supply back on. Then, I opened the faucet and let the water run for about 10-15 minutes. This is called “flushing” the system, and it’s important to do this after replacing any filter, but it is extremely important for the RO membrane.
- Why flush the system?
- 1. The new filter will release some loose carbon and air bubbles which are normal.
- 2. The system needs to refill and pressurize.
This step helps to get rid of any air bubbles or loose particles from the new filter. I have heard that the system might make some unusual noises, which is normal. The water might also appear cloudy, or milky. Mine was a little cloudy at first, but it cleared up after a few minutes.
And that’s it! I just let it run its course, and after that, the water was crystal clear. It’s a pretty straightforward process, and now I’ve got fresh, clean water again. Plus, I feel good knowing I did it myself and saved a bit of money. Now my RO system is good to go for another long stretch, and I don’t have to worry about those nasty contaminants in my water. Win-win!