One stop supplier of water treatment parts&accessories


Need to Change Your RO Filter Membrane? Heres a Quick How-To
So, the water at home started tasting a bit off lately. It wasn’t terrible, but you know, not as crisp and clean as it used to be. I figured it was probably time to take a look at the reverse osmosis filter. I’ve had this system for a couple of years, and while I’ve swapped out the regular filters a few times, I realized I hadn’t touched the RO membrane itself since I installed it.
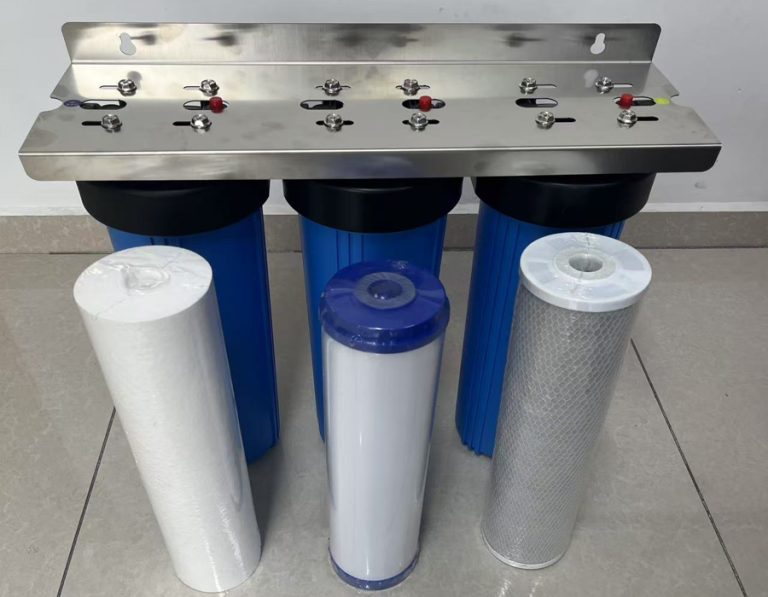
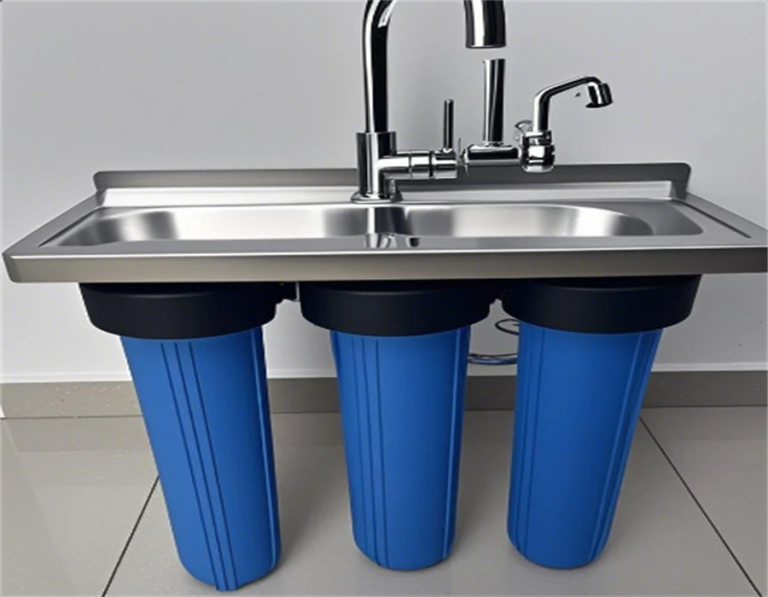
First things first, I shut off the water supply to the system. No one wants a surprise shower, right? Then I grabbed a wrench and opened the housing where the membrane sits. It’s usually the biggest one among all the filter housings.
I pulled out the old membrane. Honestly, it looked pretty gnarly. You could see some buildup and discoloration. Definitely time for a change. I made sure to note which end was which, because you don’t want to put the new one in backward.
Next, I grabbed the new membrane. I carefully slid it into the housing, making sure it was seated properly. I put a tiny bit of silicone grease on the O-rings, just to make sure everything sealed up nicely and to make it easier to remove next time.
With the new membrane in place, I closed up the housing, turned the water supply back on, and let the system run for a bit. I discarded the first tank of water, just to flush out anything that might have gotten in during the change.
After a couple of hours
- I tested the water, and what a difference!
- It was back to tasting super fresh and clean.
- I also checked for leaks, just in case, and everything was dry and secure.
I’m feeling pretty good about tackling this myself. It’s not a super difficult job, but it does make a huge difference in the quality of the water. Plus, I saved some money by doing it myself instead of calling a plumber. Now, I just need to remember to do this every couple of years.