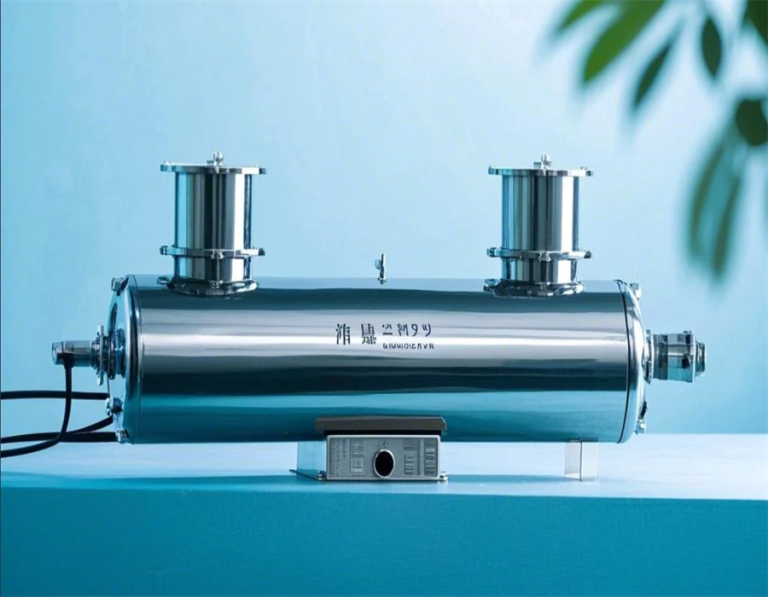
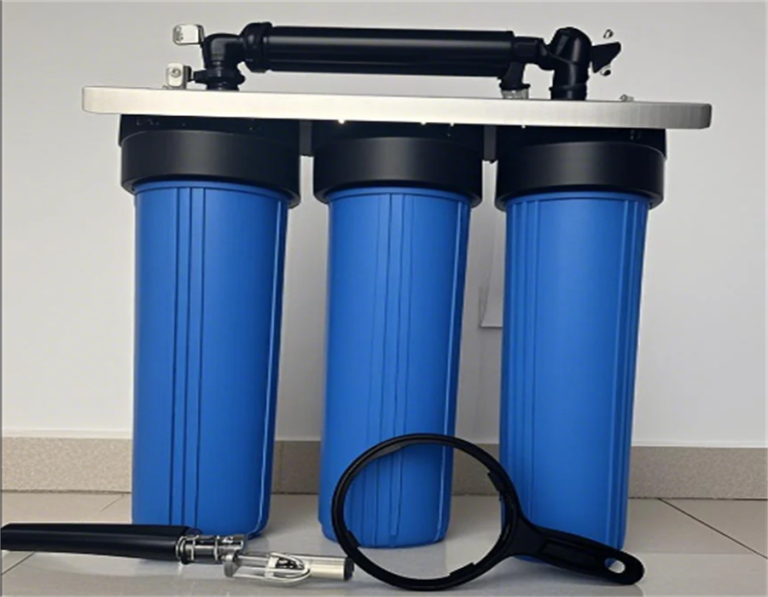
One stop supplier of water treatment parts&accessories


Culligan RO Membrane Replacement Guide: Everything You Need to Know for a Smooth DIY Process.
Okay, so, I’ve been meaning to tackle this for a while now, and today was finally the day. We’re talking about replacing the RO membrane in my Culligan water filter. Sounds a bit intimidating, right? It did to me, at first. But, you know what? It turned out to be a lot easier than I thought it would be. Let me walk you through what I did.
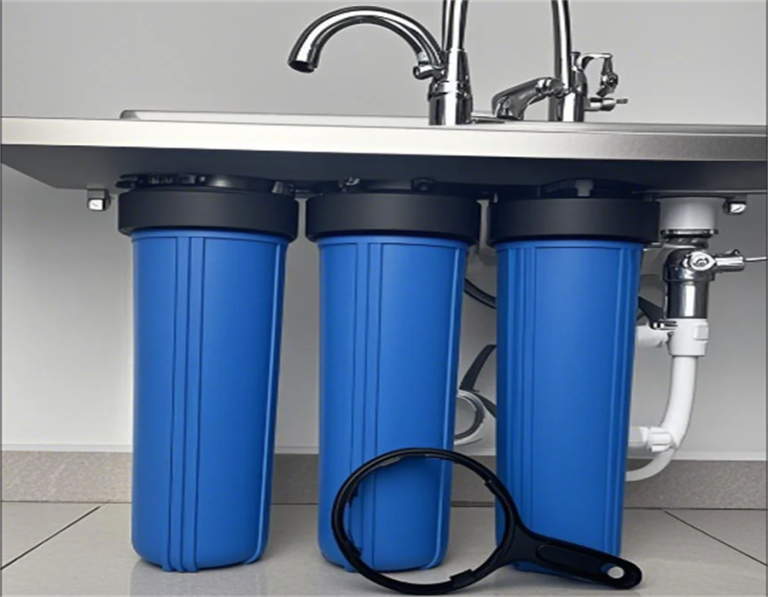
First off, I gathered everything I needed. I mean, you don’t want to get halfway through and realize you’re missing something crucial. So, I made sure I had the new membrane, of course. I also grabbed a wrench, a bucket, and some towels—things can get a bit wet, you see. I cleared up the space under my sink so that I can move things around and get access to things easily.
-
Turn off the water
Before I did anything else, I turned off the water supply to the system. This is pretty important unless you want a mini flood under your sink. Then, I opened up the faucet to let out any remaining water pressure. It’s just basic stuff, but you’d be surprised how many people forget these steps.
-
Take out the old one
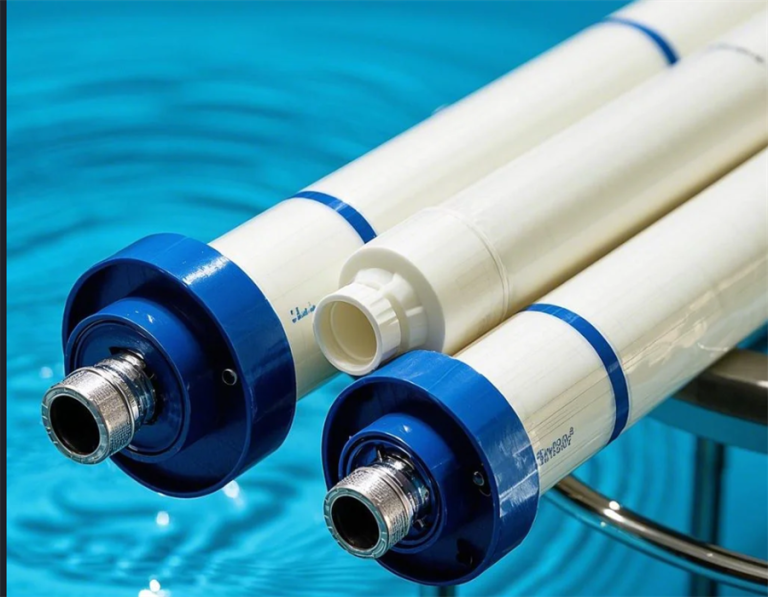
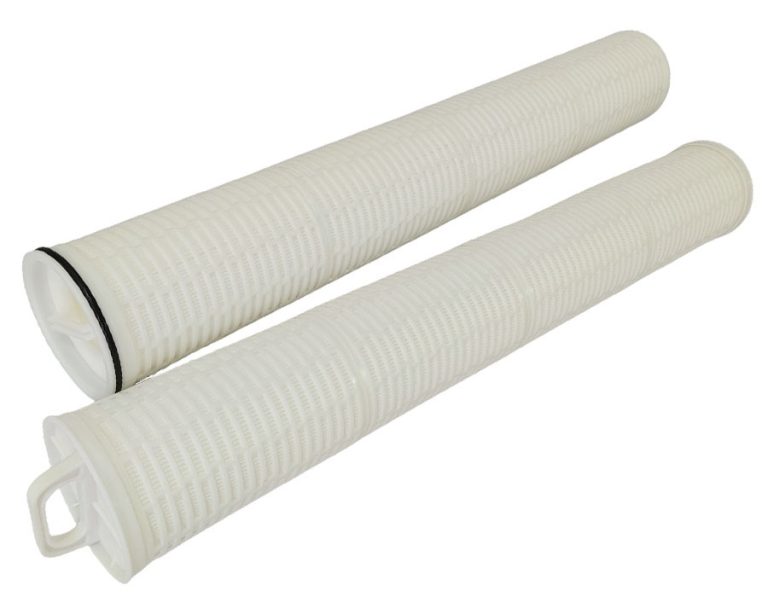
Next, I located the housing where the old membrane was chilling. Using my trusty wrench, I carefully unscrewed the housing. It was a bit tight, but nothing too crazy. Once it was loose enough, I just pulled the old membrane out. Honestly, it looked pretty gross, which just confirmed that I was doing the right thing by replacing it.
-
Put in the new one
Putting in the new membrane was surprisingly straightforward. I just slid it into the housing, making sure it was seated properly. Then, I screwed the housing back onto the system. I didn’t overtighten it—just enough so that it was secure and wouldn’t leak.
-
Turn on the water again
With the new membrane in place, I turned the water supply back on. I kept an eye out for any leaks, but everything looked good. I let the water run through the system for a few minutes, just to flush it out and get rid of any air or loose stuff in there.
-
Check the water
Finally, I checked the water quality. It tasted so much better! It’s amazing what a difference a new membrane can make. I also made a note of the date I replaced it. The guy at the store told me I should probably change it again in about three to five years, depending on how much we use it. But they said they can work out a schedule with me which is nice.
And that’s it! It was like changing the filter in your car, just a bit more watery. I’m no handyman, but I managed to do it all by myself. If I can do it, anyone can. Just remember to take your time, and don’t be afraid to get your hands a little dirty. Trust me, the taste of that clean, filtered water makes it all worth it.