One stop supplier of water treatment parts&accessories


How to Backwash RO Membrane: Keep Your Drinking Water Safe and Pure
Alright, let’s talk about something that sounds complicated but is actually pretty doable: backwashing an RO membrane. I had to figure this out a while back, and I’ll walk you through how I did it, step by step.
Figuring Out the Setup
First things first, I had to understand what I was working with. My RO system was starting to slow down, and the water quality was not so good anymore. This meant it was time to give that membrane a good cleaning. I knew I needed to backwash it, which basically means reversing the flow of water to flush out all the gunk that’s built up.
- Turned off the water supply: This is crucial, you don’t want water gushing everywhere.
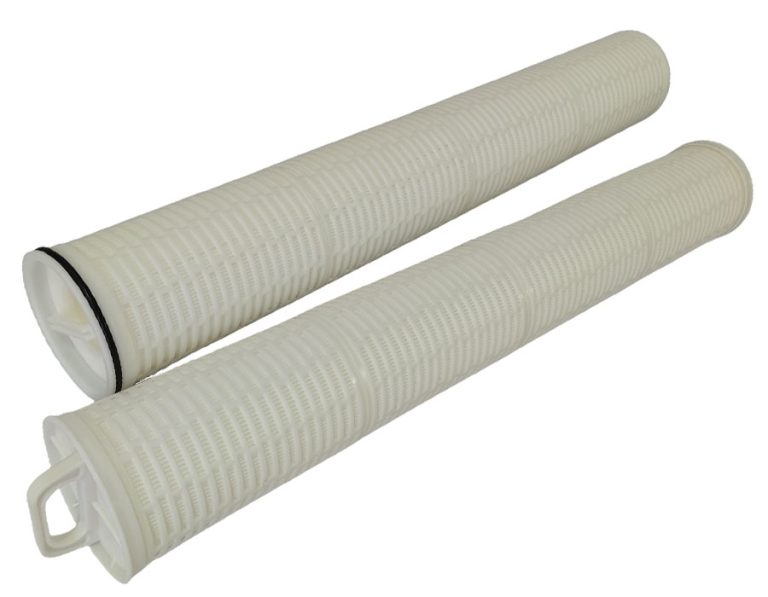
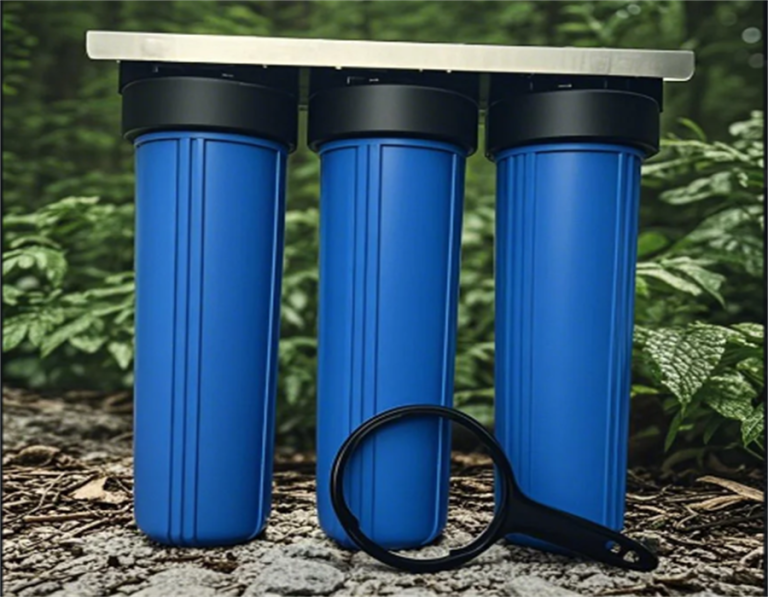
- Located the membrane housing: It’s usually the biggest filter cartridge in the system. Mine was easy to spot.
- Got my tools ready: Some basic stuff, like a wrench and a bucket. Nothing fancy.
Getting Down to Business
Once I had everything set up, I started the actual backwashing process. This is where it gets a bit hands-on, but it’s not rocket science.
- Disconnected the output tube: This is the tube that sends clean water to your faucet or storage tank. I carefully unscrewed it from the membrane housing.
- Attached a separate line for backwashing: I used a spare piece of tubing and connected it to where the output tube was. This line would run to the bucket.
- Slowly turned the water back on: With the new line in place, I gently turned the water supply back on just a bit. The goal was to let water flow in reverse, but not at full blast.
The Nitty-Gritty
This part was kind of satisfying. I could actually see all the dirt and junk getting flushed out of the membrane. It looked pretty nasty, to be honest. I let the water run like this for a good 10-15 minutes, making sure the bucket didn’t overflow. I also used some cleaning solutions from the store, just made my work easier.
Wrapping It Up
After the backwash, I needed to put everything back together and make sure it was all working correctly.
- Turned off the water supply again: This is important. Always turn off the water before making any changes.
- Reconnected the output tube: I screwed the original output tube back onto the membrane housing.
- Turned the water back on slowly: I gradually turned the water supply back on, checking for any leaks.
And that was it! The water pressure was back to normal, and the water tasted much better. It felt good to get that done myself. It wasn’t as hard as I thought it would be. If you ever need to backwash your RO membrane, just take it slow, follow these steps, and you’ll be just fine.