One stop supplier of water treatment parts&accessories


How to Install RO Membrane in Water Purifier? Do It Yourself with This Simple Installation Guide.
Alright, so I decided it was time to up my water game at home. You know, get that crisp, clean taste without having to constantly buy bottled water. So, I went for a reverse osmosis (RO) system. I’d heard good things, and honestly, the idea of having pure water on tap was pretty appealing. Here’s how I got it all set up.
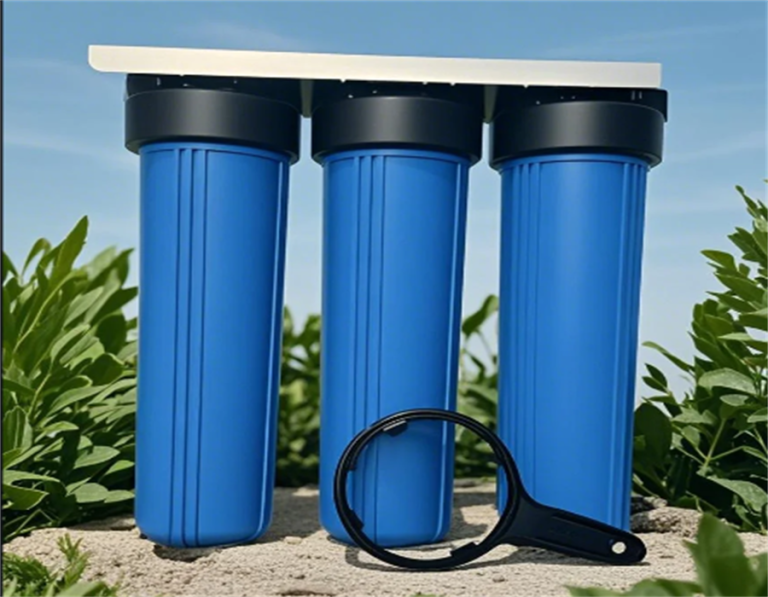
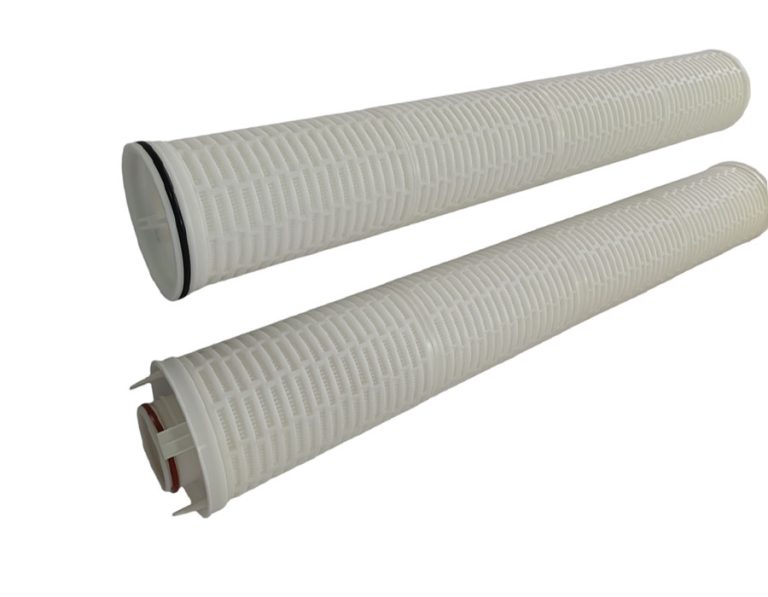
First, I made sure I had all the gear. The main thing is the RO membrane – that’s the real workhorse of this whole setup. It’s what filters out all the yucky stuff from the water. You also need the membrane housing, some tubing, a storage tank, a faucet, and a bunch of fittings. It sounds like a lot, but the kit I got had most of this stuff included.
I started by turning off the cold water supply under my sink. Safety first, right? Then I installed the adapter that came with the kit. This little guy is what connects the whole RO system to my cold water line. It was pretty straightforward – just unscrewed the existing line, put the adapter in between, and screwed it all back together.
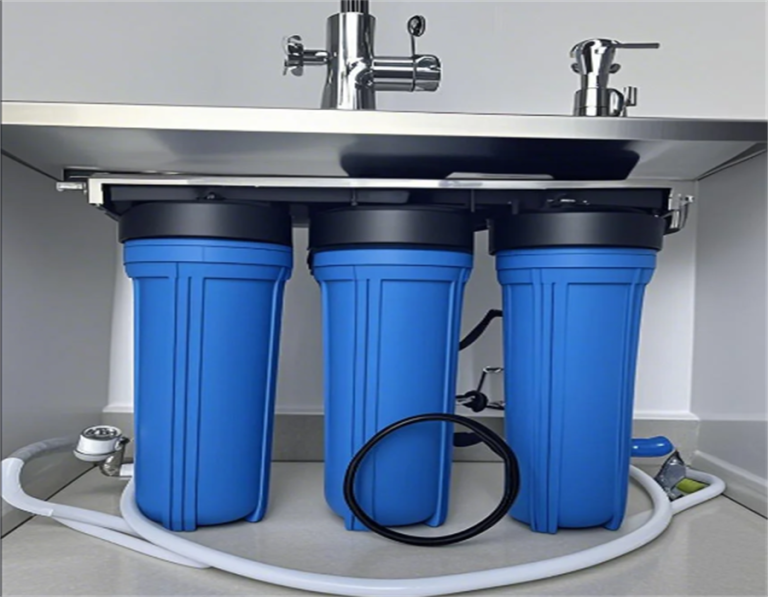
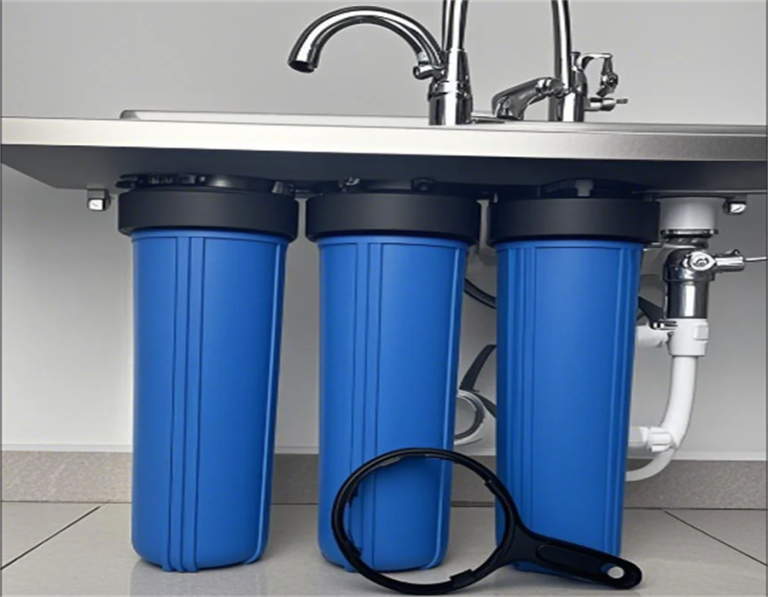
Next, I mounted the RO unit under the sink. I found a good spot where it wouldn’t be in the way but was still accessible. I used the screws that came with the kit and made sure it was nice and secure.
Now, the fun part – installing the membrane. I unscrewed the cap of the membrane housing and carefully inserted the new RO membrane. I made sure to note which way it went in because you don’t want to put it in backward.
- Connecting the tubing was the next step. I followed the instructions to connect the tubing from the adapter to the RO unit, then to the membrane housing, and finally to the storage tank. It’s important to make sure all the connections are tight to prevent leaks. I pushed the tubing firmly into the fittings until I felt it click into place.
Then I set up the storage tank. I found a flat spot under the sink for the tank and connected the tubing from the RO unit to the tank. This is where the filtered water gets stored.
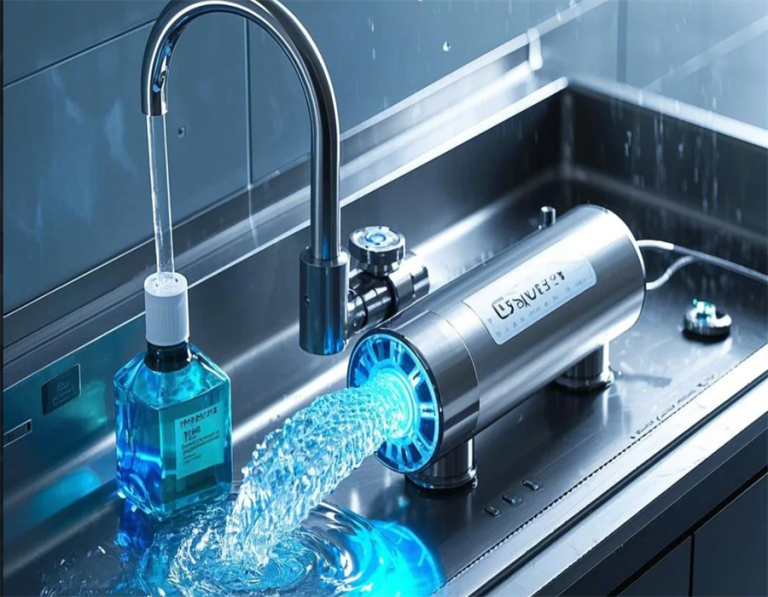
The last major step was installing the faucet. I already had a hole in my sink for a soap dispenser that I wasn’t using, so I used that. If you don’t have an extra hole, you’ll need to drill one. I placed the faucet in the hole and tightened it from underneath the sink.
Once everything was connected, I slowly turned the cold water supply back on and checked for leaks. I tightened any fittings that were a bit loose. Then, I let the system run for a few hours to flush out any manufacturing residues. The first few gallons of water might look a bit cloudy, but that’s normal.
Final Touches
After letting the system run and fill the storage tank, I tested the water. It tasted great! Crisp, clean, just like I wanted. Now, I just need to remember to change the filters regularly. The RO membrane itself lasts a while, but the pre-filters and post-filters need to be replaced more often. The instructions give you a good idea of the replacement schedule.
Overall, installing the RO system was a pretty smooth process. It took a few hours, but it was totally worth it. Now I’ve got pure, delicious water right from my tap. No more plastic bottles, no more weird aftertaste. Just good, clean water. If you’re thinking about doing it yourself, I’d say go for it. Just follow the instructions, take your time, and you’ll be enjoying the benefits of filtered water in no time!