One stop supplier of water treatment parts&accessories


Need to Replace Your RO Membrane? How to Open RO Membrane Housing Fast!
Okay, here is my experience about how to open an RO membrane housing.
So, I needed to change out the RO membrane in my water filter system. It had been a while, and the water was starting to taste a bit off. I knew it was time, but honestly, I was a little intimidated. I had never done it before, and I was worried I’d mess something up. But hey, I’m not one to back down from a challenge, so I decided to give it a go.
Get Things Ready
First things first, I needed to gather my supplies. Luckily, I had already ordered a new RO membrane, so I had that on hand. I also grabbed a pair of pliers and the special membrane wrench that came with my filter system. I laid everything out on the counter and took a deep breath. Time to get to work.
Turn off the Water
Before I could do anything, I had to turn off the water supply to the filter. I found the shut-off valve under the sink and turned it clockwise until it stopped. I also turned off the valve on the water storage tank, just to be safe. I didn’t want any surprise leaks while I was working.
Release the Pressure
Next, I needed to release the pressure in the system. I opened the faucet on my sink that’s connected to the filter and let the water run until it stopped completely. This made sure there was no pressure left in the lines.
Locate the Housing
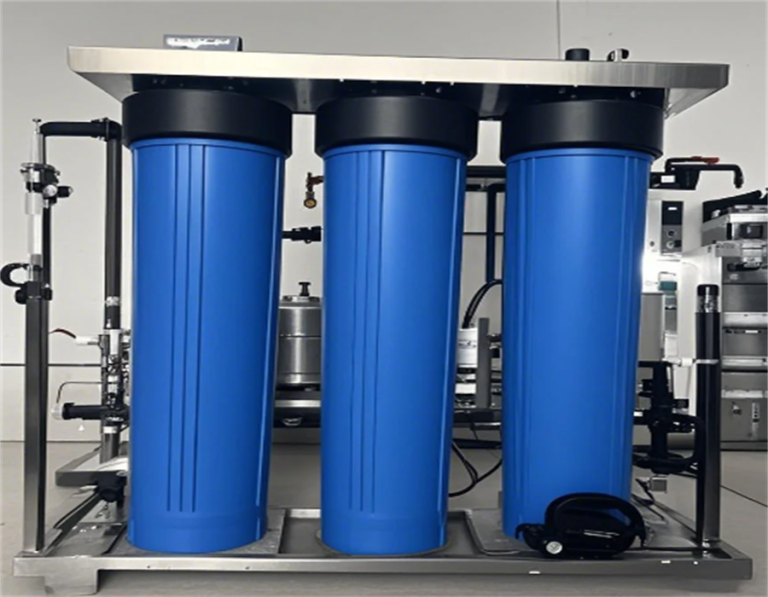
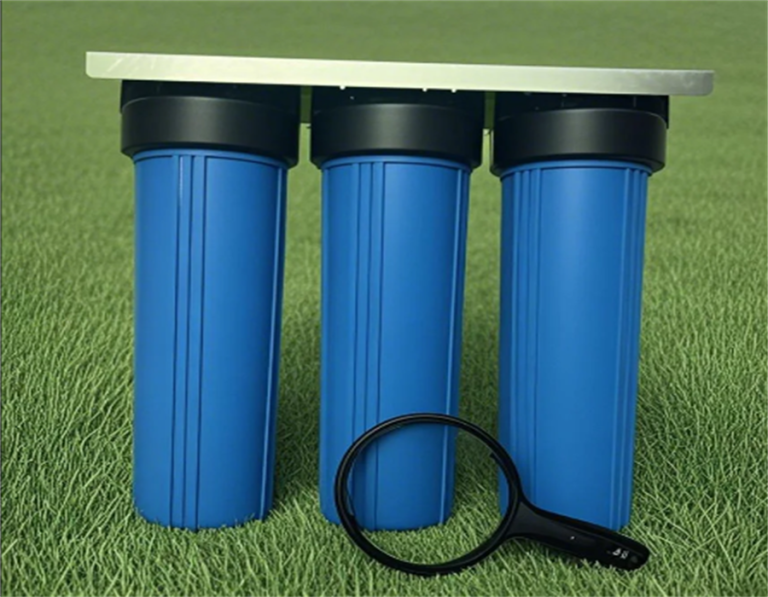
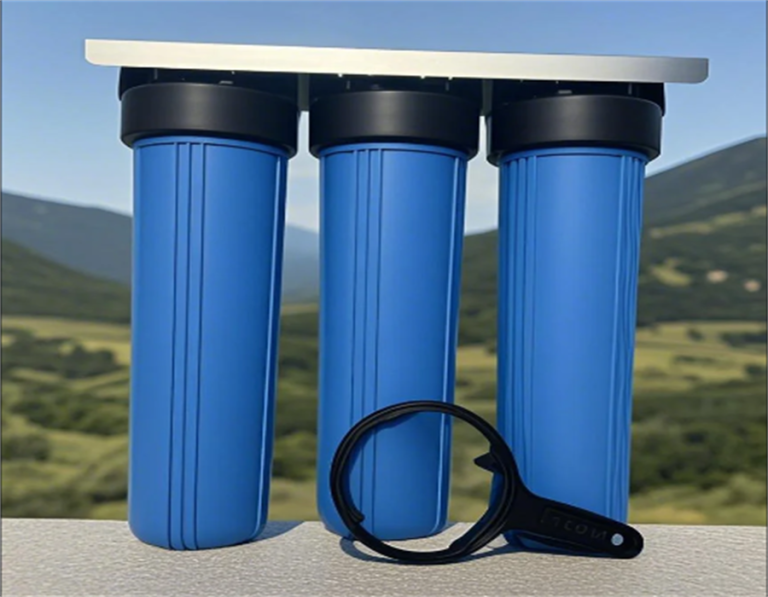
With the water off and the pressure released, I located the RO membrane housing. It’s a long, cylindrical container that’s usually mounted on top of the filter system. I found mine pretty easily – it was right there, staring me in the face.
Open the Housing
Now for the moment of truth – opening the housing. I grabbed my membrane wrench and placed it around the cap on the housing. I turned it counterclockwise, and it took a little bit of effort, but eventually, the cap started to loosen. I kept turning until the cap was completely off. I was careful not to lose any of the small parts inside.
Remove the Old Membrane
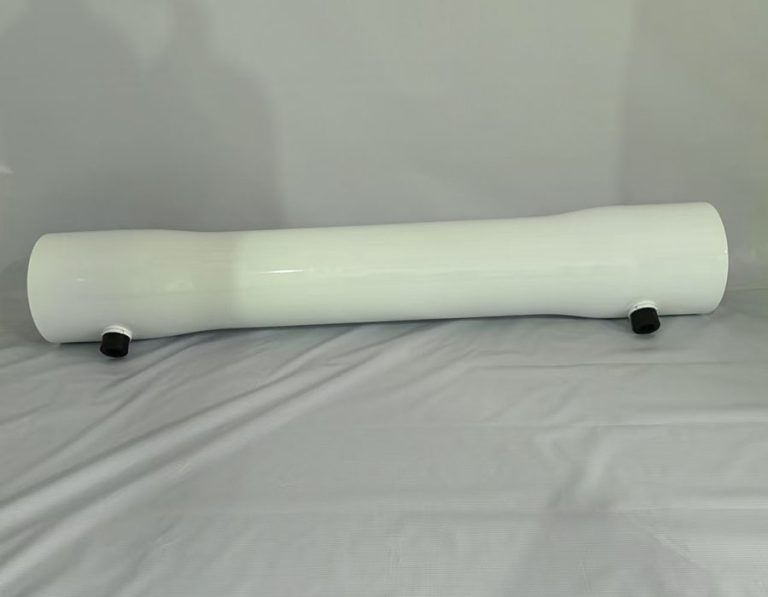
With the cap off, I could see the old membrane inside. It was pretty discolored and looked ready to be replaced. I gripped the end of the membrane with my pliers and pulled it out. It was a bit stuck, but I wiggled it back and forth until it came loose. I made sure to dispose of the old membrane properly.
Insert the New Membrane
I took the new membrane out of its packaging. I noticed that one end had two small black rings. I made sure to insert that end into the housing first, pushing it in until it was snug.The large rubber stopper was the last part to enter the housing.
Close the Housing
With the new membrane in place, I carefully screwed the cap back onto the housing. I used the membrane wrench to tighten it, making sure it was secure but not too tight. I didn’t want to damage anything.
Turn the Water Back On
Finally, I turned the water supply back on, both at the shut-off valve under the sink and on the storage tank. I checked for any leaks around the housing and, thankfully, there were none.
Flush the System
The last step was to flush the system. I opened the faucet and let the water run for a few minutes to clear out any air or debris. At first, the water was a little cloudy, but it quickly cleared up.
And that’s it! I successfully replaced the RO membrane in my water filter system. It wasn’t as hard as I thought it would be, and I felt a real sense of accomplishment. Now I can enjoy clean, fresh-tasting water again. If I can do it, you can too!