One stop supplier of water treatment parts&accessories


Simple Guide: How to Replace Membrane in RO and Keep Your Water Pure
Okay, guys, so today I needed to replace the membrane in my reverse osmosis (RO) system. It’s not something I do often, but when the water starts tasting a bit off, you know it’s time. I’m not a plumber or anything, just a regular guy, so if I can do it, you probably can too.
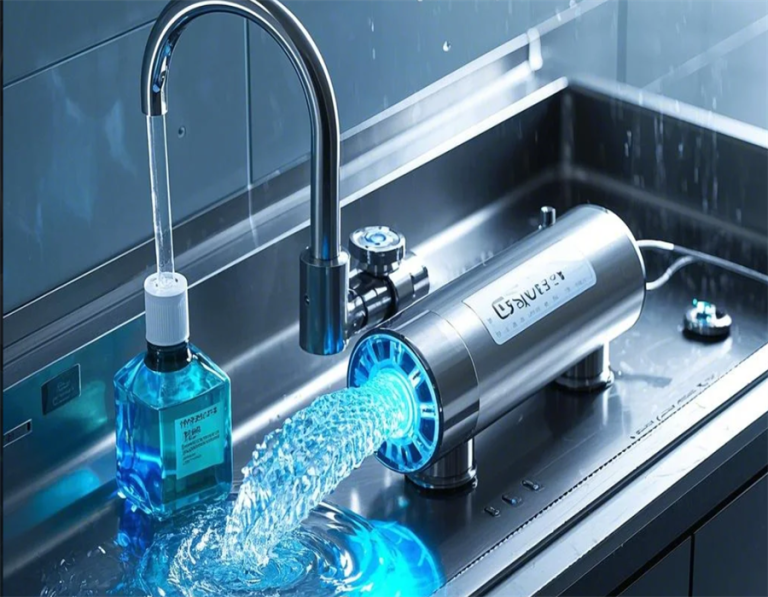
First thing I did was shut off the cold water supply valve. This is usually under the sink, and you just turn it clockwise until it stops. Then, I opened up the RO faucet to release any built-up pressure. You’ll hear a hissing sound, and that’s totally normal.
Next, I got out my trusty wrench and located the membrane housing. This is usually the largest canister on the RO system. I unscrewed the cap from the housing, and honestly, it was a little bit stuck. I gave it a good yank, and it finally came loose.
Now for the old membrane. I pulled that sucker out. It was kinda gross looking after all this time. I also remembered to pay attention to how it was put in initially, so I did not mess up when I put the new one in later.
- Tip: If it’s stuck, you can use some needle-nose pliers to help get it out. Just be gentle so you don’t damage anything.
With the old membrane out, I grabbed the new one. The system I have came with the new one, but you may need to buy one. I carefully inserted it into the housing, making sure it was facing the right direction. I pushed it in until it was snug.
After that, I screwed the cap back onto the housing, nice and tight. Then, I turned the cold water supply back on. It is important to do this slowly to prevent damage to the new membrane. Slowly turn on the water to prevent a “water hammer”, which could damage your new membrane.
Flushing the New Membrane
Now, here’s a crucial step that you shouldn’t skip. You need to flush the new membrane to get rid of any preservatives or manufacturing residues. I let the water run for a good 5 minutes, just like the instructions said. This is important because you don’t want any of that stuff in your drinking water. I wasted at least 5 gallons of water.
And that’s it! I tested the water, and it tasted great. It’s a pretty straightforward process, and doing it myself saved me a bunch of money. So, if your RO water isn’t tasting its best, don’t be afraid to give this a try. You might be surprised at how easy it is!