One stop supplier of water treatment parts&accessories


Looking for a Big Blue 1 Inch NPT Filter? Weve Got You Covered!
Okay, here’s a blog post about my experience installing a big blue 1-inch NPT filter, written in the style you requested:
Alright, folks, let me tell you about my little adventure with this big blue 1-inch NPT filter. I’m no plumber, but I like to get my hands dirty and figure things out. So, I decided to tackle this whole house water filter installation myself.
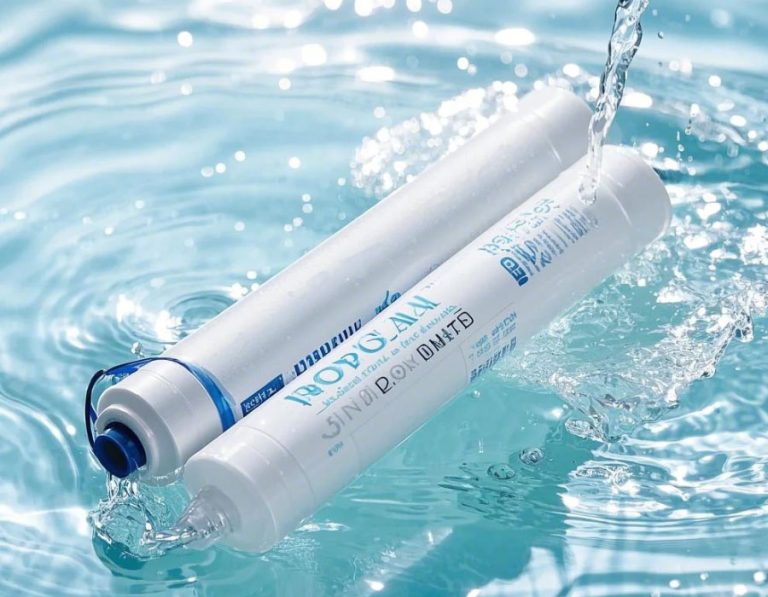
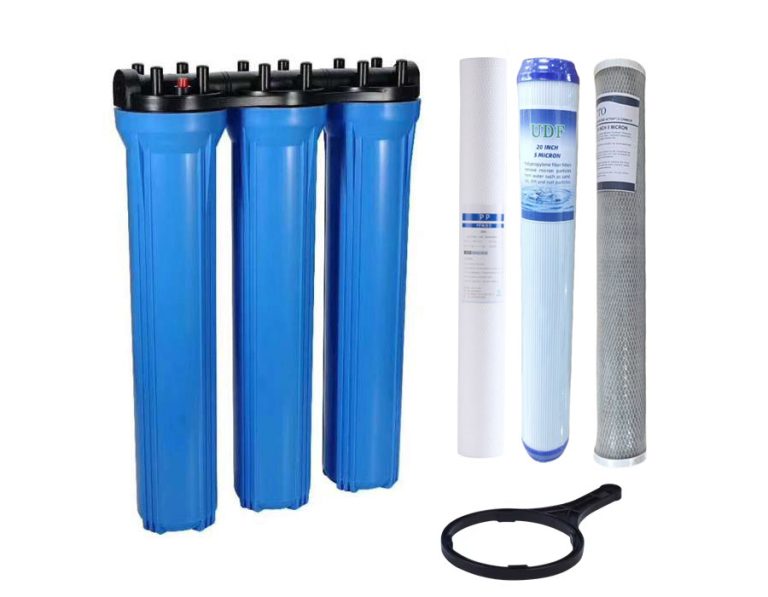
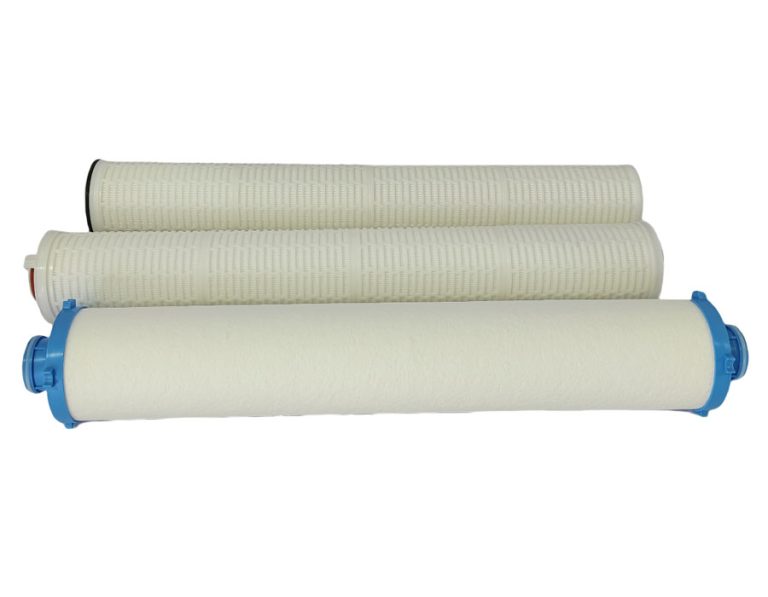
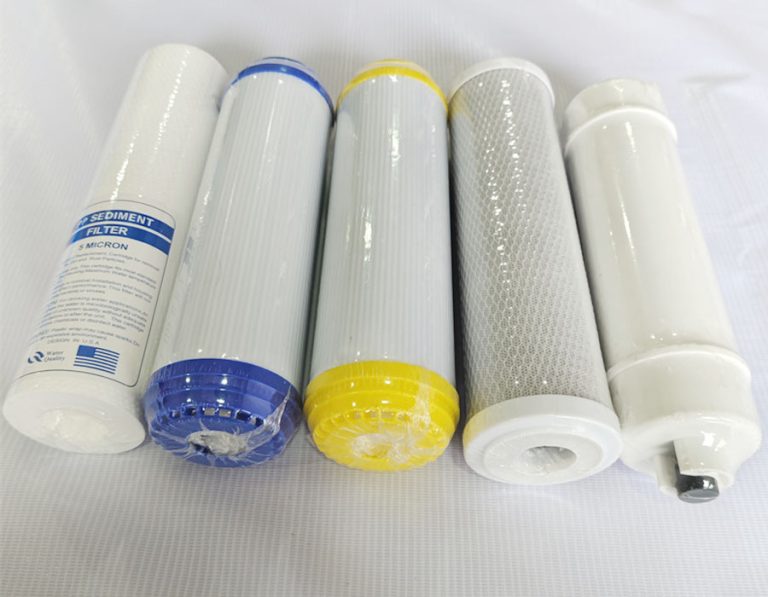
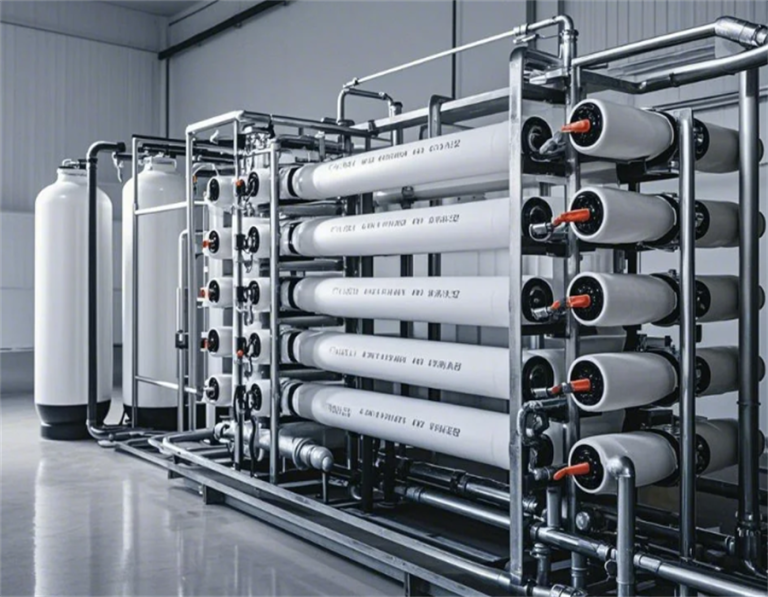
First off, I went and got myself this Pentair Pentek whole house water filter, the “Big Blue” one with the 1-inch NPT thing. The box said it could filter out all sorts of nasty stuff from the water, like dirt, rust, and even some chemicals I can’t even pronounce. Sounded good to me! It also mentioned something about premium two-stage under-sink filtration that reduces sediment, lead, VOCs, and bad tastes. It came with dual filter housings and a faucet and claimed to have quick-connect fittings for easy installation.
Gathering My Tools
I laid out all the parts on the floor. The main thing was this big blue housing, which is where the filter goes. Then there were some pipes, connectors, and a wrench that came with the kit. I also grabbed my toolbox ’cause you never know what you’ll need.
Diving In
The instructions said to shut off the main water supply first, which made sense. I found the valve and turned it off. Then, I picked a spot under the sink where I wanted to put the filter. I made sure there was enough space to change the filter later on.
- Cutting Pipes: This was the scary part. I measured twice (maybe three times) and cut the water pipe. I used a pipe cutter I had lying around. It wasn’t as hard as I thought it would be.
- Connecting Stuff: Next, I started connecting the filter housing to the pipes. The kit came with these quick-connect fittings, which were supposed to make things easier. They were okay, but I still had to use some elbow grease to get them tight.
- Mounting the Filter: I screwed the filter housing onto the wall under the sink. I used some anchors to make sure it was secure.
- Checking for Leaks: I slowly turned the water back on and held my breath. I checked all the connections for any drips or leaks. Thankfully, there were none!
The Moment of Truth
I turned on the faucet and let the water run for a few minutes, like the instructions said. The water looked clearer, and it definitely tasted better. I was pretty proud of myself, I have to say. I did it! And the whole house was now going to enjoy better water.
It wasn’t a walk in the park, but I managed to install this big blue water filter all by myself. If I can do it, I bet you can too. Just take your time, read the instructions, and don’t be afraid to get your hands a little dirty. Now, my family and I can enjoy cleaner, better-tasting water, and I have the satisfaction of knowing I did it myself.