One stop supplier of water treatment parts&accessories


Top-Rated Pentek Big Blue Filter Replacement: Reviews and Buying Guide
Alright, folks, gather ’round! I’ve got a little story for ya about my recent adventure in home maintenance. The other day, I tackled the not-so-glamorous but oh-so-necessary task of replacing the filter in my Pentek Big Blue whole house water filter system. Yeah, it’s a mouthful, but trust me, it’s a lifesaver when it comes to keeping your water clean and clear.
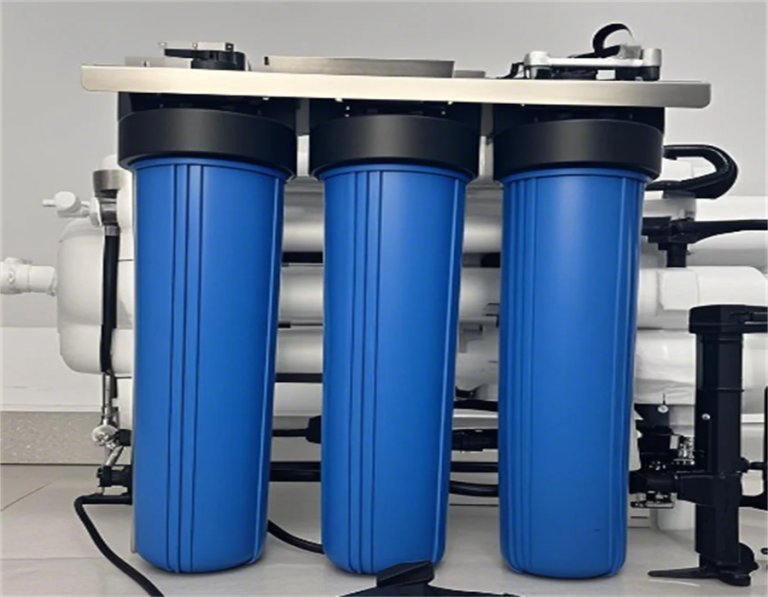
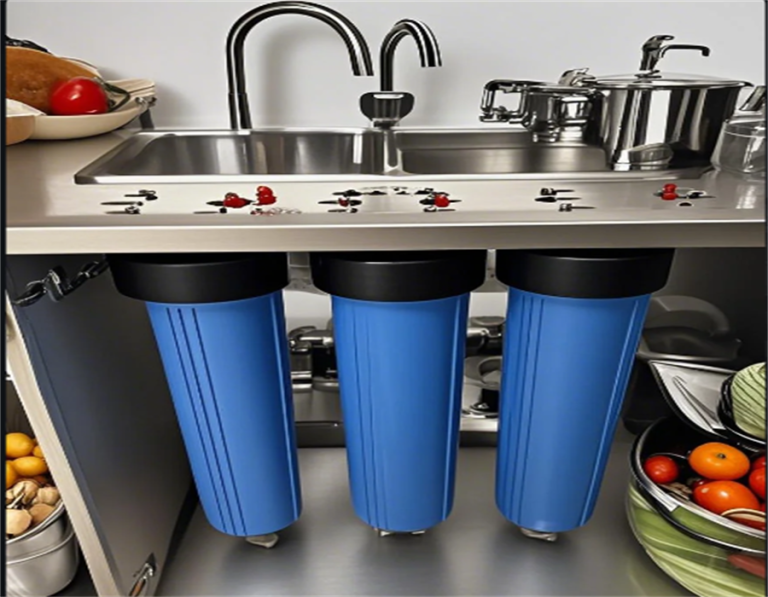
So, first things first, I turned off the main water supply to the house. No one wants a surprise shower, right? Then, I located my trusty Big Blue – it’s this big, blue cylinder thing tucked away in my basement. You can’t miss it. I pressed the red pressure relief button on top of the housing to, well, relieve the pressure. Made a satisfying whooshing sound, that.
Next, I grabbed the wrench that came with the system – it’s specifically designed for this bad boy – and started unscrewing the housing. It’s a bit of a workout, especially if it’s been a while since the last change, but I managed. Be careful, there will be some residual water inside, so I kept a bucket handy to catch the drips.
Out with the Old, In with the New
Once the housing was off, I pulled out the old, gunked-up filter. Let me tell you, it was not a pretty sight. All kinds of sediment and who-knows-what-else were trapped in there. Good riddance! I gave the inside of the housing a quick wipe down, just to get rid of any lingering debris.
Now for the fun part – installing the new filter. I picked up a Pentair Pentek EPM-20BB. These things are like the Rolls Royce of water filters. Seriously, they do an amazing job. Before putting the new filter in, I also replaced the O-ring on the housing. The dude at Home Depot told me to do this every third filter change to prevent leaks, and I figured, why not? Better safe than sorry. These O-rings are officially called “PENTEK-OR-BB” in case you need one too.
- Popped the new filter into the housing.
- Screwed the housing back onto the system, nice and tight.
- Slowly turned the main water supply back on, keeping an eye out for any leaks.
- Pressed that red pressure relief button again until a little water spurted out, just to make sure all the air was out of the system.
And that’s it! Job done. I felt like a real DIY king, let me tell you. Now, I can enjoy crystal-clear water throughout the whole house, knowing that my family is safe from all that nasty stuff that can lurk in the water supply. It’s a pretty good feeling, I gotta say.
If you’re thinking about tackling this job yourself, go for it! It’s not as daunting as it might seem. Just remember to turn off the water, have the right tools, and take your time. You’ll be a water filter-changing pro in no time. And hey, if I can do it, anyone can!