One stop supplier of water treatment parts&accessories


10 Inch Big Blue Filter Housing: The Best Choice for You?
Alright, so, I needed to fix up the water filter system at home. You know, the usual stuff – making sure we’re not drinking all that gunk from the pipes. I decided to go with a 10 inch big blue filter housing, seemed like the way to go for what I needed.
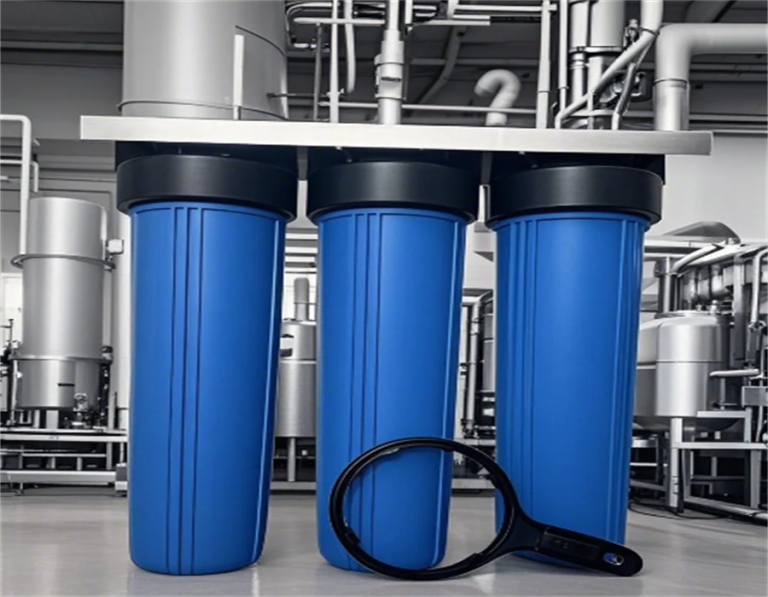
First things first, I got all the parts together. The main part was, of course, the big blue filter housing itself. It’s this chunky, blue cylinder thing. Looked sturdy enough. I made sure to grab a filter cartridge that fits right in – a 4.5 inch by 10 inch one, standard size. Also, I picked up a mounting bracket with screws, a wrench – ’cause you always need a wrench, right? – a pressure gauge, and a bacteriostatic filter centralizing ring. Sounded fancy, but I figured it’s better to have it than not.
I started by shutting off the main water supply. Didn’t want any surprise showers. Then, I found a good spot to install the housing, somewhere along the main water line after the shut-off valve. I used the mounting bracket to secure the housing to the wall. Drilled a couple of holes, screwed it in, and that thing wasn’t going anywhere.
Next, I connected the water line to the housing. There are these inlet and outlet ports, 1 inch each, so I had to make sure my pipes fit. I used some thread seal tape around the threads to prevent any leaks – a real lifesaver, that tape. Then, I tightened the pipes to the housing with the wrench. Got to make sure it’s snug, but not too tight ’cause you don’t want to strip the threads.
After that, I popped the filter cartridge into the housing. It slid in pretty easily. Then I screwed the housing cap back on. Oh, and there’s this O-ring in the lip of the housing. I made sure that was seated properly. That’s what keeps the water from leaking out.
- Turned the water supply back on slowly.
- Checked for leaks.
- Saw the water filling up the housing.
- Watched the pressure gauge to make sure everything was within the normal range. It was, phew.
And that was pretty much it. I let the water run for a few minutes to flush out any air and debris. The water was noticeably clearer. Job well done, I’d say. And no leaks, which is always a good sign. It wasn’t too hard of a job, just had to make sure I followed the steps and didn’t rush anything. Now we got clean water, and I got to feel like a DIY champ for the day.
The whole house water filter system was ready.