One stop supplier of water treatment parts&accessories


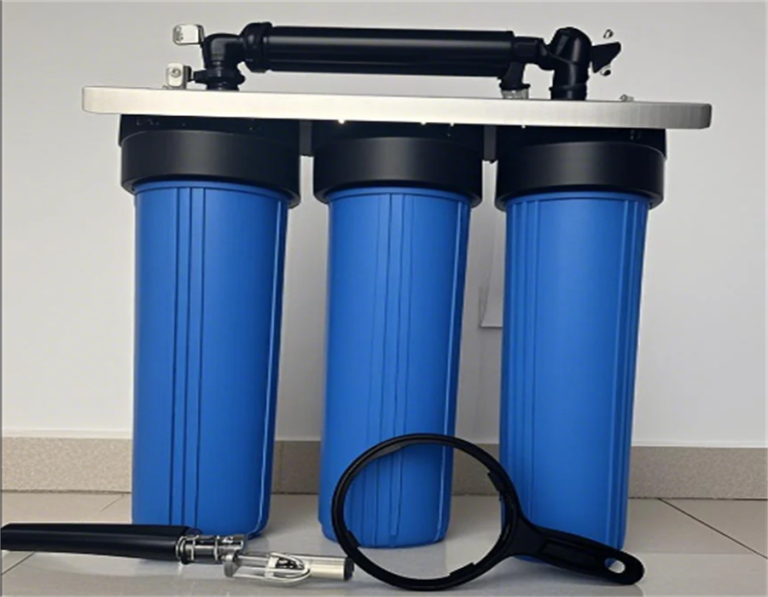
how to install whole house water filter?
Installing a whole house water filter involves several steps, and it’s crucial to follow the manufacturer’s instructions carefully. Here’s a general guide to help you through the process:
Preparation
Ensure you have all the necessary tools and parts provided by the manufacturer.
Choose a suitable location for the filter, ideally close to the main water shut-off valve and away from direct sunlight or freezing temperatures. The system should be installed upright.
Lay out the system in the appropriate configuration, as improper sequence of equipment may affect performance and could possibly damage your system.
Shutting Off the Water Supply
Locate the main water shut-off valve and turn it off to prevent water from flowing through the pipes while you work.
Drain any remaining water in the pipes by opening a faucet at the lowest point in your home.
Cutting and Connecting the Pipes
Cut the water line on the outlet side of the main shut-off valve, ensuring you do not cut the pipe between the valve and the ground or cement wall.
Use the supplied fittings to connect the whole house water filter to the cut pipe. Wrap the threads with Teflon tape to ensure a tight seal, but avoid over-tightening as it may cause leakage and broken fittings. Do not use pipe dope as it may void the warranty.
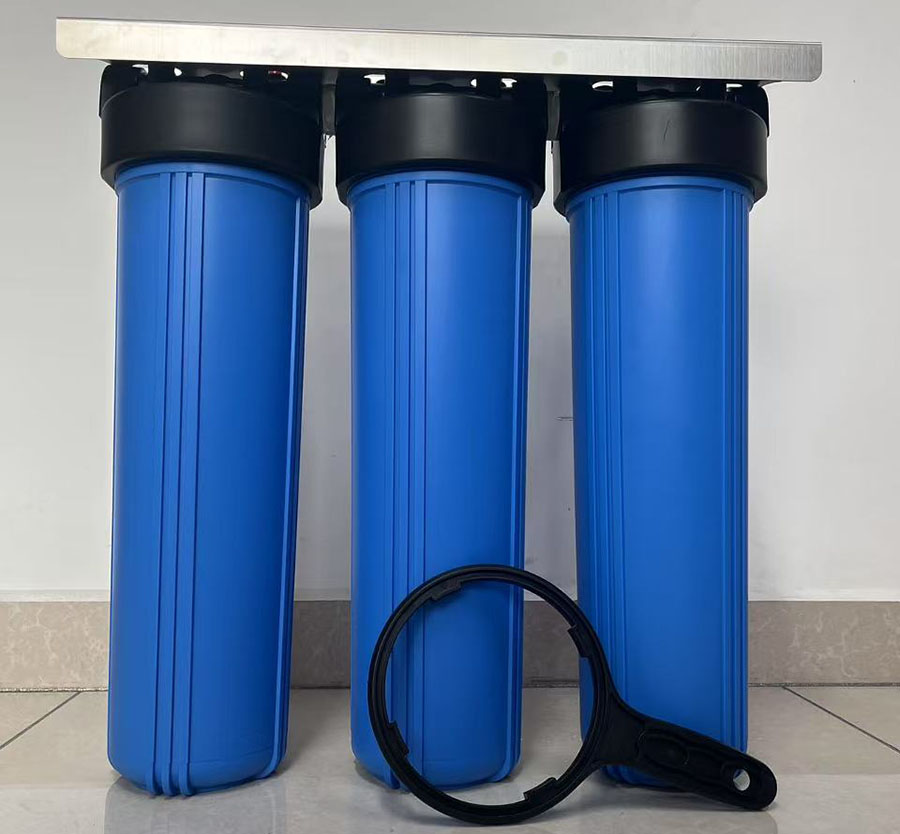
Installing the Filter
Follow the manufacturer’s instructions for installing the filter itself, including any brackets or supports needed to keep it in place.
Make sure the inlet piping assembly (valve, pre-filter, main filter unit, union, and nipples) is firmly braced and supported.
Preconditioning the Filter
Use a garden hose to flush out any air or small carbon particles left inside the filter during manufacturing. Attach the hose to the adapter supplied with the filter and run water through it for 2-5 minutes until the water flows clear.
Perform a “Surge Flushing” by turning the water on and off for 30-second intervals for 5-10 minutes to flush out any remaining carbon fines.
Turning the Water Back On
Once the filter is installed and all connections are secure, slowly turn the main water valve back on.
Inspect all connections for leaks and tighten any that may be loose.
Flushing the System
Open the faucet closest to the installed unit and allow water to run for at least 10 minutes to flush out any remaining air and debris from the plumbing system.
Final Checks
Ensure that all faucets and showerheads are working properly and that there are no signs of leaks.
Keep an eye on the filter’s performance over the next few days to ensure it is working as expected.
Please note that specific installation steps may vary depending on the model and brand of whole house water filter you purchase. Always refer to the manufacturer’s instructions for detailed guidance tailored to your particular system. If you are unsure about any step or feel uncomfortable performing the installation yourself, consider hiring a licensed plumber to ensure the job is done correctly.