One stop supplier of water treatment parts&accessories


Get Clean Water Fast: 3 Stage Big Blue Filter Set – What You Need to Know Now
Okay, so, the other day I decided it was finally time to do something about the water quality in my house. I’d been putting it off, but honestly, the tap water was starting to taste a bit… funky. Plus, I read somewhere that regular tap water can have all sorts of not-so-great stuff in it, so yeah, I figured it was time for an upgrade.
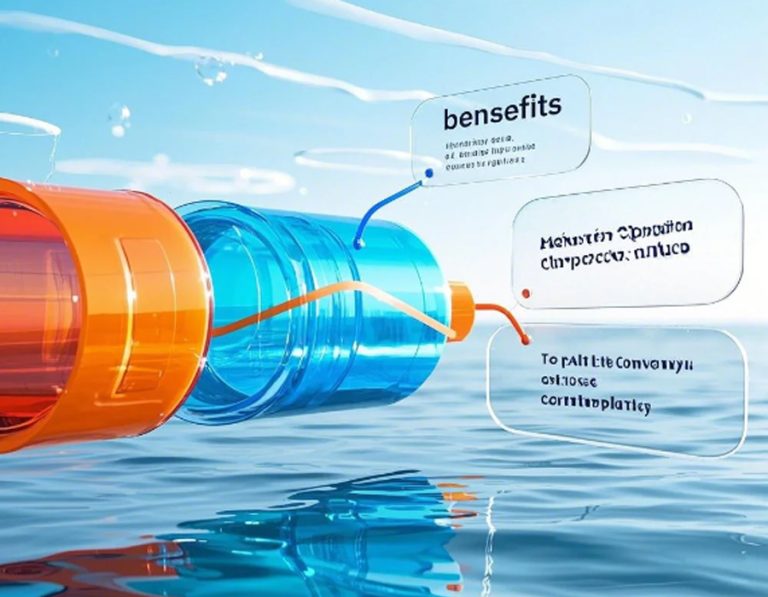
I did some digging around and ended up going for a 3-stage big blue filter set. Seemed like a solid choice – not too complicated, but still way better than just drinking straight from the tap. I’m no plumber, but I’m pretty handy, so I figured I could install it myself. Famous last words, right?
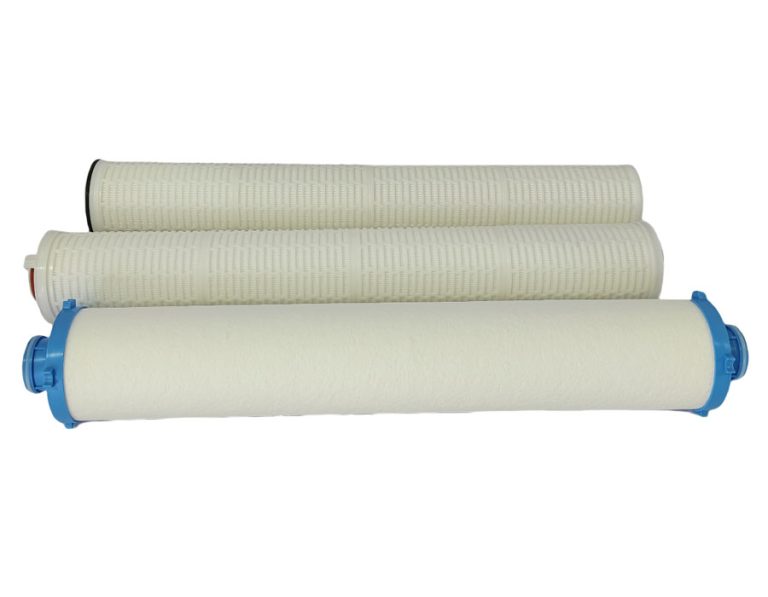
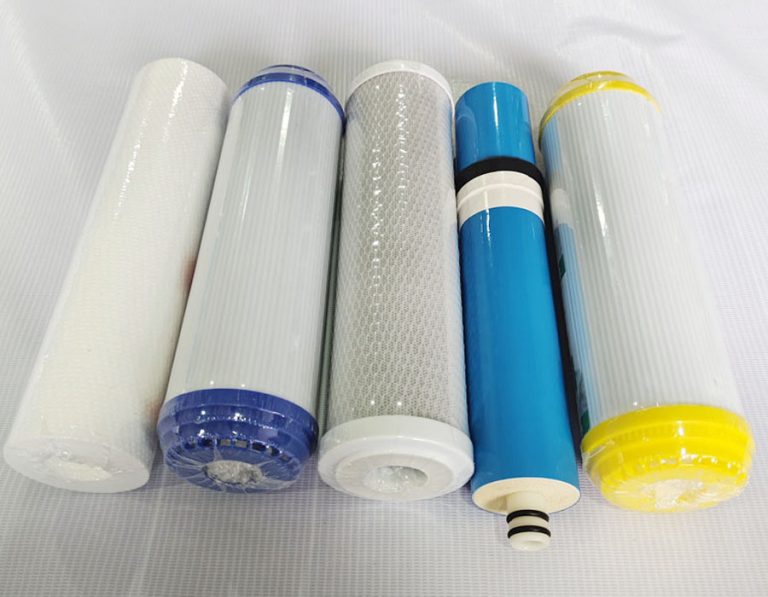
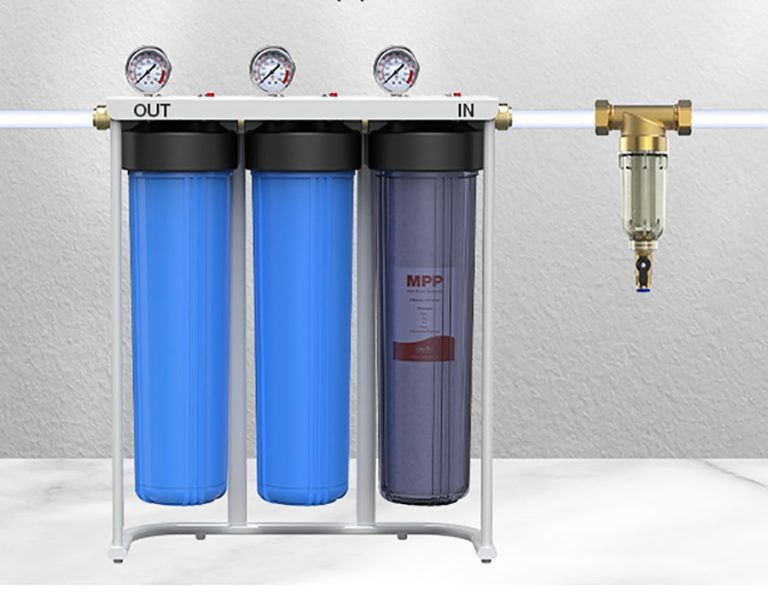
First, I gathered all the parts and tools. The filter set came with three big blue housings, a sediment filter, a carbon block filter, and a granular activated carbon filter. I also grabbed my toolbox with all the usual suspects – wrench, screwdriver, the works. The instructions seemed straightforward enough, so I got started.
Mounting and Connecting
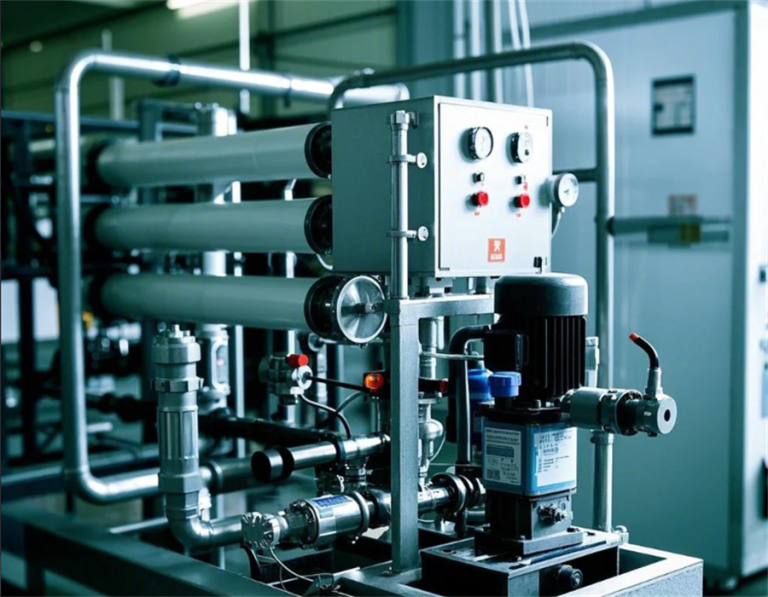
I turned off the main water supply to the house – that was step one, and I wasn’t about to skip it. Then, I found a good spot under the sink to mount the filter housings. I screwed them into the wall, making sure they were nice and secure. Next, I connected the filter housings to the main water line. This involved some pipe cutting and using some connectors to make sure everything was watertight. I’ll admit, this was the trickiest part. I was sweating bullets, worried I’d mess something up and flood the kitchen. But I took it slow, double-checked every connection, and somehow managed to get it all hooked up without any leaks.
Flushing and Finalizing
Once everything was connected, I screwed the filters into their respective housings. Each filter was clearly labeled, so I knew where to put them. And they were designed to take care of various water problems. The Meltblown sediment filter is for catching dirt, rust, and other things you can see. And then the carbon block filter and the granular activated carbon filter are for getting rid of chlorine and other chemicals. I felt a little sense of satisfaction as I tightened them into place.
Finally, I slowly turned the water back on, holding my breath. I checked for leaks again – nothing. Success! I let the water run through the filters for a few minutes, just like the instructions said, to flush out any loose carbon or sediment. At first, the water was a bit dark, which is normal, but it quickly cleared up.
- Gathered all parts and tools.
- Turned off the main water supply.
- Mounted the filter housings under the sink.
- Connected the filter housings to the main water line.
- Installed the filters into their housings.
- Turned the water back on and checked for leaks.
- Flushed the filters by running water through them.
Now, the water tastes so much better! It’s such a relief knowing I’m not drinking all that other gunk anymore. And I’m pretty proud of myself for tackling the installation on my own. It wasn’t the easiest DIY project, but definitely worth it. Plus, I probably saved some money by not calling a plumber. If you’re thinking about improving your home’s water quality, I’d say go for it! Just make sure you read the instructions carefully and have a little patience.