One stop supplier of water treatment parts&accessories


Need a 3 Stage Big Blue Water Filter? Get the Facts Here!(A Straightforward Guide)
Okay, so, I’ve been wanting to get our water situation sorted out for a while now. The tap water at my place? Not the best, let me tell you. After doing a bit of digging, I decided to go for a 3-stage big blue water filter. Sounded pretty legit and like it would do the trick.
Getting Started
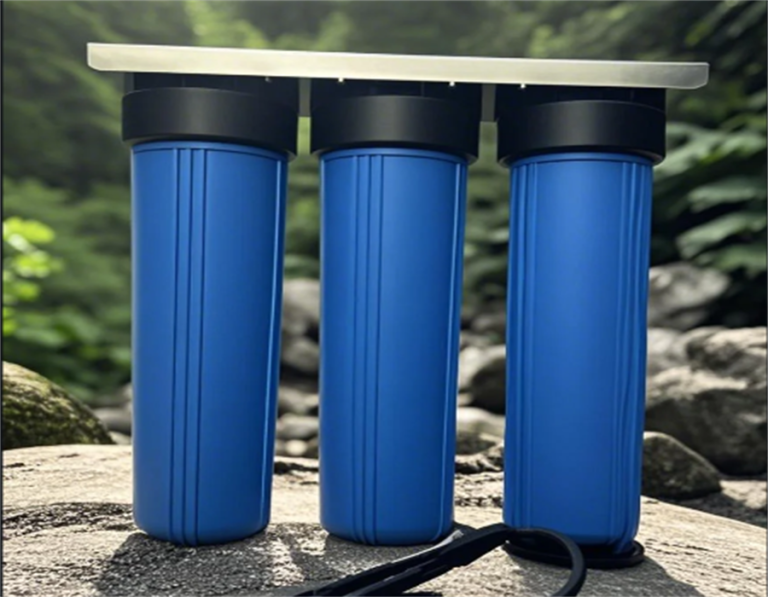
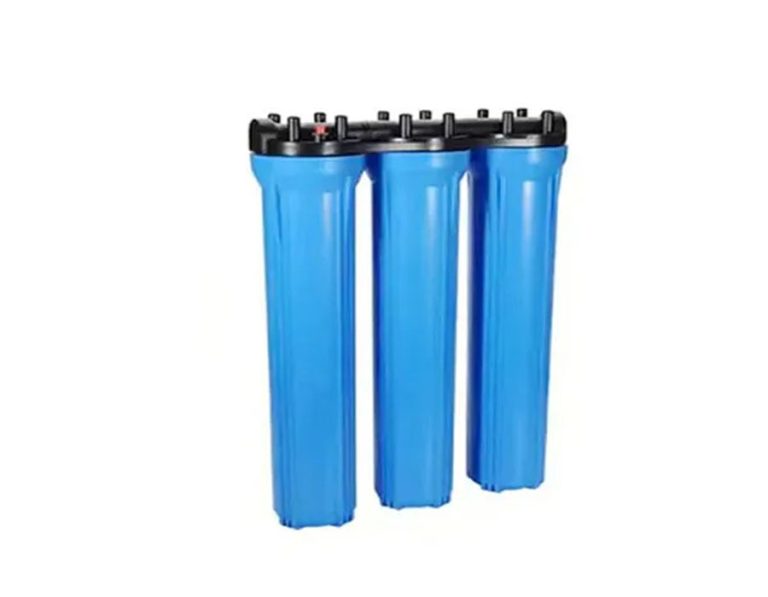
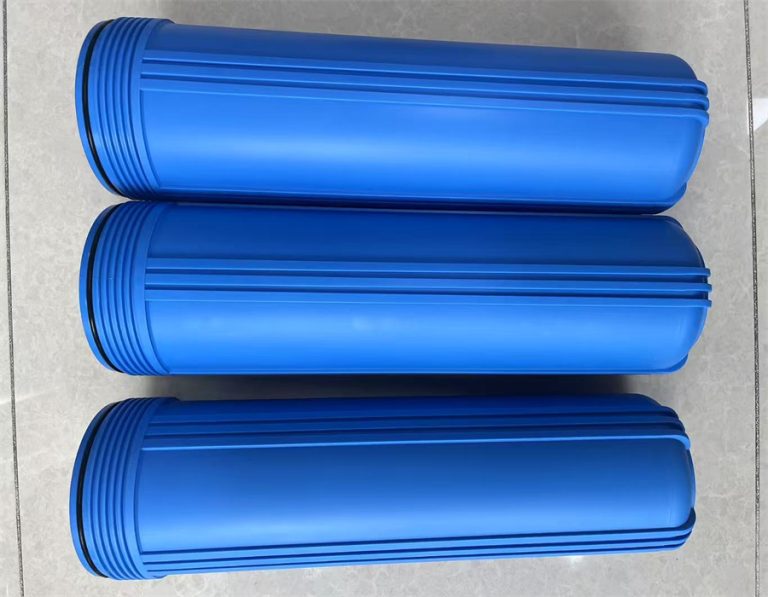
First things first, I had to gather all the stuff. The filters themselves, the big blue housings (they’re these big, kinda bulky containers, you’ll see), a mounting bracket, some tubing, and a spanner for tightening things up. I ordered everything online. Honestly, the hardest part was just making sure I got the right sizes and all that. It’s pretty clear that those filters could remove up to 99% of chlorine, chloramine, and other chemical contaminants along with sediment, rust, dirt, silt, pesticides, herbicides, VOCs. I chose the 3-stage type, which means it will have pre-filter, reverse osmosis filter, and a post filter or polishing filter.
Putting It Together
Once I had all my gear, it was time to get down to business. I started by finding a good spot to mount the bracket. I opted for under the sink because, well, it’s out of sight, and that’s where the main water line comes in. I followed the instructions that came with the bracket, and let me tell you, it wasn’t exactly rocket science. A few screws here, a few bolts there, and bam! Bracket mounted.
Next, I popped the filters into their housings. Each stage has its own specific filter, so you gotta make sure you put them in the right order. The first one is usually a sediment filter, then a carbon filter, and finally another carbon block filter or something similar. I did see that some of 3-stage filters even have UV light to kill bacteria and viruses.
Connecting It All Up
This is where it got a little tricky. I had to connect the tubing from the main water line to the first filter housing, then from that housing to the second, then to the third, and finally to a dedicated faucet I installed on the sink. It sounds more complicated than it is, really. I just followed the diagrams, cut the tubing to the right lengths, and used the little push-connect fittings to secure everything. I might have cursed a few times when I accidentally cut a tube too short, but hey, live and learn, right?
Testing It Out
Once everything was connected, I slowly turned the water back on, holding my breath. I was half expecting a leak or something to spray me in the face, but nope! It all held up. I let the water run through the system for a few minutes, just to flush out any dust or debris from the new filters. And then, the moment of truth: I filled up a glass from the new faucet.
The water? Crystal clear. And the taste? So much better! It’s like night and day compared to the tap water I was used to. No more weird chlorine smell or funny aftertaste. I’m also confident that there’s no bacteria, viruses, or other harmful things in my water now.
Honestly, I’m pretty proud of myself for pulling this off. It wasn’t the easiest DIY project I’ve ever done, but it was definitely worth it. Now, I can finally enjoy clean, great-tasting water straight from the tap, and that’s a pretty good feeling. Plus, I’m pretty sure I’m saving money in the long run by not having to buy bottled water anymore. Win-win!