One stop supplier of water treatment parts&accessories


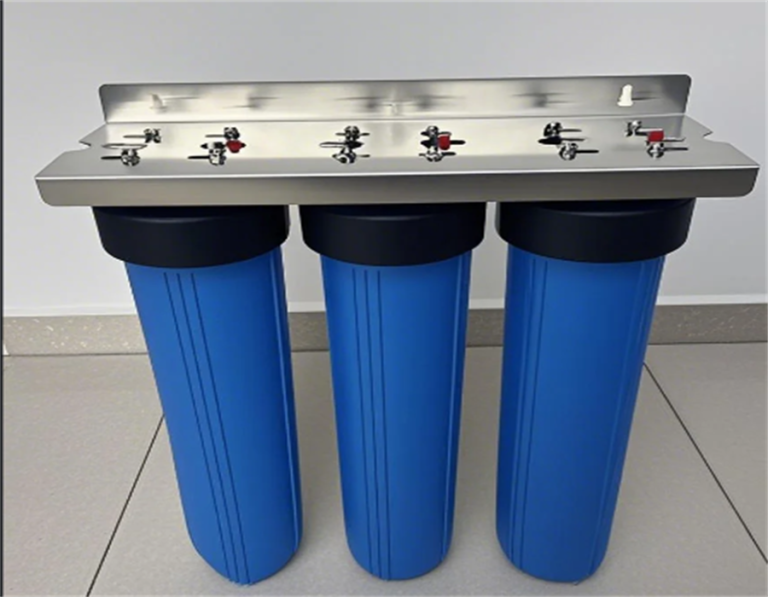
Big Blue 5 Micron Water Filter Benefits: Enjoy Better Tasting and Safer Water Now
Alright, folks, let me tell you about my little adventure with this Big Blue 5 micron water filter. You see, I’ve been having some trouble with the water at my place. It just didn’t taste right, and I was starting to get a bit worried about what might be lurking in there.
So, I started doing some digging around, you know, just browsing the web and reading up on water filters. And that’s when I stumbled upon this “Big Blue” thing. Now, I ain’t no expert, but the description sounded pretty good. It’s supposed to take out all sorts of nasty stuff, like sediment and whatnot, down to 5 microns. They even said that it’s pretty easy to install and that it can hold a lot of dirt, and 5 micron is like, really small – they compared it to 1/15th the size of a human hair! So I thought, “What the heck, let’s give it a shot.”
I ordered one online, and it showed up at my door pretty quick. First thing I did was inspect the filter housing. It’s pretty hefty, and the manufacturer says it should last about 10 years, which is reassuring. It’s also supposed to be easy to install, but you might need some basic plumbing skills. I got it all hooked up, which was a bit of a hassle, to be honest. I mean, I’m not the handiest guy around, but I managed to figure it out. It took me a good chunk of the afternoon, wrestling with pipes and fittings, but I finally got it installed.
-
Getting it ready:
I started by shutting off the main water supply to the house. This is important, folks – you don’t want water spraying everywhere.
-
Figuring out the right spot:
I had to find a good spot to install the filter housing. I chose a place in the basement near the main water line, where I had enough space to work.
-
Connecting the pipes:
This was the tricky part. I had to cut the main water line and connect the filter housing using the right fittings. I’m not gonna lie, it involved a few trips to the hardware store to get the right parts.
-
Mounting the housing:
Once the pipes were connected, I mounted the filter housing to the wall using the brackets that came with it. I made sure it was secure and level.
-
Inserting the filter:
Then came the star of the show – the 5-micron filter. I carefully placed it inside the housing, making sure it was seated properly.
-
Turning the water back on:
With everything in place, I slowly turned the main water supply back on and checked for leaks. Luckily, there were none!
And let me tell you, the difference was like night and day. The water tasted so much cleaner and fresher. It was like a whole new world. I even noticed that my coffee tasted better, which is a big deal for me. If your water tastes off, a reverse osmosis system might be the best bet. They’re supposed to remove just about everything, but they can be a bit pricey. It’s also good to learn about the water supply that you are using, if you use well water you might need finer filter than municipal water.
So, yeah, that’s my story about the Big Blue 5 micron water filter. It was a bit of a pain to install, but it was definitely worth it. If you’re having water quality issues, I’d say it’s worth checking out. Just make sure you’re comfortable with a little bit of DIY plumbing, or maybe call in a professional if you’re not feeling up to it. Stay hydrated, my friends!