One stop supplier of water treatment parts&accessories


DIY: Change Big Blue Water Filter in Minutes Without a Plumber
Alright, folks, let’s talk about the time I had to change my big blue water filter. It’s one of those household tasks that seems daunting at first, but once you get into it, it’s not so bad. So, here’s how it went down for me.
First off, I noticed the water pressure in my house was getting a little weaker than usual. Plus, the water started tasting a bit off. That’s when I knew it was probably time to take a look at the filter. I remembered seeing something about this on the manufacturer’s website. They had a video on changing the filter, but my setup was a bit different, so I had to improvise a little.
I started by gathering my tools. You don’t need much: a filter wrench (sometimes they come with the filter housing), a new filter cartridge, and maybe some plumber’s tape if you’re feeling fancy. Oh, and a bucket! Don’t forget a bucket to catch any spills.
Getting Down to Business
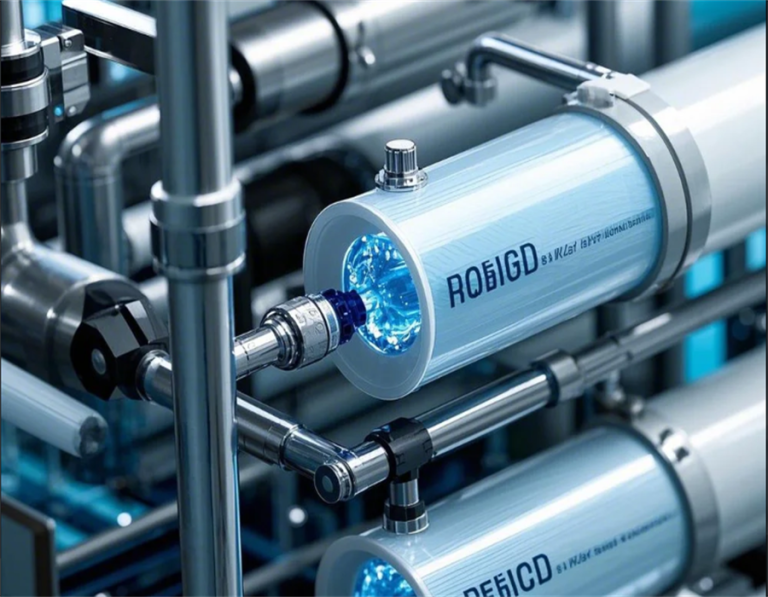
Next, I turned off the main water supply to the house. This is crucial, people. You don’t want a surprise shower while you’re working on your pipes. Then, I located the filter housing – it’s that big blue cylinder-shaped thing, hence the name “big blue.” There’s usually a pressure release button on top. I pressed that to relieve any built-up pressure. That’s very important, do not ignore that.
Here comes the slightly tricky part. I used the filter wrench to loosen the housing. It took some elbow grease, but eventually, it started to turn. I carefully unscrewed it the rest of the way, trying not to spill too much water. Pro tip: have that bucket ready!
Once the housing was off, I could see the old filter. It was, well, let’s just say it had seen better days. It was all gunky and discolored, definitely time for a replacement. I pulled out the old filter and gave the inside of the housing a quick wipe down, just to get rid of any lingering sediment.
The New Filter
Then, I took the new filter cartridge out of its packaging. I made sure it was the right size and type for my system. This is important, folks, don’t just grab any filter off the shelf. I carefully inserted the new filter into the housing, making sure it was seated correctly.
With the new filter in place, I screwed the housing back onto the system. I tightened it with the filter wrench, but not too tight – just snug. Then, I slowly turned the main water supply back on, keeping an eye out for any leaks.
Finishing Up
Once I was sure there were no leaks, I let the water run for a few minutes to flush out any air in the system. At first, the water might look a little cloudy or discolored, but that’s normal. It should clear up after a bit.
And that’s it! The water pressure was back to normal, and the water tasted clean and fresh again. It’s a pretty satisfying feeling, tackling a home maintenance task like this on your own.
So, if you’re thinking about changing your big blue water filter, don’t be intimidated. Just follow these steps, take your time, and you’ll be enjoying clean, filtered water in no time.