One stop supplier of water treatment parts&accessories


How to Change Big Blue Water Filter Yourself: Easy DIY Instructions
Okay, here’s my story about changing the big blue water filter.
So, the other day, I noticed the water pressure in my shower was getting weaker. It was like a sad little trickle instead of a powerful stream. I figured it was probably time to change the water filter – one of those big blue whole-house deals.
First things first, I gathered my supplies. I needed a new filter cartridge, of course, the right size to replace the old one. I also grabbed the filter wrench that came with the housing, a bucket, and some old towels cause, you know, water.
Next, I had to shut off the main water supply to the house. I found the main valve, usually near where the water line enters the house, and turned that bad boy clockwise until it stopped.
With the water off, it was time to relieve the pressure in the system. I went and opened up a faucet somewhere in the house. You can use the bathtub to open a faucet, usually the lowest one. This lets any built-up pressure out before you start unscrewing things.
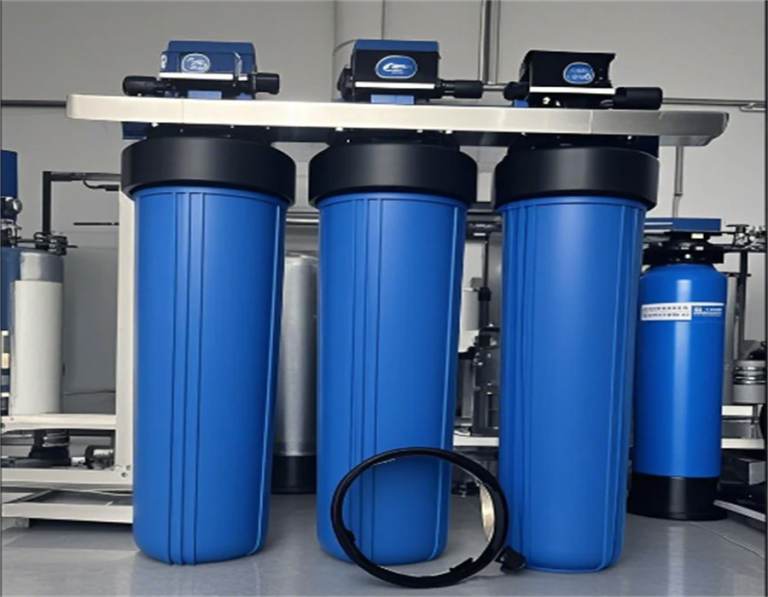
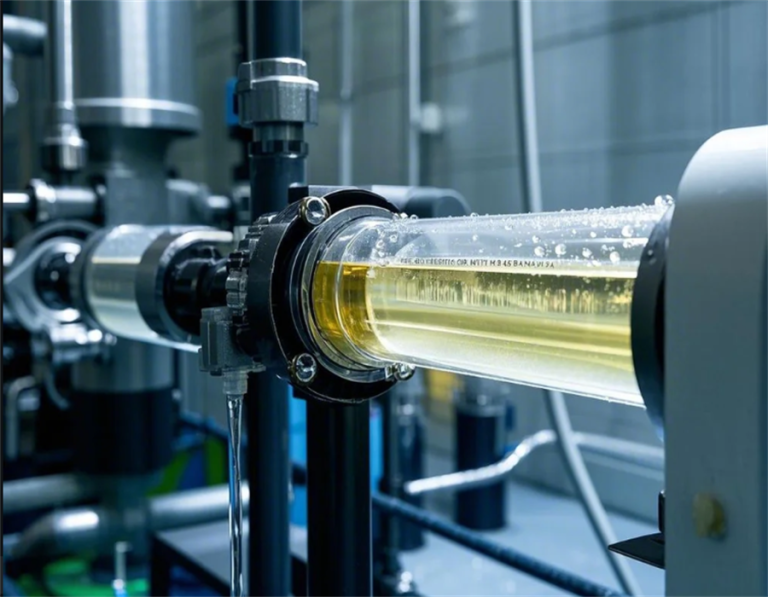
Now for the fun part. I positioned the bucket under the filter housing to catch any spills. Then, I took the filter wrench and loosened the housing. It’s usually a big blue canister thing. Mine was on there pretty tight, so I had to put some muscle into it.
Once I got the housing loose, I carefully unscrewed it the rest of the way by hand. Water started pouring out, so I made sure that bucket was in the right spot. I pulled out the old filter cartridge, and man, it was gross! All kinds of gunk and sediment. No wonder my water pressure was bad.
I gave the inside of the housing a quick rinse with some clean water, just to get rid of any loose debris. Then, I popped the new filter cartridge in, making sure it was seated correctly.
Next, I carefully screwed the housing back on, making sure not to cross-thread it. I hand-tightened it first, then gave it a final snug with the filter wrench. Don’t overtighten, or you might crack the housing.
Almost done! I slowly turned the main water supply back on, keeping an eye out for any leaks. Once the water was back on, I let it run for a few minutes to flush out any air in the lines and make sure the new filter was working properly.
The Results
- Water pressure: Back to normal, like a fire hose!
- Water clarity: Crystal clear, no more weird sediment.
- Shower experience: Amazing! No more wimpy water flow.
So, yeah, that’s how I changed my big blue water filter. It wasn’t too hard, just a little messy. But the results were totally worth it. Now I can enjoy a nice, strong shower again. Mission accomplished!