One stop supplier of water treatment parts&accessories


How to replace big blue water filter quickly, easy steps for beginners!
Okay, so, I needed to replace the big blue water filter in my house. It’s one of those things you don’t think about until it’s time to do it, and then you’re like, “Wait, how do I actually do this?” So, I figured it out, and I thought I’d share my experience here, just in case someone else is scratching their head over the same thing.
Getting Started
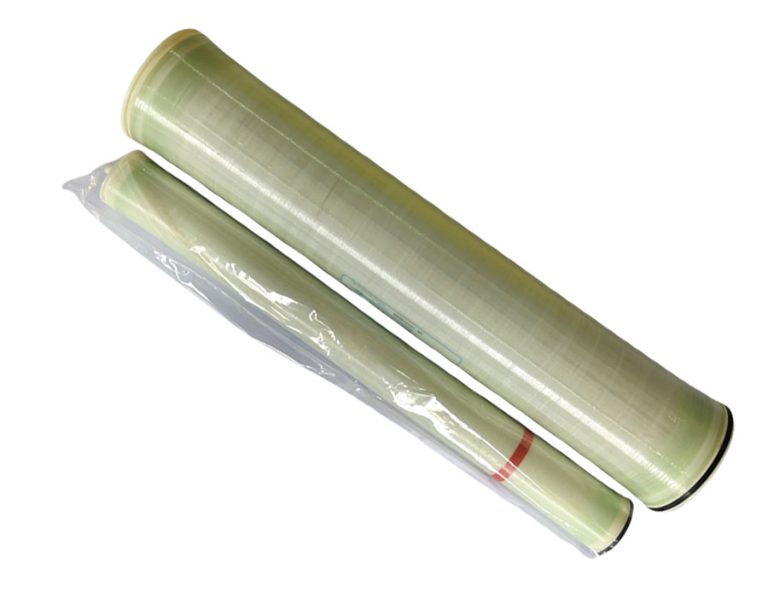
First things first, I made sure I had the right replacement filter. You don’t wanna get halfway through and realize you’ve got the wrong one. That’s a headache and a half. I double-checked the model number and everything.
- Turn off the water: This is a biggie. I located the main water shut-off valve for my house and turned it all the way off. No water, no mess.
- Release the pressure: There’s usually a pressure release button on the filter housing. I pressed that to let out any built-up pressure. It’s kind of like letting the air out of a tire, but with water.
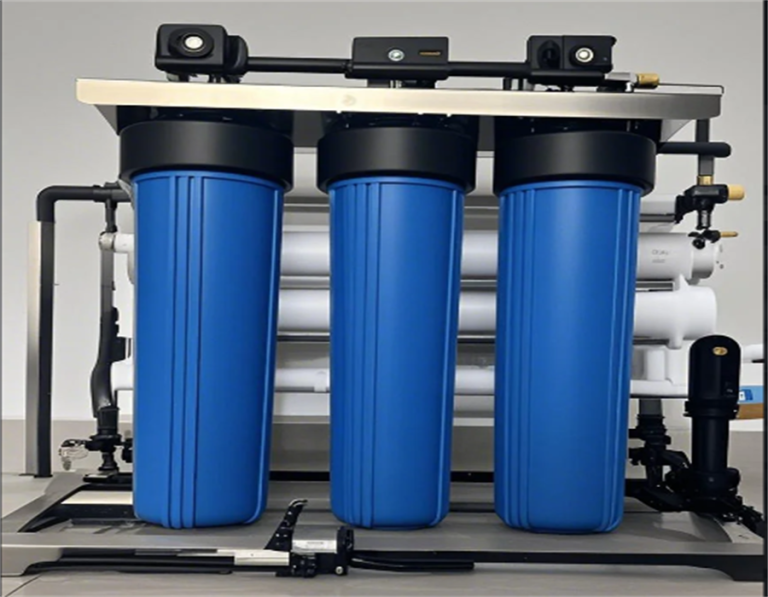
Taking Out the Old Filter
Next up, I got down to business with removing the old filter.
- Unscrew the housing: I grabbed the filter wrench that came with my system. It’s this big, plastic, circular thingy. I fit it around the filter housing and turned it counterclockwise. It took a bit of muscle, but eventually, it loosened up.
- Remove the old filter: Once the housing was off, I carefully pulled out the old filter. It was pretty gunked up, which just confirmed I was doing the right thing by replacing it.
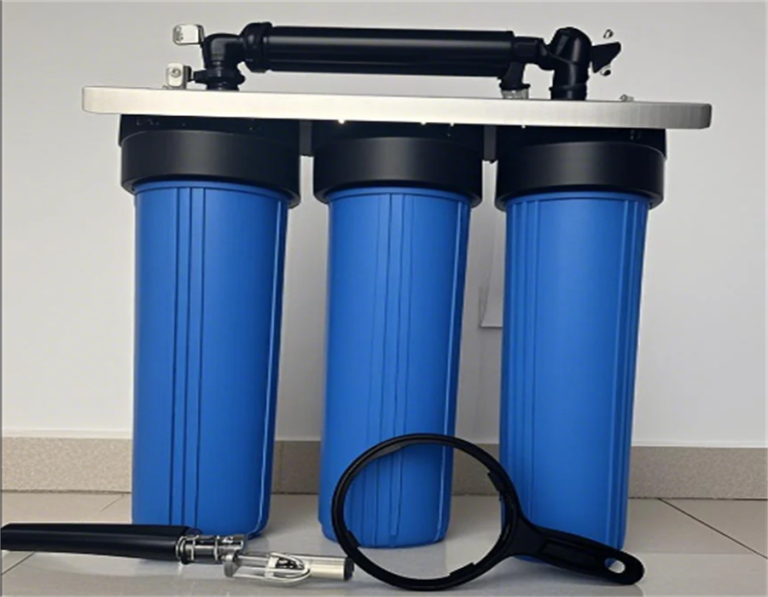
Putting in the New Filter
With the old filter out, it was time to put in the new one.
- Check the O-ring: There’s this rubber ring inside the housing that makes sure everything is sealed tight. I made sure it was clean and not damaged. Sometimes you gotta replace these, too, but mine looked okay.
- Insert the new filter: I slid the new filter into the housing, making sure it was centered and snug.
- Screw the housing back on: I put the housing back on and tightened it with the wrench, going clockwise this time. I made sure not to overtighten it. Just snug enough so it wouldn’t leak.
Finishing Up
Almost done! Just a few more steps to wrap it up.
- Turn the water back on: I slowly turned the main water valve back on, keeping an eye out for any leaks around the filter housing.
- Check for leaks: No leaks! Success!
- Flush the system: I ran the water from a few faucets for a few minutes to flush out any air or loose sediment from the new filter.
And that’s it! I replaced my big blue water filter. It wasn’t as hard as I thought it would be. Just gotta take it step by step. Hopefully, this little walkthrough helps someone else out there. It’s not rocket science, but it’s definitely one of those things that seems daunting until you actually do it. Now that I have done it once, the next time won’t be a big deal.