One stop supplier of water treatment parts&accessories


10 big blue water filter housing: easy installation and maintenance tips for you!
Okay, here is my sharing about the 10 big blue water filter housing installation, I hope you guys find it helpful!
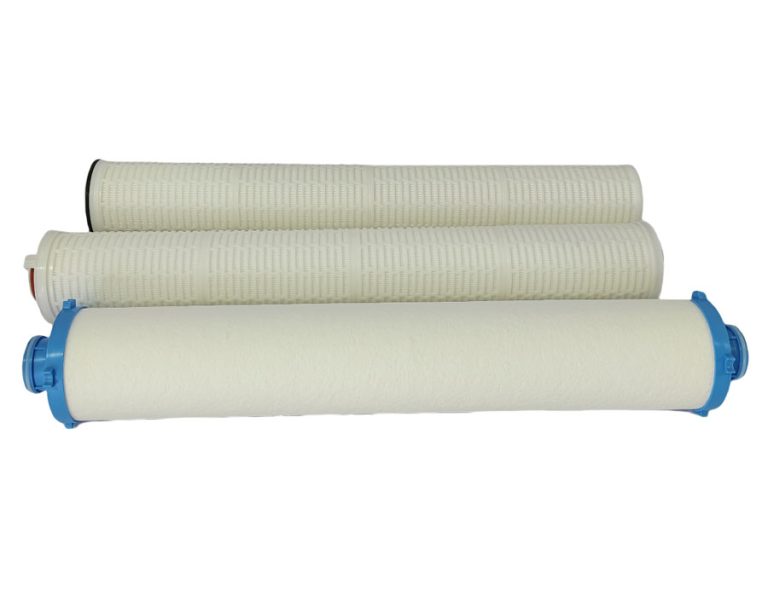
So, I decided to get one of those big blue 10-inch water filter housings. You know, the whole house type, to make sure all the water in my house is clean. I got it from a local store, and it came with the housing, a blue sump, and a pressure relief valve. There was a bacteriostatic filter centralizing ring inside, which sounds fancy, but I am not sure what it does, and some instructions. I also got a single PP cartridge, since the housing is a universal size, it should be easy to find replacements later. I thought, alright, let’s do this!
First things first, I turned off the main water supply to the house. Safety first, right? Then, I opened a faucet that’s after where I planned to install the filter to release any pressure in the lines. I cleared out the area where I was going to put the housing.
- I picked a spot in my basement where the main water line comes in. The cap of the housing is marked with “IN” and “OUT,” so I made sure I knew which way the water should flow. It’s pretty straightforward, inlet on one side, outlet on the other. I grabbed my tools – a wrench, some Teflon tape, and a few fittings since the inlet and outlet on this thing are 1 inch.
- Next, I put some Teflon tape around the threads of the fittings to make sure there are no leaks. I screwed the fittings into the “IN” and “OUT” ports on the housing cap. I connected the “IN” side to the main water line and the “OUT” side to the pipe that goes to the rest of the house. Tightened everything up with my wrench.
- Before I put the sump with the filter cartridge back on, I made sure the O-ring was seated properly. Then, I carefully screwed the sump back onto the housing cap. I didn’t overtighten it, just enough so it was snug.
Once everything was connected, I slowly turned the water back on. I held my breath, waiting for any leaks. Thankfully, there were none! I pressed down on the pressure relief valve to let out any trapped air. Opened up a few faucets to get the water flowing through the new filter. At first, the water was a little cloudy, but it cleared up pretty quickly.
And that’s it! Now I’ve got filtered water throughout the whole house. It wasn’t too hard of a job, took me about an afternoon. I felt pretty good about doing it myself and saving some money on plumber fees. If you’re thinking about installing one of these, just make sure you follow the instructions and take your time. It’s a pretty satisfying DIY project, I gotta say. The water tastes better, and I am happy I finally did it!