One stop supplier of water treatment parts&accessories


Get the Best Water Quality: A Deep Dive into the Pentek Big Blue 3/4 Inch NPT Filter.
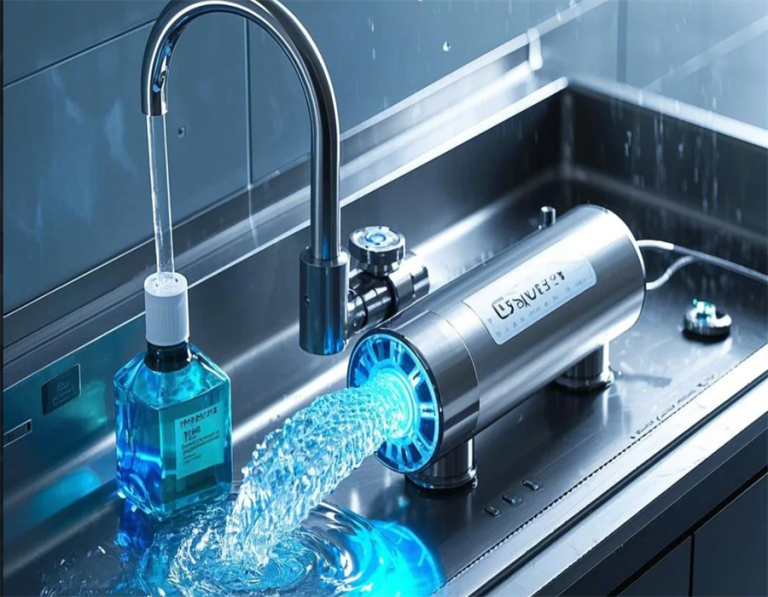
So I decided to get myself a water filter, the Pentek Big Blue, specifically with 3/4 inch NPT, the whole shebang.
Getting Started
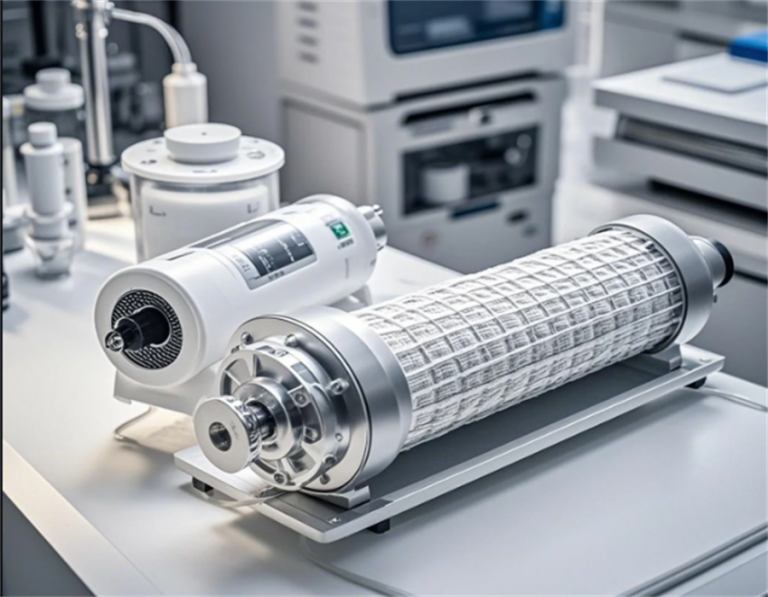
First off, I grabbed the filter housing. It was pretty hefty, solid feeling, you know? Not some flimsy plastic thing. I also picked up the mounting bracket ’cause, well, I needed to hang this thing somewhere, right?
Mounting the Bracket
I found a good spot in my basement, near the main water line. Used a stud finder to make sure I was hitting something solid. Marked the spots for the screws, drilled some pilot holes, and then screwed that bracket in nice and tight. Felt pretty good about that part, not gonna lie.
Attaching the Filter Housing
Next, I lifted the filter housing and lined it up with the bracket. There were these little tabs that fit right into the bracket slots. Gave it a little push, and it clicked into place. Felt really secure, like it wasn’t going anywhere.
Prepping the Connections
Now for the plumbing part. I turned off the main water valve, obviously. Don’t want any unexpected showers. Then I cut the main line where I wanted to install the filter. Used a pipe cutter for that, made a nice clean cut.
Connecting the Fittings
I used some thread sealant tape on the threads of the NPT fittings. Wrapped it around a few times, making sure it was snug. Then I screwed the fittings into the filter housing inlet and outlet. Tightened them up with a wrench, but not too much, you know? Don’t want to crack anything.
Connecting to the Main Line
This was probably the trickiest part. I had to connect the filter housing to the main line using some copper pipes and fittings. Measured and cut the pipes to the right length. Then I used some solder and a torch to connect everything together. It was a bit of a learning curve, but I got it done. No leaks, which was a huge relief.
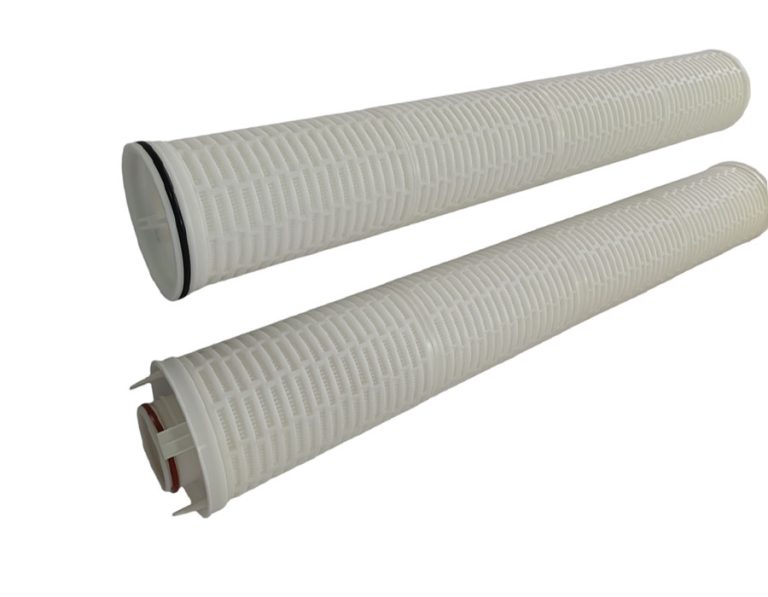
Installing the Filter Cartridge
Almost there! I took the filter cartridge out of its packaging. It was a big one, looked like it could handle some serious filtering. I dropped it into the housing and screwed the housing cap back on. Tightened it by hand, and then gave it a little extra turn with the wrench that came with the kit.
Turning the Water Back On
Finally, the moment of truth. I slowly turned the main water valve back on, keeping an eye out for any leaks. Nothing! Success! I ran the water for a few minutes to flush out any air or debris from the system.
And that’s it! Water’s flowing through the filter, and it tastes noticeably better. Plus, I feel pretty good about doing it all myself. It was a bit of work, but totally worth it.