One stop supplier of water treatment parts&accessories


Pureplus water filter 5 micron big blue sediment: Is it worth buying? Heres the truth!
Okay, so, I’ve been meaning to get a better water filter for my place. You know, the tap water where I live isn’t the greatest. It’s got this weird taste, and I’m pretty sure there’s a bunch of stuff in it that I don’t want to be drinking. So I did some digging around, asked some friends, and the “PurePlus Water Filter 5 Micron Big Blue Sediment” kept coming up.
So first, I went ahead and ordered it. After a couple of days, the package showed up. It’s this big blue thing, kinda heavy. I’m no plumber, but I figured I could handle installing it myself. I mean, how hard could it be, right?
I cleared out the space under my sink, which was kind of a mess, to be honest. There were cleaning supplies, old sponges, and a bunch of other junk. Then, I started reading the instructions, I looked at a couple of videos online, just to make sure. They seemed simple enough at first, but there were a few parts where I got a bit confused. Like, which way does the water flow again? And what’s this little wrench for?
Here’s what I did, step-by-step:
- Turned off the main water supply. This was pretty important, obviously. Didn’t want a flood under my sink!
- Disconnected the old pipes. This was a bit tricky. I needed a couple of different sized wrenches. And, of course, I got splashed a little.
- Mounted the filter housing. The filter came with screws and brackets. I found a good spot on the wall under the sink and drilled some holes. Got it nice and secure.
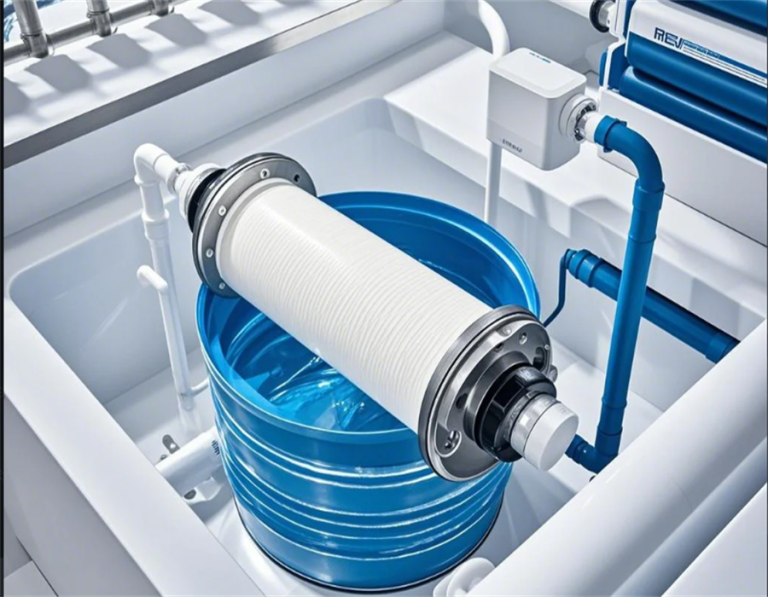
- Put the filter cartridge in the housing. This was easy, it just slides right in. The filter itself is white and cylindrical, with these tiny little holes all over it. That’s the 5-micron part, I guess, that’s supposed to catch all the tiny bits of sediment.
- Connected the new pipes to the filter. This part took the longest. I had to make sure everything was tight and lined up correctly. Used some of that white tape, Teflon tape, I think it’s called, on the threads to prevent leaks.
- Turned the water back on slowly. Held my breath for a second, hoping I didn’t mess anything up. Checked for leaks, and… nothing! Success!
After I got it all set up, I ran the water for a few minutes, like the instructions said, to flush out any loose stuff. The first few glasses were a little cloudy, but then it cleared up. And you know what? The water tasted way better. No more weird chlorine taste, and it just felt cleaner somehow.
Final Thoughts
Honestly, I’m pretty proud of myself for doing this. It wasn’t as hard as I thought it would be, although it did take me a good few hours. But now, I have clean, filtered water straight from the tap, and I don’t have to worry about what I’m drinking anymore. Plus, I saved a bunch of money by not calling a plumber! If you’re thinking about getting a water filter, I definitely recommend this one. Just make sure you’re ready to get your hands a little dirty!