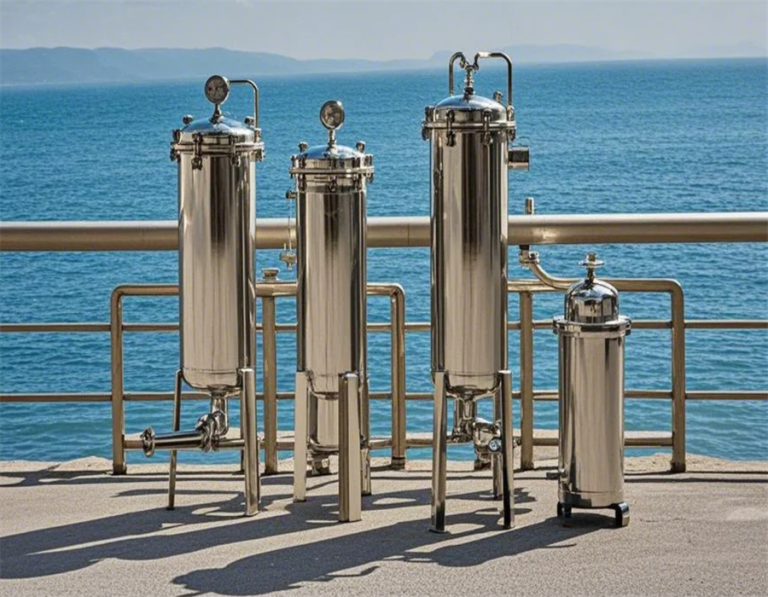
One stop supplier of water treatment parts&accessories


Submersible UV sterilizer maintenance: Easy steps to keep it working its best!
Alright, let’s talk about my recent little project – setting up a submersible UV sterilizer. I’ve been having some issues with my aquarium, and nothing seemed to work, so I thought, why not give this UV thing a try?
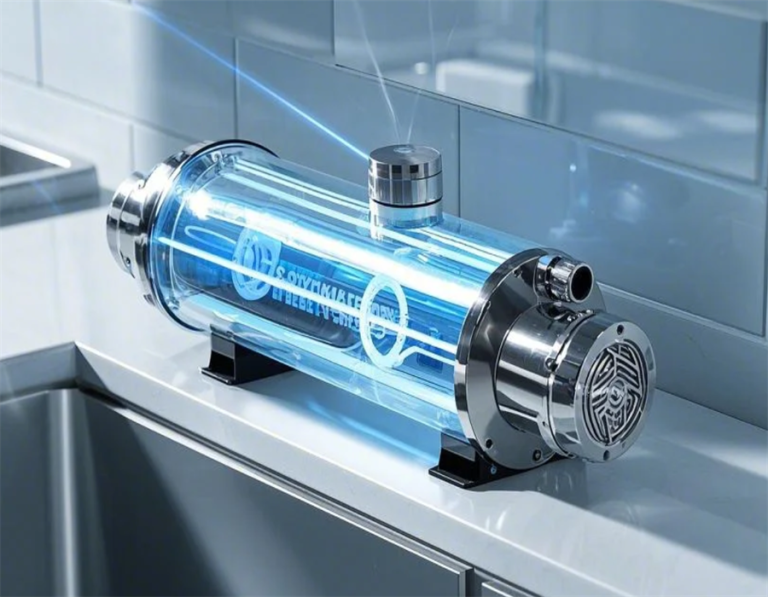
First off, I started by picking out a sterilizer. I didn’t want anything too crazy, just something that would fit my tank and do the job. After looking around, I found one that seemed decent, and it was a submersible type, which I thought was kind of cool. It was a simple UV-C lamp with a wavelength of 253.7 nm, designed to eliminate nasty stuff like bacteria and viruses.
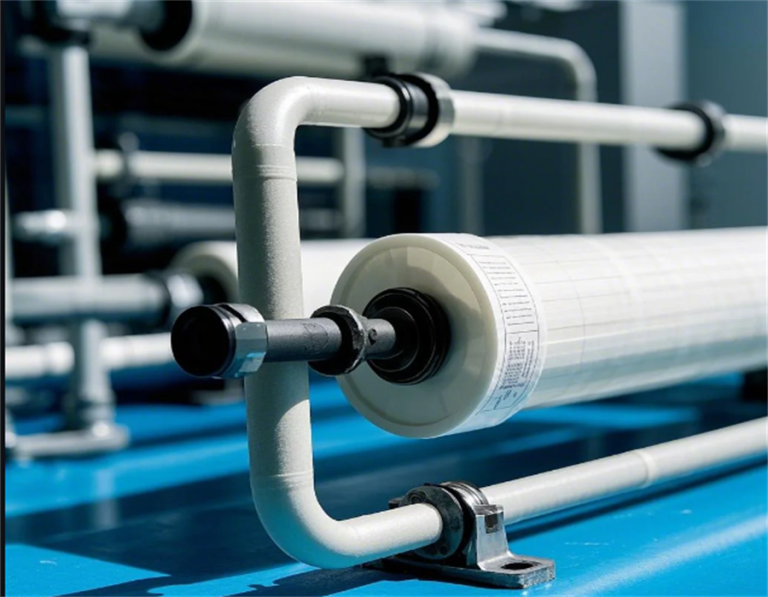
Once I got the sterilizer, the next step was to install it. I made sure to read the instructions, even though I usually just jump right in. It seemed pretty straightforward. I placed the sterilizer inside the tank, secured it with the suction cups, and made sure it was fully submerged. It was designed with a coating on the lamp sleeve, so even if it broke, I wouldn’t have to worry about glass shards in the water. Good thinking, right?
- Placed the sterilizer in the tank
- Secured it with suction cups
- Ensured it was fully submerged
Next, I plugged it in and turned it on. There was this soft blue glow, which made me think it was actually working. I left it running for a few hours each day. The idea was to let the water circulate through the sterilizer, so the UV light could do its thing and zap all the bad microorganisms.
After a few days, I started to notice a difference. The water looked clearer, and the algae that had been bugging me seemed to be under control. I checked the water quality a couple of times, and the parameters were looking good. No more spikes in ammonia or anything weird.
Maintenance
Now, keeping this thing running smoothly is important. I learned that regular maintenance is key to keeping the sterilizer working effectively. It’s like taking care of any other equipment – if you don’t maintain it, it’s not going to last long or work well.
So, I make it a point to check the sterilizer every week. I look for any signs of wear and tear, make sure the lamp is clean, and check that the water flow is not obstructed. It’s a quick process, but it makes a big difference.
I also learned that spotting early signs of issues is important. It helps prevent major downtime, which is a fancy way of saying it helps avoid things breaking down when you need them the most. Just like taking your car for a regular check-up, it’s all about preventing problems before they start. This approach ensures safe and effective operation, reducing the risk of contamination of sterile items.
Overall, setting up and using the submersible UV sterilizer has been a positive experience. It’s simple, effective, and doesn’t take up much of my time. Plus, it gives me peace of mind knowing that my tank’s water is clean and healthy for my fish. If you’re having similar issues with your aquarium or any water setup, maybe give one of these UV sterilizers a try. It worked for me, and it might just work for you too!