One stop supplier of water treatment parts&accessories


How to Change a UV Sterilizer Bulb? Easy Steps for UV Sterilizer Bulb Replacement.
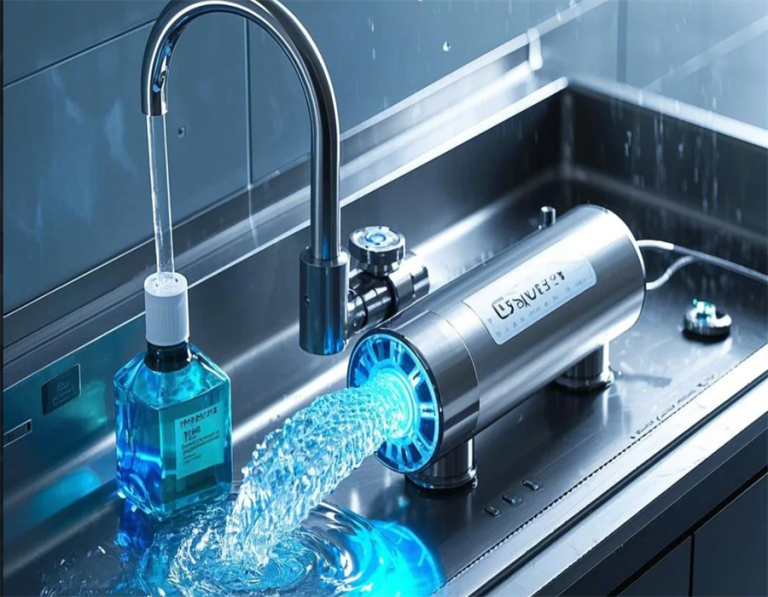
Okay, so, I’ve got this UV sterilizer, you know, the kind you use for water or maybe in a towel warmer. Anyway, the bulb went kaput and I needed to replace it. Figured it couldn’t be that hard, right? Here is what i did.
First, I switched off the sterilizer and unplugged it. Safety first and all that jazz. I mean it is a ultraviolet light, we must care about the safety, right? No need for any accidents, especially with electricity and ultraviolet rays. I also found some gloves, just to avoid touching the new bulb directly. My friend told me that’s a no-no.
Next, I took a look at the sterilizer unit. Mine has this cover that you need to remove to get to the bulb. It was pretty straightforward, just a few screws. After removing that cover, located the old, busted bulb.
Remove and Replace
- Removed the old bulb: It was one of those twist-and-pull types. Gave it a gentle twist, and it popped right out. Easy peasy.
- Slotted in the new bulb: Getting the new bulb in was just as easy. Lined up the pins, gave it a little twist, and it locked into place. Done!
Once the new bulb was in, I put the cover back on and screwed everything back together. Plugged the sterilizer back in, flipped the switch, and bam! We had light! Worked like a charm.
Honestly, the whole thing was way easier than I expected. Took me maybe 15 minutes, tops. If you’ve got a UV sterilizer and the bulb goes out, don’t be scared to replace it yourself. It’s a simple job, really. Just remember to unplug the thing first! This is important. Also, keep in mind that if you are working with a water system, you might need to wait a bit for the water to be sterilized again. No biggie.
Anyway, that’s my little DIY adventure for the day. Hope this helps someone out there!