One stop supplier of water treatment parts&accessories


Chlorine Dosing Pump Setup: Easy Steps to Get It Running
Okay, so today I wanna talk about setting up a chlorine dosing pump. It’s something I recently did, and I figured I’d share my experience, bumps and all.
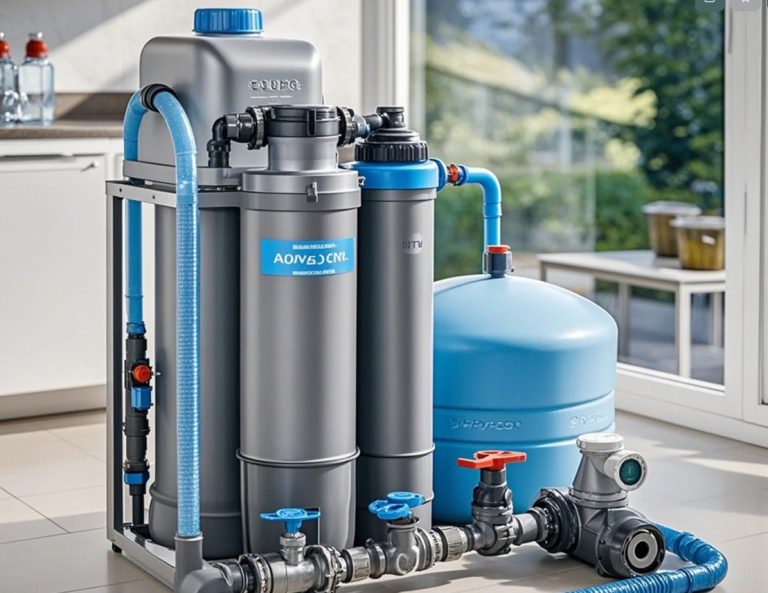
First off, I had to figure out where to even put this thing. The instructions said to find a “firm and level ground.” Sounds simple enough, right? Well, my space is a bit of a mess, so finding a spot that was both firm AND level took some doing. I ended up clearing out a corner and using some spare tiles to make sure the pump would sit right. Stability is key, folks. You don’t want this thing vibrating all over the place or tipping over.
Then came the fun part – figuring out how much chlorine to actually use. I came across some info online that mentioned something about calculating the dosing amount based on how much water I have. I mean, it’s good information, but i just want to use my new machine. It said for every 57 liters of water, use something. I’ve got a big tank, so I had to do some quick maths. Honestly, I’m not the best at maths, so I double-checked my calculations like three times.
I also read something about “injection units” for chlorine solution. Apparently, these are used with some fancy “Vaccuperm” systems. Mine isn’t that high-tech, so I didn’t worry about that too much. My setup is pretty basic – just injecting the chlorine solution directly into the water line. That’s where it mixes with the water.
- Find a stable spot: This is crucial. You don’t want your pump shaking around.
- Calculate chlorine amount: You need to figure out how much chlorine to use based on your water volume.
- Set up the injection: Make sure the chlorine is going where it’s supposed to, usually into the water line.
The Purpose
All this fuss is about killing off the bad stuff in the water. You know, like manganese or virus. I’m not a scientist, so I’m not gonna pretend I know all the details. But I do know that I want my water to be safe, and chlorine helps with that.
The whole process took me longer than I expected, mainly because I was being extra careful. I didn’t want to mess anything up and end up with a bigger problem on my hands. I also wanted to make sure i set it up correctly.
So, yeah, that’s my little adventure with setting up a chlorine dosing pump. It wasn’t exactly a walk in the park, but I got it done. And hey, now I’ve got one less thing to worry about. If any of you are thinking about doing something similar, hopefully, my experience can give you a bit of a heads-up. It’s not rocket science, but it does take a bit of planning and some good old-fashioned elbow grease. Just remember to stay safe and double-check everything, especially those chlorine calculations!