One stop supplier of water treatment parts&accessories


Best whole house water filter replacement cartridge: Reviews and buying guide!
Alright, so the water in my house started tasting a bit funky, and I figured it was time to swap out the filter cartridge in my whole house water filter. I’m no plumber, but this seemed like a manageable DIY project, so I rolled up my sleeves and got to it.
Gathering Supplies
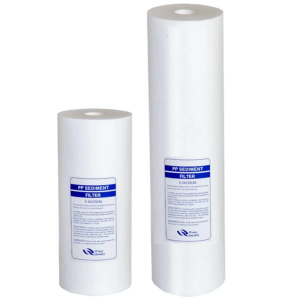
Best whole house water filter replacement cartridge,First things first, I needed to gather my supplies. I already had a replacement cartridge on hand – I made sure to get the right size and type for my filter housing. You definitely don’t wanna mess that up. Here’s what else I grabbed:
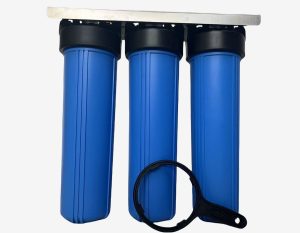
- Wrench – The one that came with the filter housing.
- Bucket – To catch any spills. Learned that lesson the hard way once…
- Old towel – For general cleanup. This can get messy.
- New O-ring – Sometimes these come with the new cartridge, sometimes not. Better safe than sorry.
Shutting Off the Water
Next, I shut off the main water supply to the house. You DO NOT want to skip this step. Trust me. Usually, the main shut-off valve is somewhere near where the water line enters your house. Mine’s in the basement near the water heater. Turned that bad boy to the “off” position.
Releasing the Pressure
Even with the water off, there’s still pressure in the lines. To release it, I turned on a faucet somewhere in the house (I used the one in the kitchen) until the water stopped flowing. Just a trickle at the end is normal.
Removing the Old Cartridge
Now for the main event. I positioned my bucket under the filter housing and used the wrench to loosen it. It unscrews counterclockwise, just like most things. Once it was loose enough, I carefully unscrewed it the rest of the way by hand, trying not to make too much of a mess. Inside was the old, gunky cartridge. I pulled that out and tossed it.
Cleaning and Installing
With the old cartridge gone, I gave the inside of the housing a quick wipe down with my old towel. Then, I popped the new O-ring onto the housing (after taking the old one off). Finally, I carefully placed the new filter cartridge into the housing, making sure it was seated correctly, and screwed the housing back onto the filter assembly. I tightened it by hand first, then gave it a final snug with the wrench. Don’t overtighten, or you might crack it.
Turning the Water Back On
Almost done! I slowly turned the main water supply back on, keeping an eye out for any leaks around the filter housing. While I was at it, I turned the kitchen faucet back on to let the water run for a few minutes. This helps flush out any air or loose sediment in the new filter.
And that’s it! Water tasted fresh and clean again. Not a bad way to spend a Saturday afternoon, and I saved myself a plumber’s bill. If I can do it, anyone can. Just be sure to double-check you have the correct replacement cartridge, and remember to turn off that water! You’ll be good to go. It was pretty easy, and now my family can enjoy some good clean water.