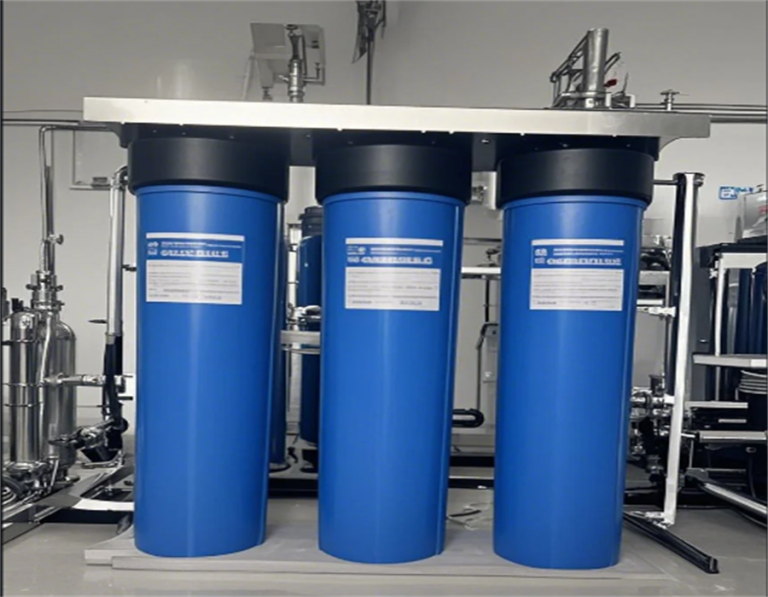
One stop supplier of water treatment parts&accessories


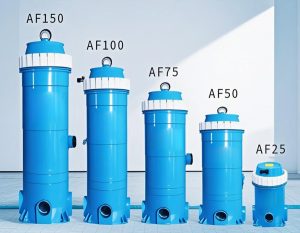
Need Hayward Pool Filter Cartridges? Best Replacement Options!
Okay, here’s my blog post about replacing Hayward pool filter cartridges, written in the style you requested:
Alright, so my pool was starting to look a little… funky. You know, that slightly cloudy, not-so-sparkly look? Yeah, time to tackle the filter cartridges. I’ve got a Hayward system, and honestly, replacing the cartridges isn’t rocket science, but doing it right makes a difference.
Getting Started
First things first, I killed the power to the pump. Safety first, people! Don’t want any unexpected surprises. I went to the breaker box and flipped the switch. Always double-check that the pump is truly OFF.
Next, I released the air pressure from the filter tank. There’s usually a little valve on top – I slowly opened it until the hissing stopped. Be careful, sometimes water can spray out, so I stood back a bit.
Taking it Apart
Then, It’s time for removing the tank lid. My Hayward has a big clamp that holds the top and bottom together. Yours might have bolts or something different, but the idea is the same – get that top off!
I wrestled with the clamp a bit (it can be stubborn!), but eventually, it came loose. Then, I carefully lifted off the top of the tank. I set it aside somewhere clean, so I wouldn’t get dirt and junk back in the system later.
The Gross Part
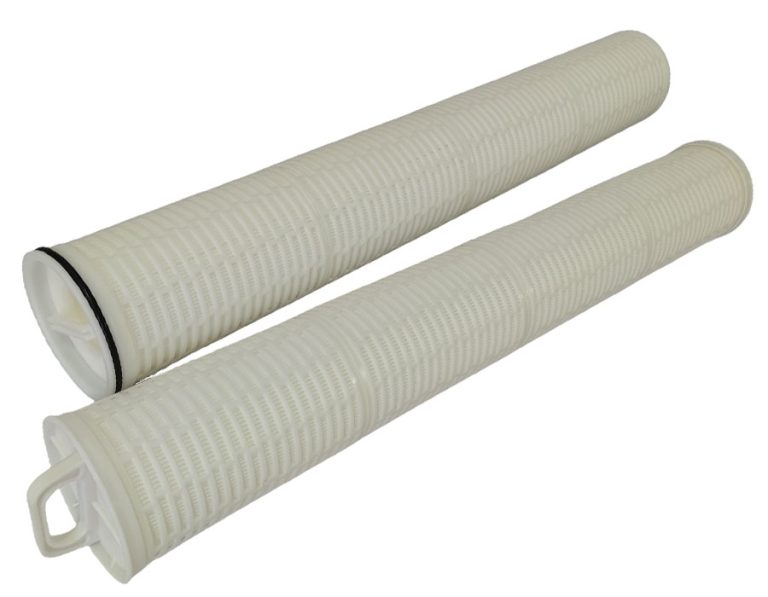
Okay, here’s where you see how much gunk your filter has been catching. My old cartridges were… well, let’s just say they’d seen better days. They were covered in all sorts of brown and greenish slime – leaves, dirt, who-knows-what-else.
I carefully pulled out each cartridge, one by one. They can be heavy and awkward when they’re full of water and debris, so I took my time. I had a big trash bag ready to toss them into directly – less mess that way.
Cleaning Up
With the old cartridges out, I took a good look inside the tank. There was some sediment at the bottom, so I hosed it out thoroughly. I made sure to get all the loose bits and pieces, so the new cartridges would have a clean start.
Putting in the New
Now for the easy part! I slid the new cartridges into place. They usually fit snugly onto a manifold or standpipe. I made sure they were seated correctly – no wobbling or gaps.
Time to Close Up
I put the tank lid back on, making sure the O-ring (that big rubber seal) was clean and in good shape. If it’s cracked or dry-rotted, it’s a good idea to replace it. I tightened the clamp (or bolts, if that’s your setup) securely, but not too tight – I didn’t want to crack anything.
Almost Done!
Finally, I went back to the breaker box and turned the power back on. I kept an eye on the filter tank as the pump started up, just to make sure there were no leaks.
I slowly open the air value again.
And that’s it! Clean, clear water, here we come. It’s not a super exciting job, but it’s definitely satisfying to know you’re keeping your pool in good shape. Plus, it’s way cheaper than calling a pool guy!