One stop supplier of water treatment parts&accessories


Top Tips for Reverse Osmosis Maintenance (Extend the systems life)
Okay, here’s my blog post about my recent reverse osmosis maintenance experience:
So, my under-sink reverse osmosis (RO) system was acting up. Water flow was getting pathetic, and the taste, well, it wasn’t as crisp as it used to be. Figured it was time for some maintenance, something I’d been putting off, if I’m honest. I’m no plumber, but I’m pretty handy, so I decided to tackle it myself.
Getting Started
First things first, I turned off the water supply to the RO system. There’s a little valve under my sink specifically for this. Don’t skip this step, or you’ll have a watery mess!
Next, I opened the RO faucet to release any remaining pressure in the system. Just let it drip until it stops.

Changing the Filters
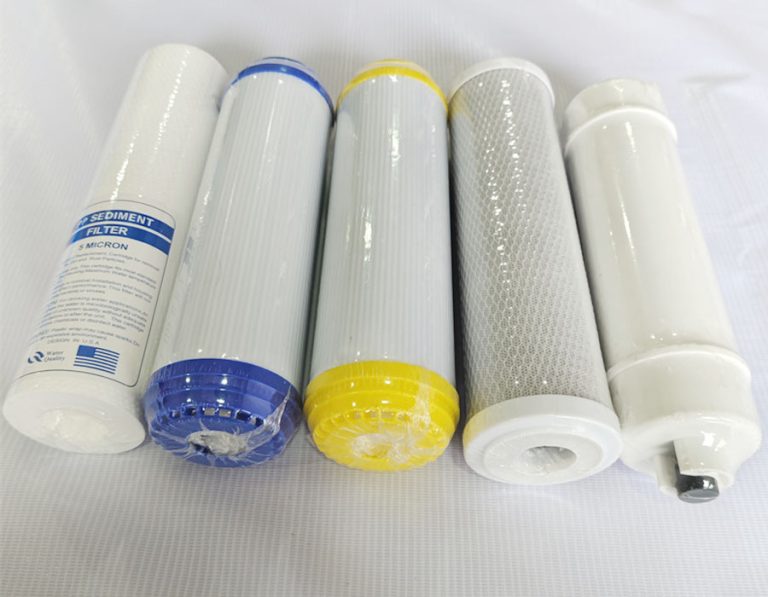
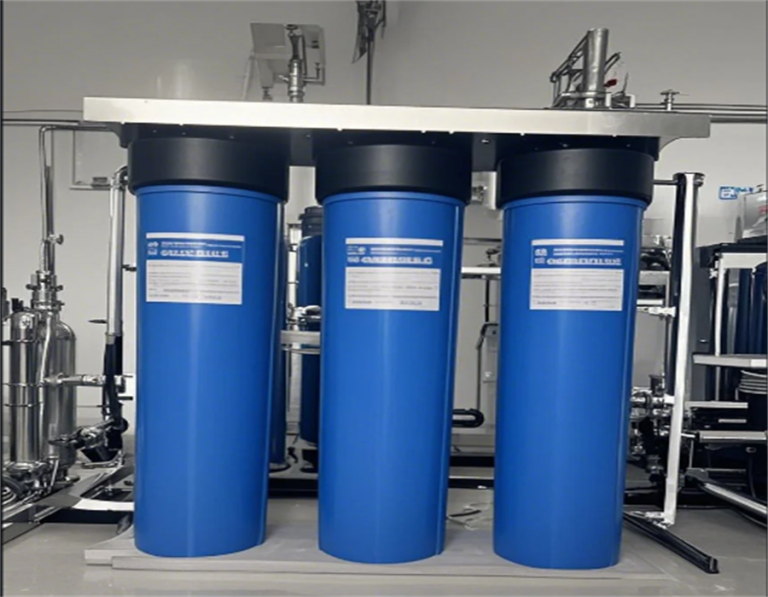
This is the main part. My system has three pre-filters and the RO membrane itself. I had bought a replacement kit online, making sure it was the right one for my model.
- Sediment Filter: This one was easy. It’s usually the first in line. I just unscrewed the housing, popped out the old, gunky filter, and slid in the new one.
- Carbon Filters (x2): Mine has two carbon filters. Same deal as the sediment filter – unscrew, replace, screw back on. These were pretty black, so definitely time for a change!
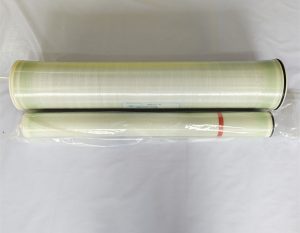
The RO Membrane
This is the heart of the system. It’s a bit more delicate, so I was careful.
- Located the Housing: It’s usually a longer, thinner housing than the pre-filters.
- Disconnected the Tubing: There were a couple of quick-connect fittings. I just pushed in the little collar and pulled the tubing out.
- Unscrewed the Cap: This exposed the membrane.
- Pulled Out the Old Membrane: Used some pliers for this, as it was a bit snug.
- Inserted the New Membrane: Made sure it was seated properly.
- Reconnected Everything: Screwed the cap back on, reconnected the tubing.
Sanitizing (Optional but Recommended)
I decided to sanitize the system since I had it all apart anyway. I used a special RO sanitizing solution (again, bought online). Followed the instructions on the package, which basically involved adding the solution to the pre-filter housings, running some water through, and letting it sit for a while.
Flushing the System
After sanitizing (or even if you skip that step), it’s crucial to flush the system thoroughly. I turned the water supply back on and let the faucet run for a good 20-30 minutes. This gets rid of any loose particles or sanitizing solution.
Checking for Leaks
While the system was flushing, I kept a close eye on all the connections, making sure nothing was leaking. Tightened a couple of housings a bit more, just to be safe.
The Result
Once the flushing was done, I took a big gulp of the freshly filtered water. Success! The flow was strong, and the taste was back to its pristine, clean self. It’s amazing what a little maintenance can do. Honestly, it wasn’t as hard as I thought it would be. Saved myself a plumber’s bill, too!