One stop supplier of water treatment parts&accessories


how to clean water softener resin tank
If you’re asking yourself how to clean water softener resin tank, you’re on the right track. A clean resin tank ensures your water softener functions optimally. Over time, dirt, minerals, and other contaminants can build up. Let’s explore the steps to get it spick – and – span.
Why Cleaning Your Resin Tank is Important
1. Improves Efficiency
A clean resin tank ensures the ion exchange process works smoothly, softening water effectively.
2. Prevents Contamination
Dirt and iron buildup can clog the resin beads, leading to poor water quality.
3. Extends Lifespan
Regular maintenance, including cleaning, can help your water softener last longer, saving you money in the long run.
Signs Your Resin Tank Needs Cleaning
How do you know it’s time to clean your resin tank? Look for these signs:
- Reduced water softening efficiency
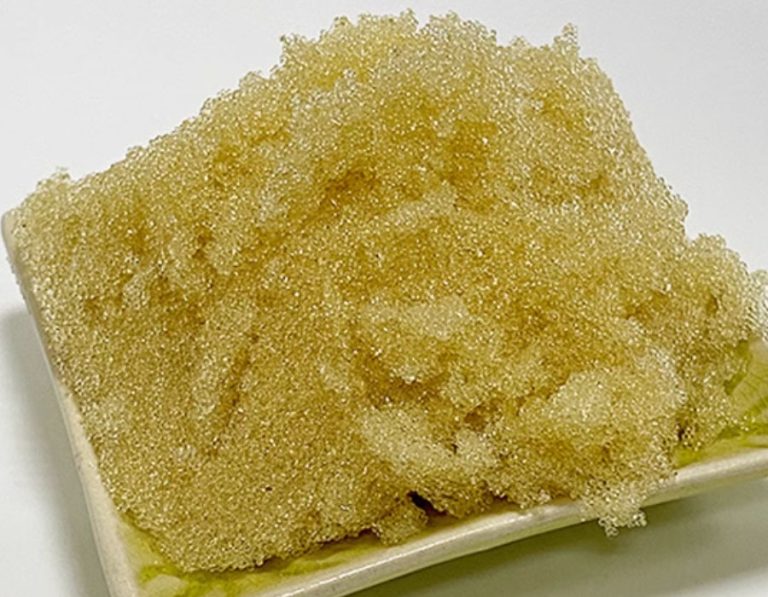
- Visible iron stains or dirt in the tank
- Unusual noises during regeneration
- Increased salt usage
If you notice any of these, it’s time to learn how to clean water softener resin tank.
Step-by-Step Guide to Cleaning Your Resin Tank
Gather Your Supplies
Before you start, you need the right tools. You’ll need a bucket, a siphon, a soft – bristle brush, and cleaning agents. For example, a mild detergent or a specialized resin cleaner works well. So, why are these supplies important? They’re essential for a thorough clean. Thus, gather them all before you begin cleaning your water softener resin tank.
Preparation: Shutting Down the System
First, turn off the water supply to the softener. Then, unplug the unit. This ensures your safety. You don’t want water gushing out or electrical issues while cleaning. After that, open the bypass valve if your system has one. So, how does this help in cleaning? It isolates the resin tank, making the process easier. Therefore, proper preparation is a must.
Draining the Tank
Now, it’s time to drain the resin tank. Use the siphon to transfer the water from the tank into the bucket. Be patient, as this might take a while. What if there’s a lot of sediment? You might need to empty and refill the bucket a few times. Once drained, you can start seeing the dirt that has accumulated. So, draining is a key step in how to clean water softener resin tank effectively.
Cleaning the Resin
Removing Loose Debris
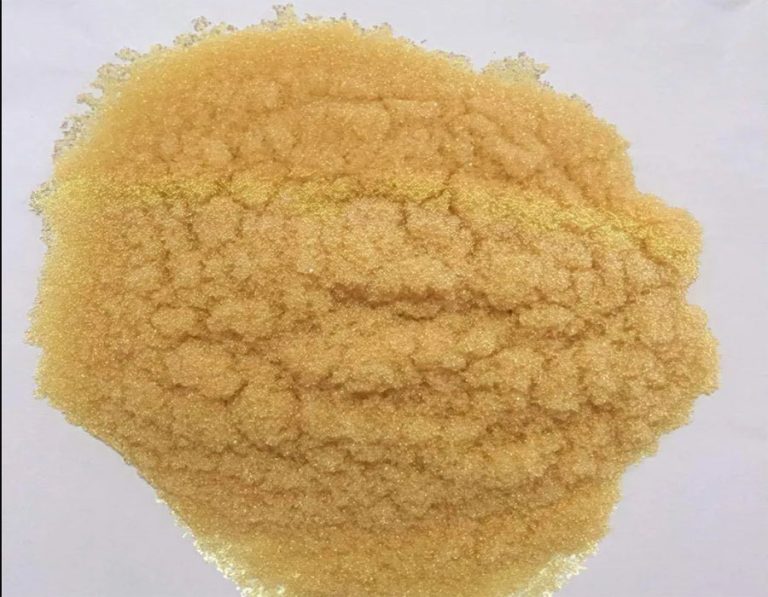
Take the soft – bristle brush and gently scrub the resin beads. This removes loose dirt and debris. You can also use a small amount of water to help with the scrubbing. However, be careful not to damage the resin beads. They’re delicate. For example, if you scrub too hard, you might break them. So, a gentle touch is needed when cleaning the resin in the water softener resin tank.
Deep – Cleaning with Chemicals
If there’s stubborn buildup, you can use a cleaning agent. Dilute the detergent or resin cleaner according to the instructions. Then, pour it into the tank. Let it soak for a while. This helps break down tough minerals. How long should you soak? Usually, 1 – 2 hours does the trick. Thus, chemical cleaning can be a powerful tool in your cleaning arsenal.
Cleaning the Tank Interior
Scrubbing the Walls
With the resin removed or being cleaned separately, use the soft – bristle brush to scrub the tank walls. Start from the bottom and work your way up. This gets rid of any slime or residue. You can also use a long – handled brush for hard – to – reach areas. So, why is scrubbing the walls important? It ensures the tank is free from contaminants that could affect water quality.
Rinsing Thoroughly
After scrubbing, rinse the tank thoroughly with clean water. You can use a hose or pour water in. Make sure to remove all traces of the cleaning agent. What if some cleaning agent remains? It could contaminate your water. So, multiple rinses are often necessary when cleaning the interior of the water softener resin tank.

Reassembling and Restarting
Once everything is clean, put the resin back into the tank. Then, close the tank lid securely. Next, turn on the water supply and remove the bypass. Finally, plug in the unit. How do you know if it’s working? Check for leaks and see if the water softener starts its normal cycle. Thus, proper reassembly and restart are crucial.
Tips to Prevent Future Buildup
1. Use a Pre-Filter
Installing a pre-filter can trap dirt and iron before they reach the resin tank.
Step 2: Regular Regeneration
Ensure your system regenerates regularly to keep the resin beads clean and functional.
Step 3: Monitor Water Quality
Test your water periodically for hardness and iron levels. This helps you catch issues early.
Common Mistakes to Avoid
1. Using Harsh Chemicals
Avoid bleach or strong acids, as they can damage the resin beads. Stick to mild cleaners like vinegar.
2. Skipping Rinsing
Failing to rinse the tank thoroughly can leave behind cleaning residue, affecting water quality.
3. Ignoring Maintenance
Regular cleaning is key. Don’t wait until problems arise to take action.
FAQs About Cleaning Resin Tanks
1. How often should I clean my resin tank?
It depends on water quality and usage. Generally, aim for once a year or when you notice reduced performance.
2. Can I clean the resin beads themselves?
Yes, you can soak them in a salt solution to remove iron buildup. However, avoid scrubbing them.
3. What if cleaning doesn’t improve performance?
If cleaning doesn’t help, the resin beads may need replacement. Consult a professional for advice.