One stop supplier of water treatment parts&accessories


The Ultimate Guide to 5 – Stage Reverse Osmosis System Filters Replacement
Introduction
In today’s world, clean and safe drinking water is of utmost importance. A 5 – stage reverse osmosis system is a popular choice for many households to ensure high – quality water. However, like any filtration system, its filters need regular replacement. But why is it so crucial? Let’s find out.
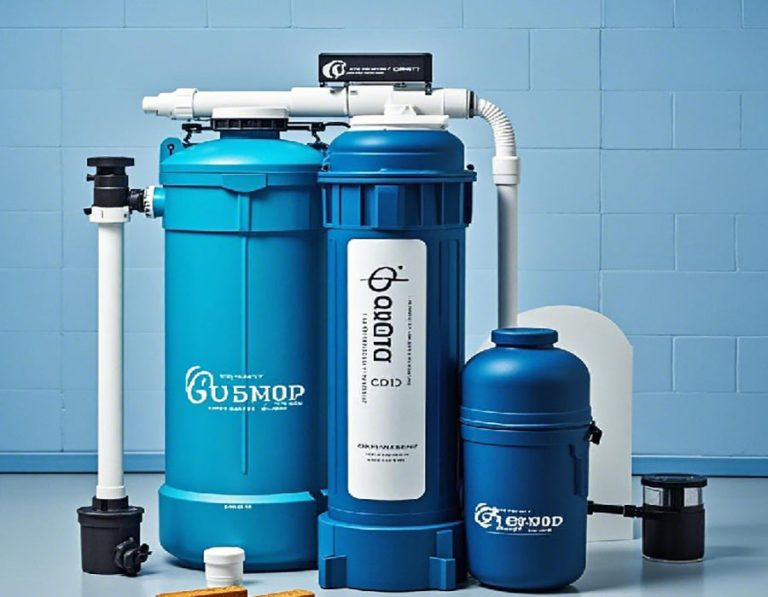
Why Replace 5 – Stage Reverse Osmosis System Filters?
The 5 – stage reverse osmosis system filters are designed to remove various contaminants, such as bacteria, viruses, heavy metals, and dissolved solids. Over time, these filters get clogged with the trapped impurities. According to a study by the Water Quality Association (WQA), a clogged filter can reduce the system’s efficiency by up to 30% (Water Quality Association, 2024). So, if you notice a decrease in water flow or a change in taste, it’s a sign that your filters might need replacement.
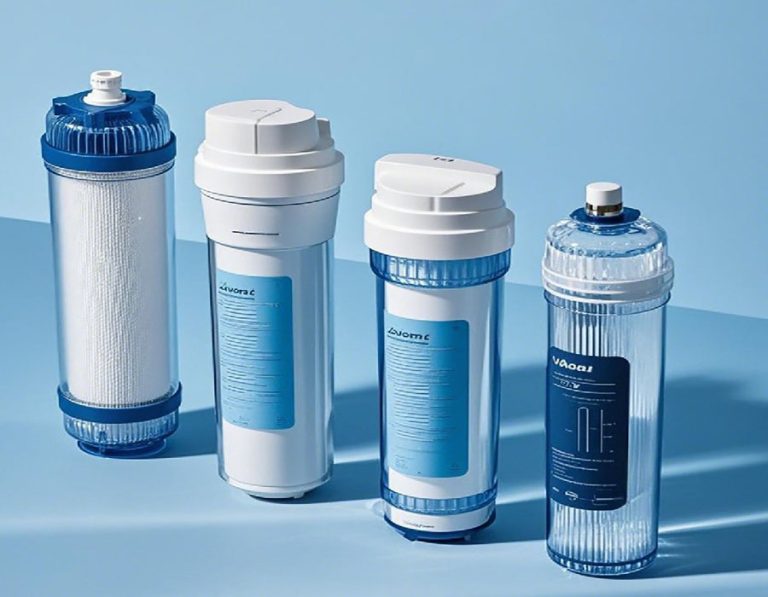
Common Contaminants Removed by Each Stage
| Stage | Contaminants Removed |
| Stage 1 | Sediment, dirt, rust |
| Stage 2 | Chlorine, organic chemicals |
| Stage 3 | Fine sediment, small particles |
| Stage 4 | Dissolved salts, heavy metals |
| Stage 5 | Polishing, improving taste |

LSI Keywords and Their Significance
Keywords like “reverse osmosis filter lifespan”, “filter frequency”, and “quality of replacement filters” are closely related to our main keyword “. For example, understanding the filter lifespan helps in determining when to replace the filters. A filter with a longer lifespan may cost more initially but could be more cost – effective in the long run.
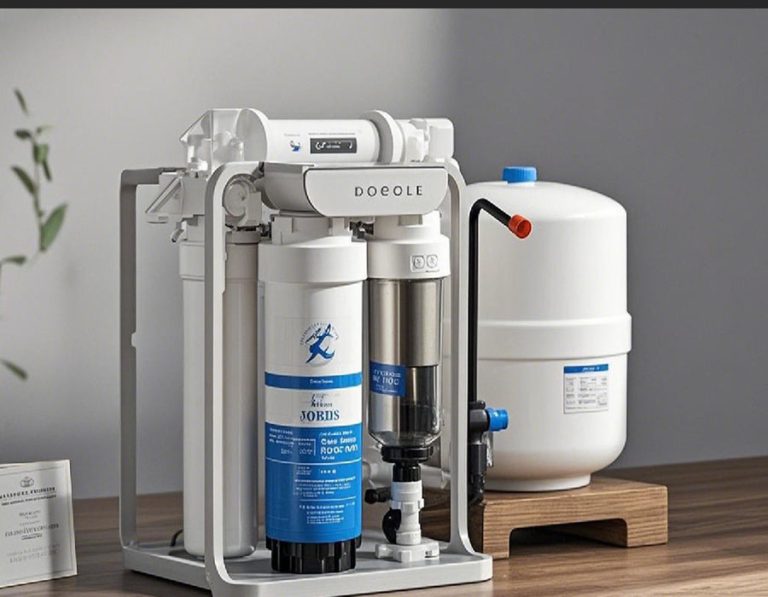
The Replacement Process: Step – by – Step
Step 1: Shut Off the Water Supply
Before starting any work on the 5 – stage reverse osmosis system, turn off the main water supply. This prevents water from flowing through the system while you’re replacing the filters. It’s like turning off the tap before changing a faucet washer.
Step 2: Release the Pressure
Open a faucet connected to the reverse osmosis system to release the pressure in the pipes. This step is crucial as it makes it easier to remove the old filters without water spurting out.
Step 3: Remove the Old Filters
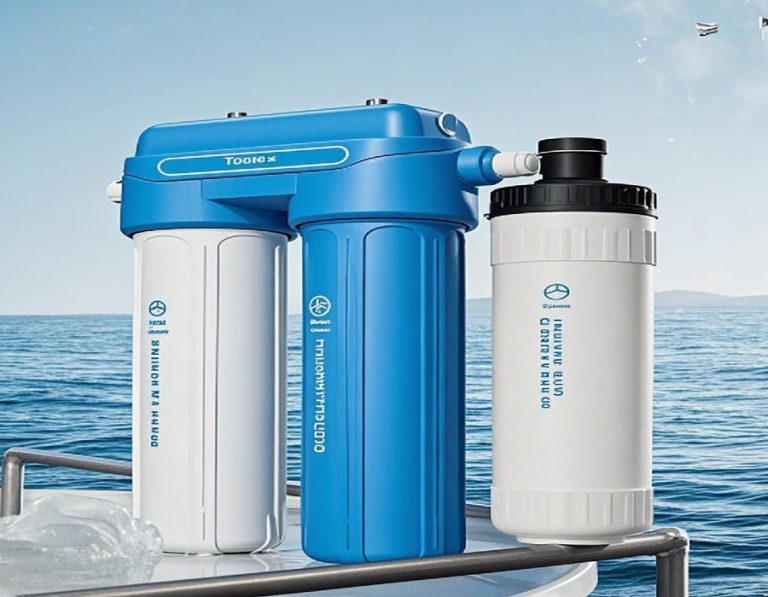
Locate the filter housings on the 5 – stage reverse osmosis system. Usually, they are cylindrical containers. Use a filter wrench (if required) to carefully unscrew the housing and take out the old filter. Be careful as the housing may still contain some water.
Step 4: Install the New Filters
Take the new filters, making sure they are the correct type for each stage of your 5 – stage reverse osmosis system. Insert the new filters into the housings, ensuring they are properly seated. Then, screw the housings back on tightly.
Step 5: Turn on the Water Supply and Flush
Turn the main water supply back on. Let the system run for about 15 – 20 minutes to flush out any air or debris from the new filters. This flushing process is essential for the proper functioning of the new filters.
⚠ Note: Do not forget to check for any leaks around the filter housings after turning on the water supply. Leaks can cause damage to your property and reduce the efficiency of the 5 – stage reverse osmosis system.
Real – World Example: Our Team’s Experience
Our team in 2025 was working on a residential project where the homeowners complained about a foul smell in their drinking water. After inspection, we found that the filters in their 5 – stage reverse osmosis system had not been replaced for over a year. We replaced the filters following the steps mentioned above. Immediately after the replacement and flushing, the water smelled fresh, and the homeowners were satisfied with the results.
Common Mistakes and How to Avoid Them
One common mistake is using low – quality replacement filters. Some people try to save money by buying cheap filters, but these may not effectively remove contaminants. According to a Consumer Reports study (Consumer Reports, 2023), low – quality filters can miss up to 50% of the targeted contaminants. It’s better to invest in high – quality filters recommended by the system manufacturer.
Another Mistake: Incorrect Installation
Installing the filters incorrectly can also lead to problems. For example, not screwing the filter housing tightly enough can cause leaks. Always follow the manufacturer’s instructions carefully during the installation process.

Transition: However, Cost Considerations Matter
When it comes to replacing the filters of a 5 – stage reverse osmosis system, cost is a significant factor. Some high – quality filters may seem expensive, but they offer better performance and a longer lifespan. On the other hand, cheap filters may need to be replaced more frequently, ultimately costing more in the long term.
Cost Comparison
| Filter Type | Initial Cost | Lifespan | Cost per Year (approx.) |
| High – Quality Filter | \(50 – \)80 | 1 – 2 years | \(40 – \)80 |
| Low – Quality Filter | \(20 – \)30 | 6 – 8 months | \(60 – \)90 |
Conclusion
In conclusion, replacing the filters of your 5 – stage reverse osmosis system is essential for maintaining clean and safe drinking water. By following the proper replacement process, avoiding common mistakes, and considering cost – effectiveness, you can ensure your system works optimally.
Checklist
- Check the filter lifespan regularly.
- Buy high – quality replacement filters.
- Follow the step – by – step replacement process.
- Check for leaks after filter replacement.
- Flush the system after installing new filters.