One stop supplier of water treatment parts&accessories


how to change resin in water softener
how to change resin in water softener?Alright, folks, let’s talk about something that’s not exactly glamorous, but super important if you have hard water like I do: changing the resin in your water softener. I put this off for way longer than I should have, but finally tackled it last weekend. Here’s how it went down, step by step:
Getting Ready
how to change resin in water softener?First things first, I made sure I had everything I needed. This is crucial, people, don’t start this project without being prepared!
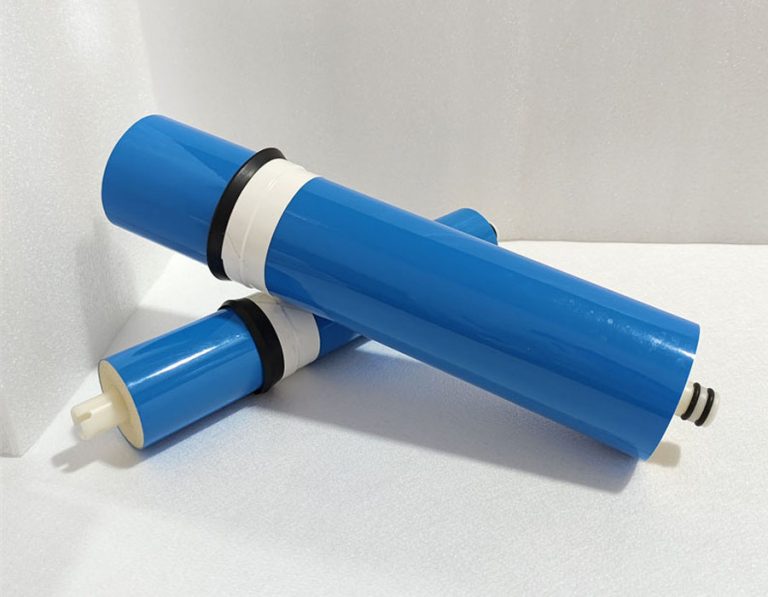
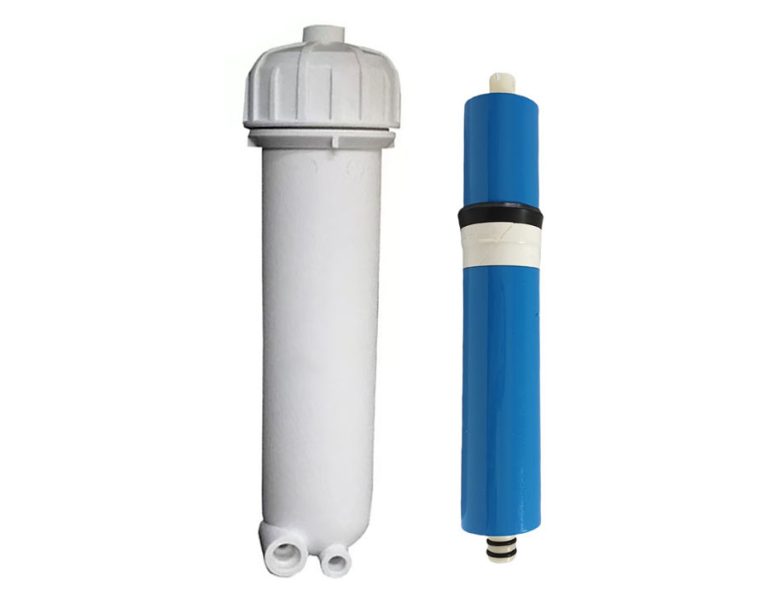
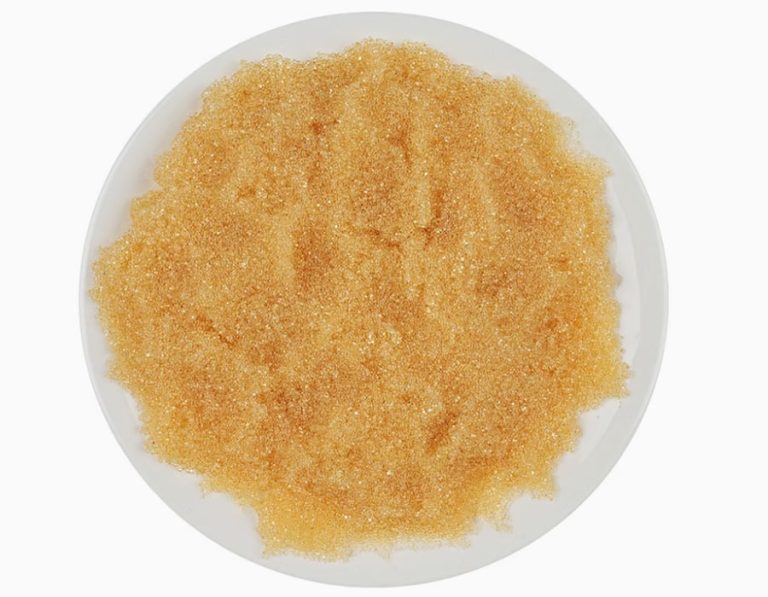
- New Resin: I got a big bag of the stuff. Make sure you get the right kind for your softener!
- Basic Tools: Screwdrivers, maybe a wrench, and definitely some pliers.
- Towels: Things can get wet.
- A Bucket: For the old resin. It’s heavy and gross.
- Gloves: Optional, but trust me, you might want them.
- A Friend (Also Optional): An extra pair of hands is always helpful, especially when it’s time to move the tank.

Step-by-Step Procedure
Power Off & Drain/Disconnect Valves & Hoses
Remove Old Resin/Install New Resin
Reassemble & Test
The Dirty Work
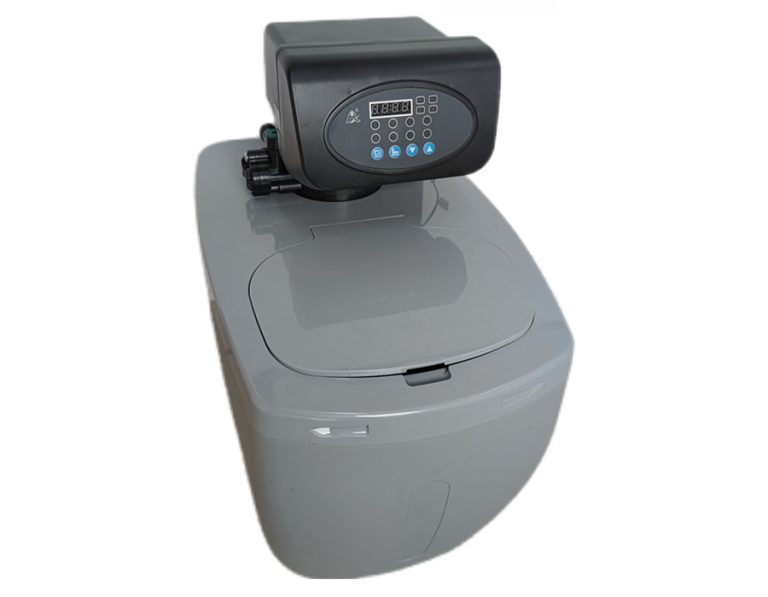
1. Bypass the Softener: This is important! You don’t want water flowing while you’re working. There’s usually a bypass valve on the back of the unit. Turn that bad boy.
2. Depressurize: I just followed my softener’s instructions for a manual regeneration cycle. This released the pressure in the tank.
3. Disconnect Everything: I unplugged the softener and disconnected the hoses connecting it to my plumbing. Be ready for some water to spill.
4. Move the Tank (Ugh): This was the hardest part. My softener is in the basement, and those tanks are HEAVY. I recruited my neighbor to help me lug it outside to the driveway. Much easier to work on there.
5. Open ‘er Up: On top of the tank, there’s a control valve. I unscrewed that (it took some effort!) and carefully set it aside.
6. The Gross Part: I looked inside, and yeah, it was nasty. Old resin is kinda slimy and discolored. Using a small bucket, I start scooping out the old resin. it tooks a long long time.
7. Clean the Tank: Once I got all the old resin out, I hosed out the tank to get rid of any lingering gunk.
Putting It Back Together
1. Fresh Resin Time: I carefully poured the new resin into the tank. Don’t overfill it! There should be some space at the top.
2. Reattach the Control Valve: I screwed the control valve back on, making sure it was good and tight.
3. Back Inside: My neighbor helped me wrestle the tank back into the basement. Teamwork makes the dream work!
4. Reconnect Everything: I hooked up the hoses and plugged the softener back in.
5. Almost Done!: I slowly turned the bypass valve back to the “service” position, letting water fill the tank. I kept an eye out for any leaks.
6. Initial Regeneration: I ran a manual regeneration cycle to get everything flowing and flush out any air in the system.
The Result
And that’s it! My water feels noticeably softer, and I’m pretty proud of myself for tackling this DIY project. It wasn’t the most fun I’ve ever had on a Saturday, but it saved me a bunch of money by not calling a plumber. If I can do it, you can too! Just take your time, be careful, and don’t be afraid to get a little dirty.