One stop supplier of water treatment parts&accessories


how to replace the resin in a water softener
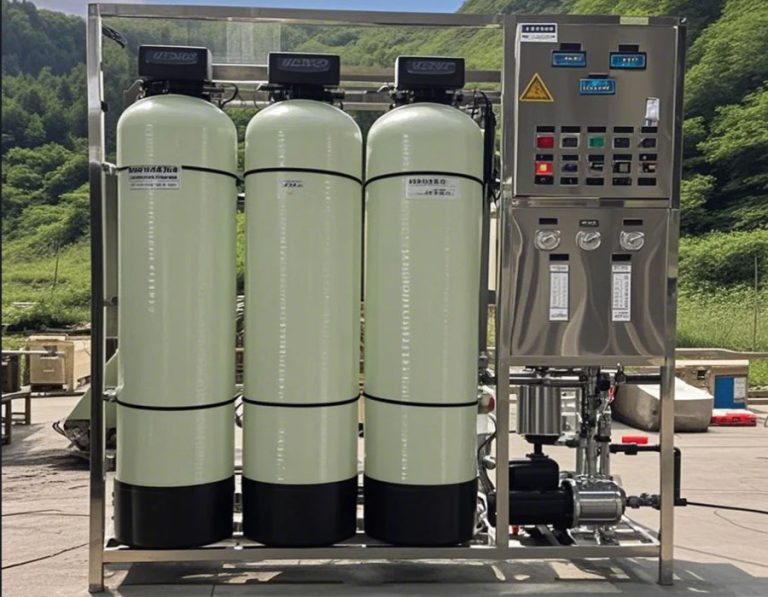
how to replace the resin in a water softener?Okay, folks, let’s talk about swapping out the resin in your water softener. I had to tackle this beast a few weeks back, and let me tell you, it wasn’t as scary as I thought, it’s quite simple,but also take a long time.
Prep Work is Key
First things first, I gathered my supplies. You’ll need:
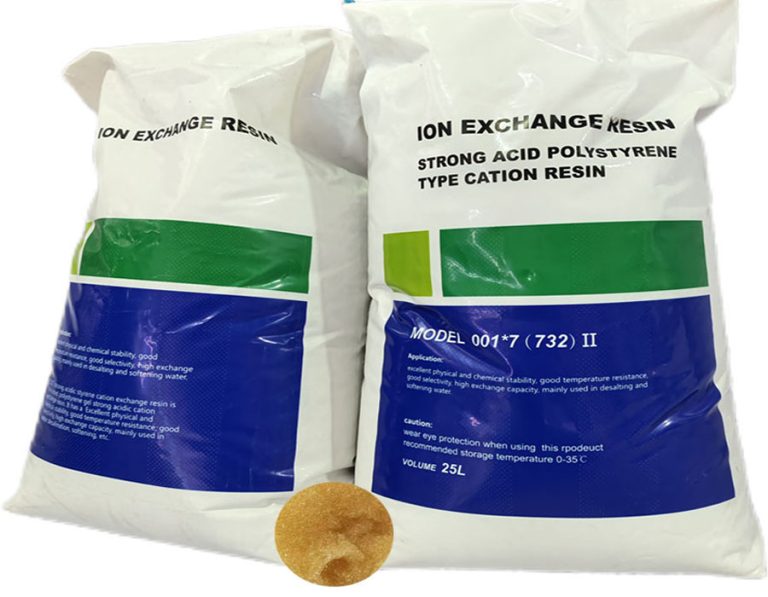
- New resin (obviously!). Make sure you get the right kind for your softener. I just checked the manual, simple.
- A flathead screwdriver.
- A garden hose.
- A bucket or two,bigger is better.
- Some towels,It’s gonna get messy.
- Gloves ,If you don’t want to get your hands dirty.
Before I touched anything, I put the softener into bypass mode. This stops the water flow, you don’t want a surprise shower. There’s usually a valve or a lever for this – again, check your manual if you’re not sure.

Getting Down to Business
Next, I shut off the main water supply. Safety first, always! Then, I relieved the pressure in the system by running a regeneration cycle manually. My softener has a button for this,I found that by accident. Yours might be different,so find that regeneration setting.
Now for the slightly messy part. I disconnected the softener from the plumbing. This involved unscrewing some fittings – keep those towels handy, because water will spill out. Take it easy to avoid any damage.
Out with the Old
how to replace the resin in a water softener
With the softener disconnected, I carefully moved it outside. That tank is heavy, especially with the old resin and water. I got my son,Tom to help me with this,or you might need a friend, or just do it slowly yourself.
Once outside, I removed the control valve head. This usually involves unscrewing a few things and maybe unclipping some wires. I took photos with my phone as I went, so I’d know how to put it all back together.
Then,I turned the tank on to put the distributor tube opening upward,then Pulled out the distributor tube.There will be a lot of water come out,so be prepared.
Now, I dumped out the old resin. I just tipped the tank over and let gravity do its thing, using the hose to help flush out any stubborn bits. It was pretty gross, to be honest,like the old resin beads.
I used a big bucket to put the old resin,it’s really heavy.
In with the New
With the tank empty, I gave it a good rinse with the hose. Make sure to get all the old resin out.
Then Put the distributor tube back to the tank.And I started adding the new resin.I Pouring slowly,some of the resin beads will split out. It took a while, but I filled it up to the recommended level (again, check your manual for specifics).
Putting It All Back Together
Once the new resin was in, I carefully reattached the control valve head, reversing the steps I took earlier. Those photos I took came in handy here!
I then moved the softener back inside and reconnected it to the plumbing. I made sure all the fittings were tight to prevent leaks. Take it slowly, don’t mess it up.
Finally, I slowly turned the main water supply back on, checking for leaks as I went. Then, I took the softener out of bypass mode and ran a full regeneration cycle to get everything flowing smoothly.
And that’s it! My water’s been nice and soft ever since. It’s a bit of a project, but totally doable with a little patience and some elbow * this helps someone out there!