One stop supplier of water treatment parts&accessories


water softener resin replacement cost
water softener resin replacement cost,Okay, so the water in my house was starting to taste kinda funky, and my showerhead was getting all crusty. Figured it was time to deal with the water softener, specifically the resin inside. I’m no plumber, but I’m pretty handy, so I decided to tackle this myself. Here’s how it went down.
Figuring Out the Problem
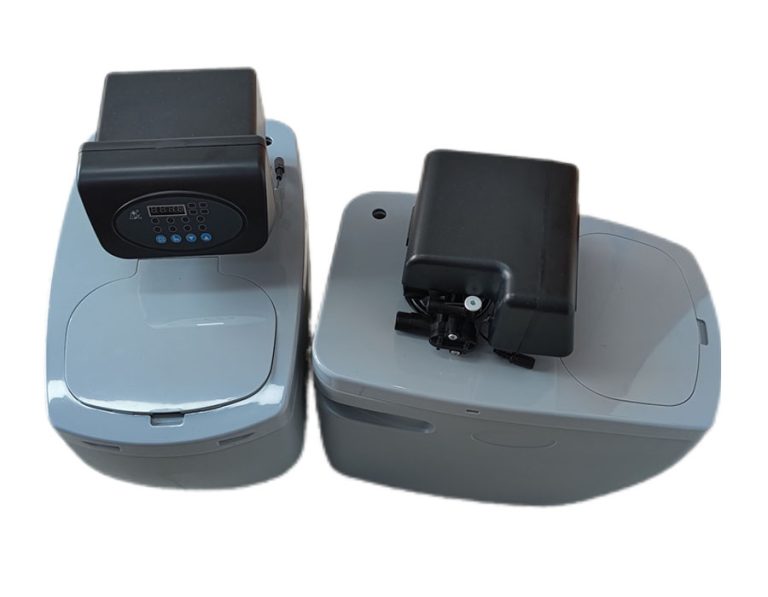
First, I needed to be sure it was the resin. I did some googling, watched a couple of videos, and checked my softener’s manual. My water softener had been working for over 7 years. Turns out, that’s around the time the resin can start to go bad. Resin beads are what actually soften the water, and they get worn out. My symptoms, like hard water spots and lower water pressure, all pointed to needing new resin.
Gathering Supplies and Getting Ready
Heads-up:This job can get messy. So, I put on some old clothes and laid down a tarp in my basement work area. I turned off the main water supply to the house (super important!), and I also unplugged the water softener. Safety first, folks!
Next, I gather all the tools I need for this project.
- New resin(Measured to make sure correct)
- Screwdriver
- Wrench
- Garden hose
- Bucket
- Funnel
The Dirty Work: Out with the Old
I used a garden hose to bypass the softener so we could still have water while I worked. The videos I watched showed this pretty clearly.
The softener has a control valve head on top. This thing had a bunch of clips and screws. I carefully took them off, remembering where each one went (taking pictures with my phone helped a lot!). With the head off, I could see the distributor tube, which goes down into the tank. I pulled that out, too.
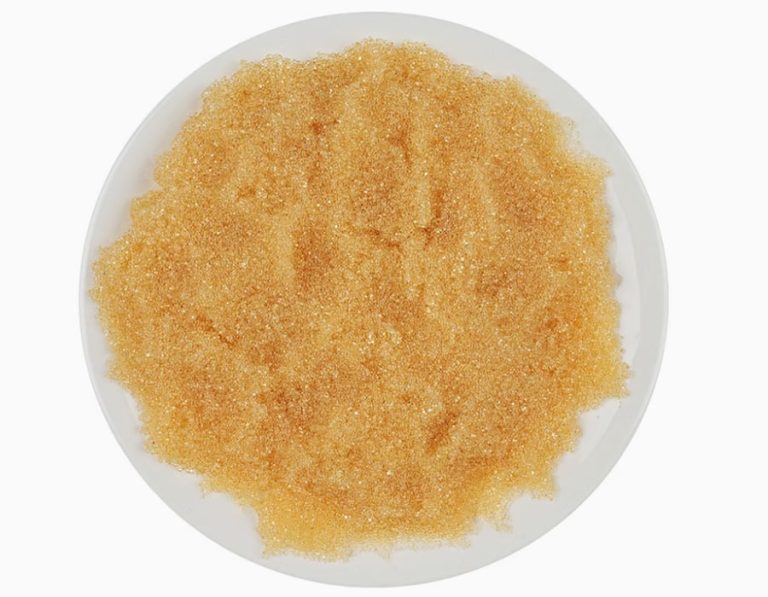
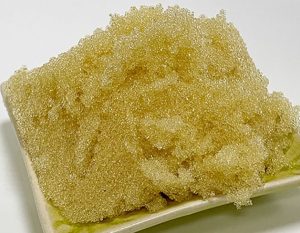
Now for the gross part. The old resin was inside the tank, and it looked like orange-ish, slimy beads. I tipped the whole tank over (it was heavy!) and used the garden hose to flush out all the old gunk into a bucket. This took a while, and it was pretty nasty.
In with the New
water softener resin replacement cost
Once the tank was rinsed clean, I put the distributor tube back in. Some people suggest putting some gravel at the bottom before the resin, but I decided not to since I didn’t have any problems before. I placed a small cup to cover the distributor tube before I begin to fill in the new resin.
Then, using a funnel, I carefully poured in the new resin. The bag was heavy, so I did it in stages. My tank needed 1 cubic foot of resin, so I made sure to get the right amount.
Putting It All Back Together
With the new resin in, I reattached the control valve head, making sure all the clips and screws were tight and in the right place. Then, I slowly turned the main water supply back on, checking for leaks. I plugged the softener back in and set it to do a regeneration cycle (basically, a cleaning cycle for the new resin).
The Result
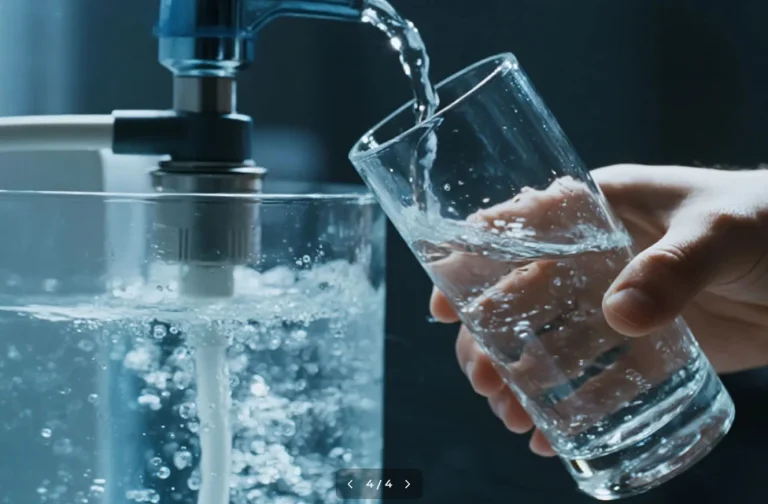
After the regeneration, I tested the water, and it was noticeably softer! No more weird taste, and hopefully, no more crusty showerheads. I was pretty proud of myself for doing this – saved some money, and learned something new. It wasn’t a super easy job, but totally doable if you’re willing to get your hands a little dirty.