One stop supplier of water treatment parts&accessories


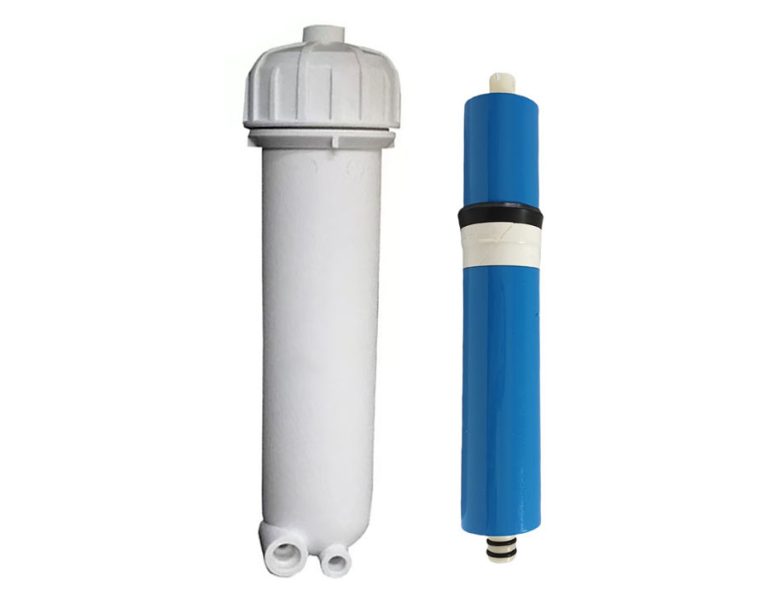
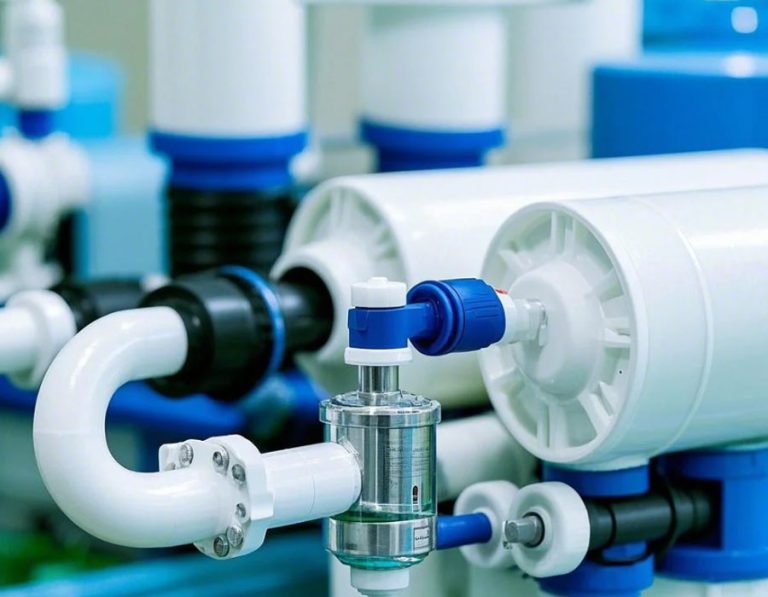
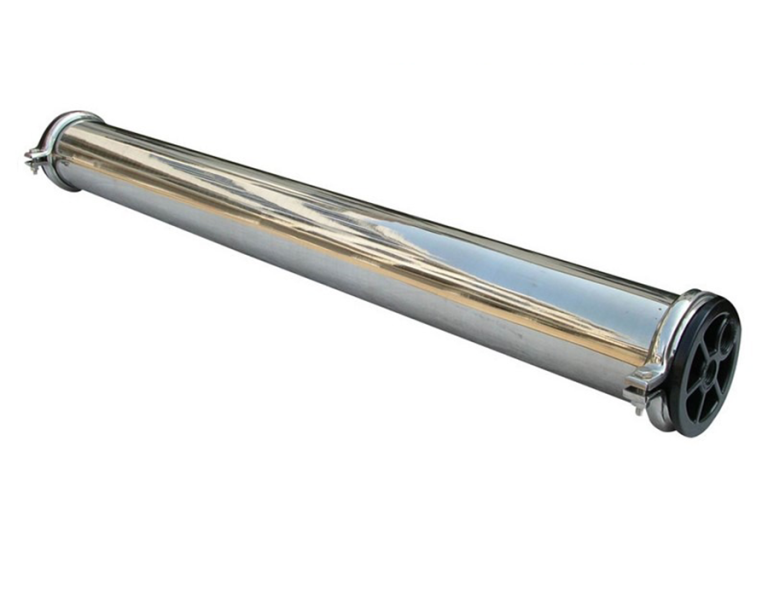
Reverse Osmosis Membrane Housing with 1 4 quick connect fittings
Reverse Osmosis Membrane Housing with 1 4 quick connect fittings,Okay, so the other day I needed to fix up my reverse osmosis system. The old membrane housing was leaking, a total pain. I figured while I was at it, I’d upgrade to one with those quick-connect fittings. Makes life so much easier, you know?
First things first, I turned off the water supply. Don’t want a flood in the kitchen, right? Then, I grabbed my wrench and disconnected the old housing. It was pretty gunked up, honestly. Glad I was replacing it.
Next, I took the new membrane housing. This one had 1/4 inch quick-connect fittings. I unscrewed old membrane from old housing, and put it into the new housing. Before anything, I wrapped some Teflon tape around the threads. Good habit to get into, prevents leaks.
Then, I carefully inserted the new membrane into the Reverse Osmosis Membrane housing. Gotta make sure it’s seated properly, or it won’t work right.
After that, it was just a matter of connecting the tubing. With these quick-connect fittings, it’s super simple. Just push the tubing in until it clicks. Done. No wrenches, no fuss.
I connected the inlet tube, the outlet tube,and waste tube.
Once everything was connected, I slowly turned the water supply back on. Always do it slowly, just in case there’s a leak. You don’t want to spray water everywhere.
I checked all the connections, making sure there were no drips. Everything looked good! I let the system run for a few minutes, just to flush it out.
And that was it! My reverse osmosis system was back in action, and with those quick-connect fittings, future maintenance will be a breeze. Pretty satisfying little project, if I do say so myself.