One stop supplier of water treatment parts&accessories


ultraviolet system for well water
Alright, let’s talk about sorting out the well water situation. For a while, I’d been thinking about the water quality here. We have a well, and while the water’s generally okay, you never really know what might be lurking in there, especially stuff you can’t see, like bacteria. After doing a bit of reading and seeing what others with wells do, I decided putting in an ultraviolet, or UV, system was the way to go for some peace of mind.
Getting Started – The Plan and the Parts
First things first, I needed to figure out what size unit I needed. It mostly comes down to flow rate – how much water you use at peak times. I looked at my pump’s specs and thought about how many faucets might be running at once. Didn’t want the UV unit to bottleneck the whole system. I settled on a unit that seemed like a good match for our house size.
Then I gathered the stuff I’d need:
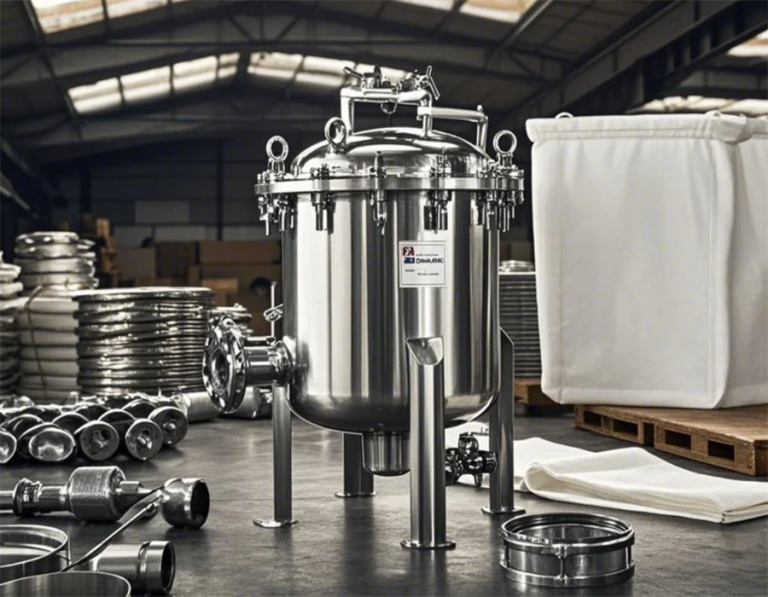
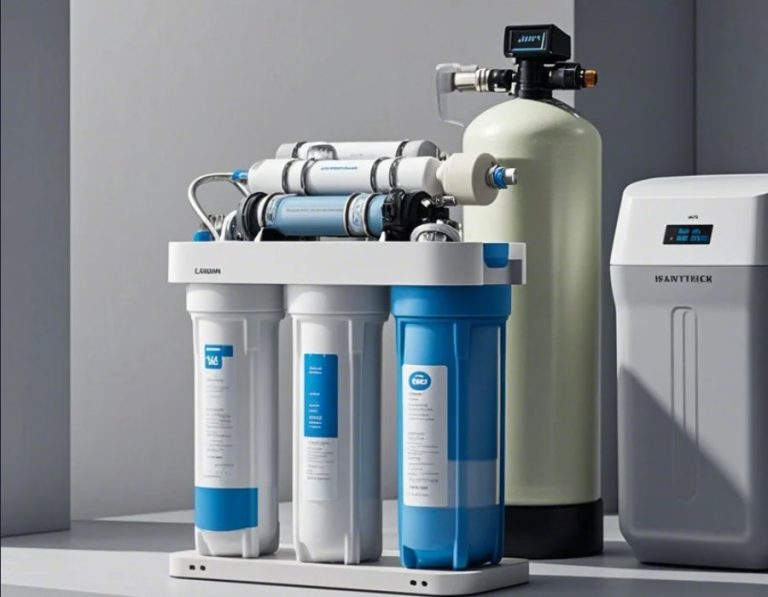
- The UV system itself (the stainless steel chamber, the UV bulb, the quartz sleeve that protects the bulb, and the power supply/controller).
- Some plumbing bits. My setup is mostly PEX pipe, so I needed fittings to connect the UV unit into the PEX line. PEX crimp rings, connectors.
- Pipe cutter for the PEX.
- PEX crimping tool.
- Plumber’s tape (essential!).
- A couple of shut-off valves – definitely wanted these before and after the UV unit for easier maintenance later.
- Basic tools like wrenches, screwdriver.
- A bucket and some towels – because water always goes somewhere you don’t expect when plumbing.
Putting it All Together – The Install
Finding the Spot: I decided to install the UV unit right after my sediment filter. This makes sense because you want the water going into the UV chamber to be as clear as possible – dirt or particles can shield the nasty bugs from the UV light. It also needed to be installed before the pipe splits off to the hot water heater and the rest of the house, and near an electrical outlet.
Prep Work: This is the important part. I went to the breaker box and shut off the power to the well pump. VERY important. Then I shut off the main water valve coming into the house after the pressure tank. I opened a faucet downstairs to drain as much water out of the pipes as I could. Put a bucket under where I planned to cut.
Cutting In: I measured the space needed for the UV chamber plus the shut-off valves on either side. Marked the PEX pipe. Took a deep breath and made the cuts with the pipe cutter. Yeah, some water still came out, hence the bucket and towels.
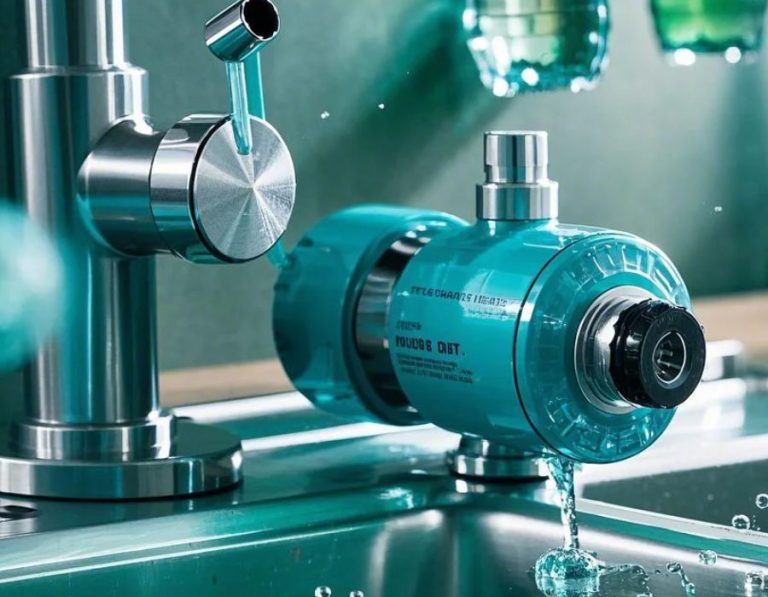
Connecting the Unit: I installed the shut-off valves first, one on the incoming side and one on the outgoing side, using the PEX fittings and crimp tool. Then, I connected the UV chamber between the valves. Made sure it was oriented correctly – usually, there’s an arrow showing water flow direction. Used plumber’s tape on any threaded connections. Double-checked everything was tight.
The Fragile Bits: Now for the UV lamp and quartz sleeve. I was super careful here. Wore gloves because the instructions warned that fingerprints on the sleeve or lamp could cause hot spots and shorten their life. I gently slid the quartz sleeve into the chamber and secured it. Then, I carefully inserted the UV lamp into the sleeve and connected the electrical cap.
Powering Up (Water First!): Before plugging anything in, I needed to check for leaks. I slowly turned the main water valve back on. VERY slowly. Listened for rushing air and water filling the pipes. Once the UV chamber was full, I checked every single connection point for drips. Tightened things up a tiny bit where needed. Once I was sure there were no leaks, I went and turned the power back on for the well pump.
Light It Up: With water flowing and no leaks, I plugged in the UV unit’s power supply. Most units have an indicator light or a little display. Mine lit up, showing it was working. Success!
Wrapping Up and Final Thoughts
I let a cold faucet run for a good 10-15 minutes to flush the system out completely, get rid of any air, and just let the UV do its thing for the first time. The water looked good, no weird taste.
Maintenance Note: The big thing with these systems is remembering to change the UV bulb about once a year (even if it still lights up, its effectiveness drops over time) and to clean the quartz sleeve. That’s why those shut-off valves are golden – makes bulb changes way easier without draining the whole house.
So that was my little project. Took a few hours, mostly taking my time to avoid leaks. Now, knowing that the water running through the house has passed through that UV light gives a nice bit of extra confidence. If you’re on well water, it’s definitely something worth looking into.