One stop supplier of water treatment parts&accessories


AO Smith RO Membrane: How to Pick the Right One for Your Home
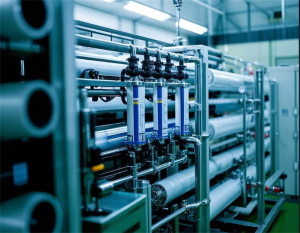
Okay, so, I’ve been messing around with my water filter setup at home, specifically the reverse osmosis (RO) system. Today, I wanna share my experience with replacing the RO membrane in my A.O. Smith system. It’s been a bit of a learning curve, but I think I’ve got some decent insights to pass along.
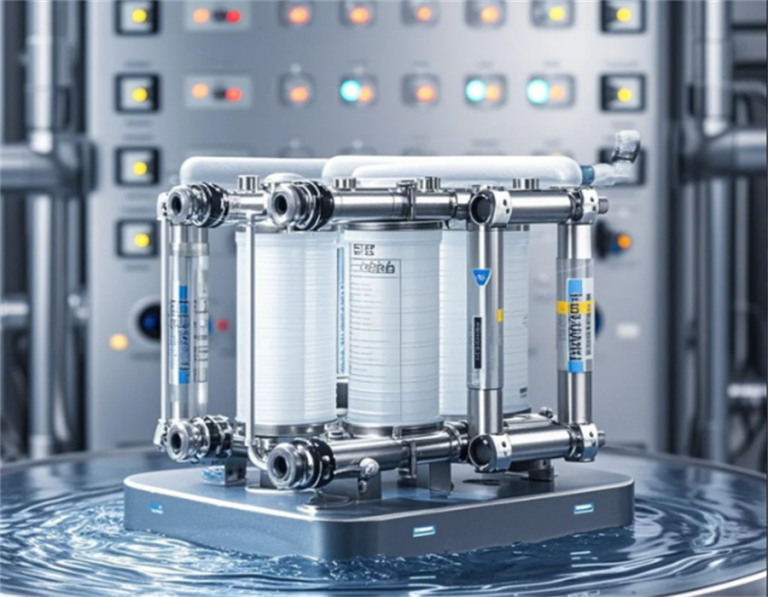
First off, I noticed my water wasn’t tasting as clean as it used to. Plus, the flow rate had slowed down to a trickle. Time for some action! I did a bit of digging and found out that the RO membrane is pretty much the heart of the system. It’s the thing that does the heavy lifting when it comes to filtering out all the gunk in the water. Apparently, A.O. Smith membranes are known for their high utilization rate, so I was keen to see if I could get things back up to speed.
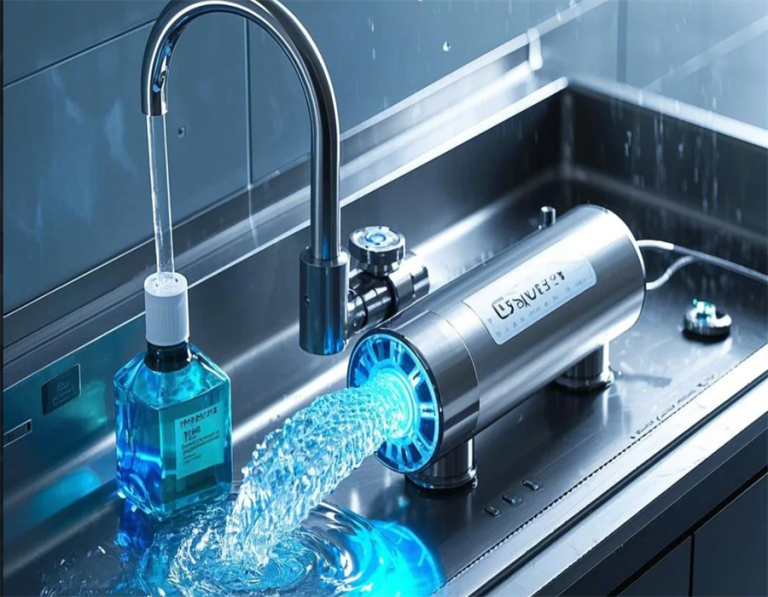
I got my hands on a new A.O. Smith RO membrane. The packaging said it removes 99% of contaminants, which sounded pretty good to me. Now, my system is a Z9 model, which means it has this automatic sensor for dispensing water. The Z8 models have regular taps, just FYI. The main thing with these systems is that the sensor needs electricity to work. No power, no water, which can be a bummer during power outages.
Getting to Work
- Turning Off the Water Supply: First things first, I turned off the water supply to the RO system. No one wants a flooded kitchen, right?
- Depressurizing the System: I opened the faucet to release any remaining pressure in the system. Just letting the water run out until it stopped.
- Removing the Old Membrane: This was a bit tricky. I had to disconnect the tubing from the membrane housing. It’s all push-fit, so it’s supposed to be easy, but mine was a bit stubborn. Once I got the tubing off, I unscrewed the housing cap and pulled out the old membrane. It looked pretty gunky, so I was definitely due for a change.
- Inserting the New Membrane: I slid the new membrane into the housing, making sure it was seated properly. Then, I screwed the cap back on and reconnected the tubing. Pretty straightforward, once you get the hang of it.
- Turning the Water Back On: With everything back in place, I slowly turned the water supply back on and checked for leaks. I tightened a few connections just to be sure.
After I finished installing the new membrane, I ran the system for a few minutes to flush out any air and manufacturing residues. The water pressure was back to normal, and the flow rate was much better. I did a taste test, and the water tasted way cleaner. I felt pretty proud of myself for figuring it all out.
One thing I learned is that feed water pressure really matters. It affects the flow rate and efficiency of the whole RO process. If your water pressure is low, the system won’t work as well. Also, I found out that RO membranes are used for all sorts of things, like desalination and making pure water, while ultrafiltration membranes are more for sewage treatment and pre-treating water. Just some random trivia I picked up along the way.
So, yeah, that’s my little adventure with the A.O. Smith RO membrane. It was a bit of work, but definitely worth it. Now I’ve got clean, great-tasting water again, and I learned a bunch in the process. If you’re thinking about replacing your RO membrane, it’s not as scary as it seems. Just take your time, follow the steps, and you’ll be good to go. Hope this helps someone out there!