One stop supplier of water treatment parts&accessories


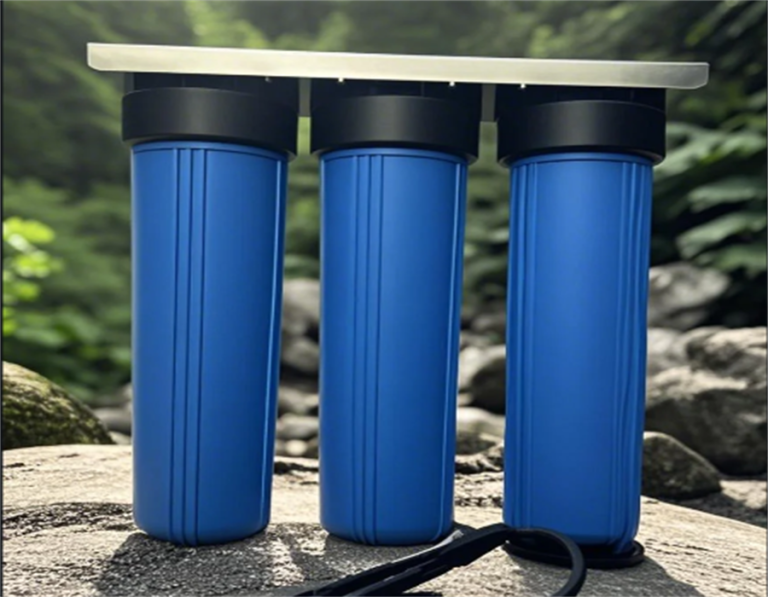
Best 20 Inch Big Blue Water Filter Housing: Top Picks & Reviews!
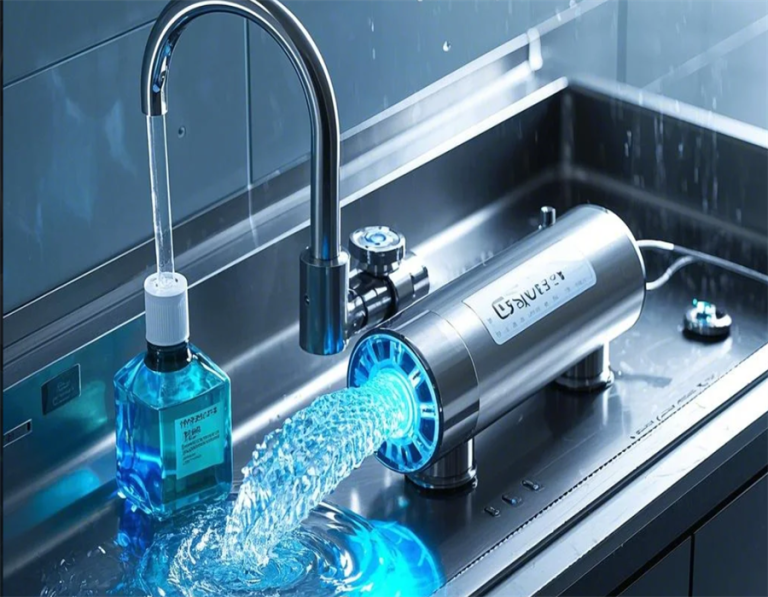
Recently, I wanted to try out a new water filter for my house. I’d heard a lot about the “Big Blue” ones, and finally, I decided to get a 20-inch one.
First, I went online to look for some options. There were so many, and honestly, it was a bit confusing. I was thinking it might cost me an arm and a leg, but I had a budget in mind and didn’t want to go over it. Eventually, I found a few that looked promising, and one of them was the “Kind Water Big Blue Filter” which had a pretty good rating, and another one was the “Pentair Pentek BBFS-222”.
After a lot of back and forth, I decided to go with one that seemed like a good balance between price and quality. I ordered it, and a few days later, a big box arrived at my door.
Now, the real fun began. I had to install this thing. I’m not the handiest person, but I figured, how hard could it be? The filter came with a manual, and after reading it, I started to gather the tools I needed.
Installation Time
I started by turning off the main water supply to my house. Safety first, right? Then, I had to figure out where to install the filter housing. I chose a spot in my basement where it would be easy to access for future filter changes.
The installation process was a bit challenging. I had to drill some holes in the wall to mount the housing bracket. The instructions mentioned something about using the right size drill bit, and thankfully, I had the one they recommended. Once the bracket was up, I attached the filter housing to it. It felt pretty sturdy, which was a good sign.
Next, I had to connect the water lines. This part was a bit tricky. I used some Teflon tape on the threads to make sure there were no leaks. I connected the “in” line to the water supply and the “out” line to the pipe that goes to my house. Tightened everything up with a wrench, hoping I did it right.
The Moment of Truth
With everything connected, it was time to turn the water back on. I slowly opened the main valve, holding my breath. I checked all the connections, and… no leaks! I was pretty proud of myself at that moment.
The filter I got came with a 5-micron pleated cartridge. I had read that these are good for removing bigger particles from the water. I put it inside the housing, screwed the housing back together, and that was it.
Testing the Water
I ran the water for a few minutes to let the filter do its thing. The water looked clear, and when I tasted it, it definitely tasted better than before. It felt good knowing that I had installed it myself and that my family would be drinking cleaner water.
- Order the filter: Check.
- Install the filter: Check.
- Test the water: Check.
I read somewhere that these filters usually last between 6 to 12 months, so I made a note to check it in about 6 months. All in all, it was a good experience. I learned a lot, and now I have a working water filter. Not too bad for a weekend project!