One stop supplier of water treatment parts&accessories


Best reverse osmosis water filter cartridges: Top picks for clean and safe water.
Okay, so, I’ve been meaning to do this for a while now, and I finally got around to swapping out the Best reverse osmosis water filter cartridges in my system. It’s not rocket science, but it can be a little messy, so I figured I’d share how it went down.
First things first, I turned off the water supply to the system. There’s usually a little valve under the sink – make sure you know where that is before you start! Then, I opened up the faucet on the RO system to let out any remaining pressure.
Getting Ready
- Shut off water supply
- Release pressure
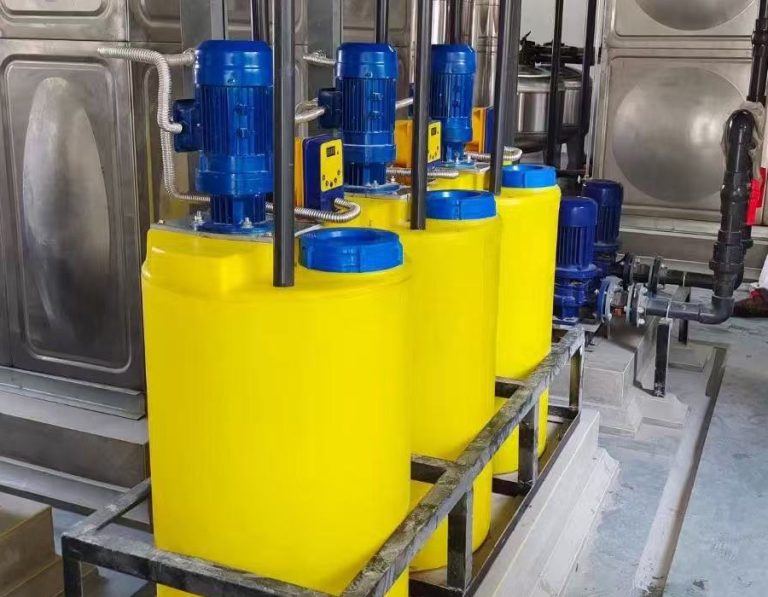
- Gather supplies
After that, I grabbed my tools. You really only need a couple of things: a filter wrench (sometimes comes with the system), a bucket to catch any spills, and maybe some towels for good measure.
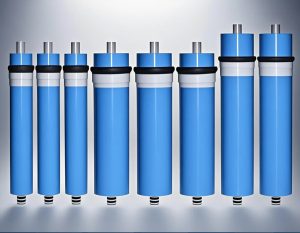
Next, I located the filter housings. Mine has three: a sediment filter, a carbon block filter, and then the RO membrane housing. Yours might be a little different, but the general idea is the same.
Changing the Filters
I started with the pre-filters (sediment and carbon). Using the filter wrench, I carefully unscrewed the housings. These can be pretty tight, so don’t be afraid to put some muscle into it. Once they’re loose, you can just pull out the old filters.
Now, here’s where it gets a little gross. The old filters were kinda slimy and discolored, which is a good sign they were doing their job. I just tossed them in the trash. Before putting in the new filters, I rinsed out the housings with some clean water. Just make sure you don’t use soap!
Then, I popped in the new filters, making sure they were seated properly. Tightened the housings back up with the wrench, but not too tight – you don’t want to crack anything.
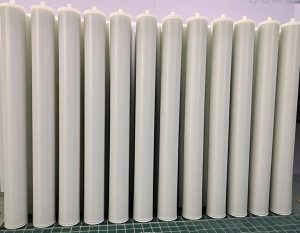
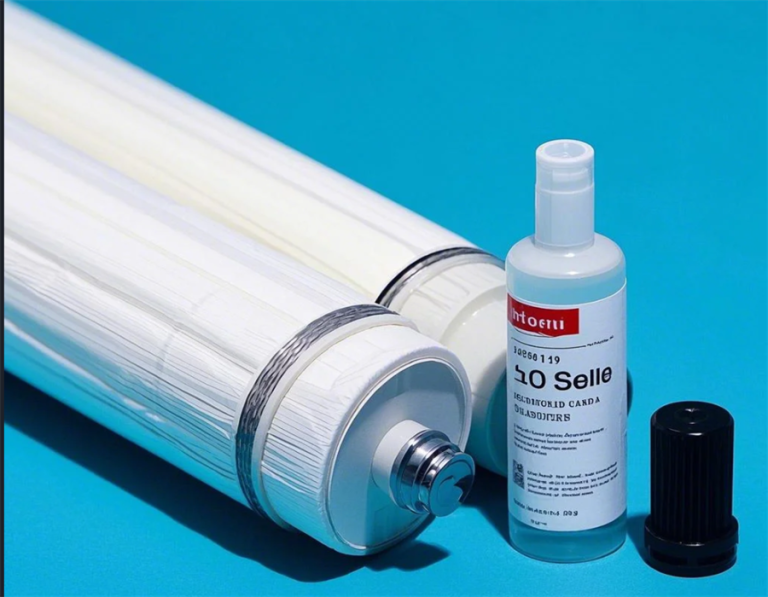
Best reverse osmosis water filter cartridges
RO Membrane
Changing the RO membrane is pretty similar. Unscrewed the housing, pulled out the old membrane, rinsed the housing, and popped in the new one. It’s important to make sure the membrane is facing the right way. There are usually some markings on it to help you out.
Finally, I turned the water supply back on and let the system run for a few minutes. Checked for leaks and made sure everything was flowing properly. And that’s it! Fresh, clean water again. I made a note to do this again in about six months – gotta keep that water tasting good.
It might sound like a lot, but it’s really not that bad. Just take your time, and you’ll be fine.