One stop supplier of water treatment parts&accessories


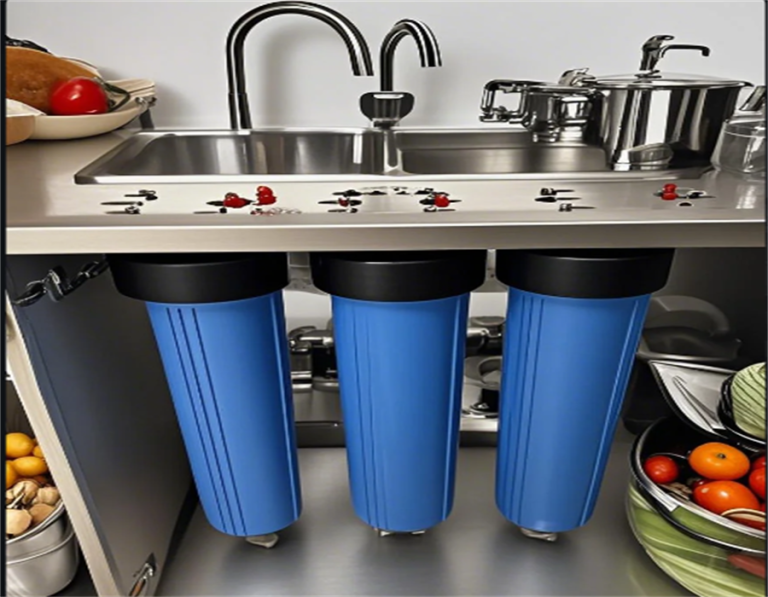
Best Way to Replace Your Pentair Pentek Big Blue Filter
Well, folks, the time had come to tackle a task I’d been putting off for a while – replacing the filter in my Pentair Pentek Big Blue whole house water filtration system. I’m no plumber, but I’m fairly handy, so I figured I could handle it myself. Let me tell you, it was a bit of an adventure, but I got it done, and I’m here to share my experience.
First off, I made sure I had all the right gear. I had the new filter cartridge, of course, and I’d also picked up a replacement O-ring. I read somewhere online that you should change those every third time you change the filter, but I just change it every time. The filter wrench that came with the system was a must-have, too. Oh, and I grabbed a bucket and some towels, ’cause I figured things might get a little wet.
Next, I shut off the main water supply to the house. Didn’t want any surprises there! Then, I found the pressure release button on top of the filter housing and pressed it. A bit of water squirted out, which I caught with my bucket. Feeling like a pro already.
Now for the fun part. I used that filter wrench to loosen the big blue canister. It took a bit of muscle, but it finally started to turn. Once it was loose enough, I unscrewed it the rest of the way by hand. Man, that thing was heavy, and full of water! I carefully poured the water into the bucket and pulled out the old, gunky filter. It was definitely time for a change.
I gave the inside of the canister a good wipe down with a towel. Then, I took a look at the O-ring. It looked a little worn, so I was glad I had a new one. I wrestled the old one off, which was a bit tricky, and then put the new one. I lubricated it a little bit before that.
Putting in the new filter cartridge was easy peasy. It just slid right into place. Then, I carefully screwed the canister back onto the housing, making sure not to overtighten it. I hand-tightened it first, and then gave it a final snug with the wrench. Didn’t want to crank it down too hard and crack anything.
With everything back together, I slowly turned the main water supply back on. I kept a close eye on the filter housing, checking for any leaks. Nothing! Success! I let the water run for a few minutes to flush out any air and make sure the new filter was working properly.
All in all, it wasn’t as bad as I thought it would be. It took me maybe half an hour, and I saved myself a plumber’s bill. Plus, now I know I can handle it next time. If you’re thinking about doing this yourself, I say go for it. Just make sure you have the right tools and take your time. You got this!
- Tools needed: New filter, O-ring, filter wrench, bucket, towels.
- Step 1: Turn off the water and release the pressure in the filter.
- Step 2: Remove the filter housing with the filter wrench.
- Step 3: Clean the inside and replace the O-ring if needed.
- Step 4: Replace the filter and tighten the filter housing.
- Step 5: Turn on the water and check for leaks.
Remember
Replace the filter on time and replace the O-ring every third time or whenever it’s needed.