One stop supplier of water treatment parts&accessories


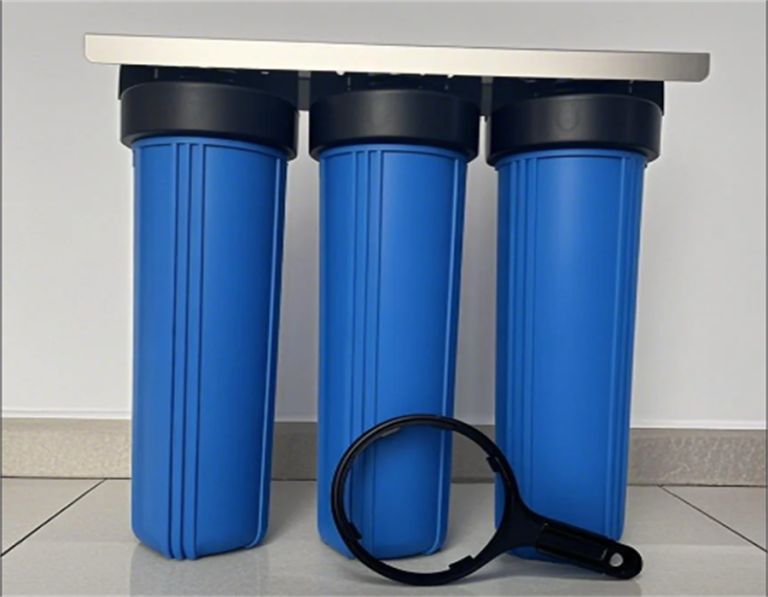
Big Blue 10 Water Filter Housing: Get Clean Water Easily!
Okay, here’s my experience installing a Big Blue 10-inch water filter housing:
So, I finally got around to installing that Big Blue 10-inch water filter housing. You know, the whole house kind. My main goal was to get rid of some sediment and that nasty chlorine taste from our city water. The water here is pretty good but I wanted to try and get it as clean as possible.
First off, I gathered all my tools and materials. I went down to the local hardware store and picked up the filter housing itself. They had a few different models, but I went with the one that had a pressure relief button – figured that might come in handy. Also grabbed a couple of 1-inch NPT fittings, some Teflon tape, and of course, a 10-inch sediment filter and a carbon filter. I already had my wrenches and a bucket at home, and I made sure to grab a new O-ring just in case. I also wanted to get some silicone grease as I heard it can help with the seal.
The next step, I turned off the main water supply to the house. Gotta avoid a surprise shower, right? Then, I found a good spot on the main water line after the shut-off valve to install the housing. I wanted to make sure all the water coming into the house went through it.
Next up, I cut the pipe. No turning back now! I used my trusty pipe cutter, made sure the cut was clean, and deburred the edges. The next step was to install those NPT fittings. I wrapped the threads with Teflon tape, going clockwise, a few times around. Then, I screwed them into the inlet and outlet ports of the filter housing, making sure they were nice and tight. You don’t want any leaks, trust me.
Now, before I connected the housing to the pipes, I made sure the filters were ready. I unwrapped the sediment filter and popped it into the housing first. Made sure it was seated properly. Then, I put the carbon filter on top of that. The carbon filter takes care of taste and odor.
Before putting the filter into the housing, I made sure to clean the O-ring groove at the top of the housing. This is super important to do or you might get some leaks. I then used some silicone grease on the O-ring itself. I heard that this is better than using other types of grease so I wanted to do it the right way.
With the filters in place, I carefully screwed the housing onto the cap. I tightened it by hand first, then gave it a final snug with a wrench. Didn’t want to overtighten and crack anything. Now, time to connect the housing to the pipes. I used a couple of wrenches, one to hold the fitting and one to tighten the pipe. Again, nice and snug, but not crazy tight.
Finally, the moment of truth. I slowly turned the main water supply back on, checking for leaks as the pressure built up. And guess what? No leaks! I pressed that pressure relief button a couple of times to release any trapped air. Let the water run for a few minutes to flush out any loose particles from the filters.
- Make sure to turn off the water supply before doing anything.
- Use Teflon tape on the threads to prevent leaks.
- Don’t overtighten the fittings or the housing.
- Use silicone grease on the O-ring for a better seal.
- Flush the filters after installation.
- It is important to change filters frequently enough and clean them properly to avoid clogging.
- You might need to use pre-filtration if your water has a high concentration of sediment.
Things to keep in mind
And that’s it! Now we have filtered water throughout the whole house. The water tastes noticeably better, and I feel good knowing we’re removing some of that sediment. It wasn’t too bad of a project, took me a couple of hours. If you’re thinking about doing it, I say go for it. Just take your time, follow the instructions, and you’ll be good. Now, I’m off to enjoy a nice, clean glass of water. Cheers!