One stop supplier of water treatment parts&accessories


Big Blue Clear Filter Housing: Easy Installation Guide & Maintenance Tips!
Okay, so I’ve been meaning to get one of these big blue clear filter housings for a while now, and I finally did it. I thought I’d share my experience in case anyone else is thinking about doing the same.
First off, I did a bit of reading up on how to change these things before I started. Make sure you turn off the water supply to the filter housing! I found it easiest to just open the faucet that’s closest to the filter housing afterward to release any pressure.
Next, I had to figure out where to install the thing. I looked at the top of the housing and saw that it was marked with “IN” and “OUT”. These helped me to decide where to install it in my water treatment system. Also, I found that there was a notch on the bottom part of the housing that helped me to center the filter in it. I mounted it to the bracket.
Then it was time to actually install the filter. I unscrewed the sump from the housing. I unwrapped the new filter.
- Clean and Lubricate: Before putting the new filter in, I cleaned the grooves at the top of the housing where the O-ring sits. I also gave the O-ring a good cleaning and then put a dab of silicone grease on it for lubrication.
- Reassemble: I put the lubricated O-ring back in its groove. Then, I screwed the filter housing back onto the system head. I just hand-tightened it – no need for tools here.
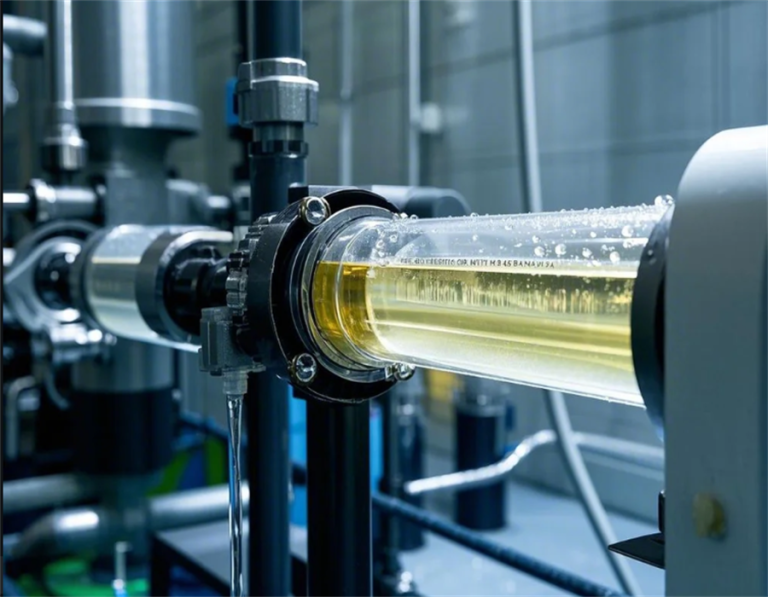
I turned the water back on and watched as the filter housing slowly filled up.
From what I’ve read, the housing itself should last a good 4 or 5 years. The filter cartridge, though, that’s something I’ll need to replace more often – probably every 100 uses or so.
All in all, it wasn’t too bad of a job. I’m pretty happy to finally have this filter installed.