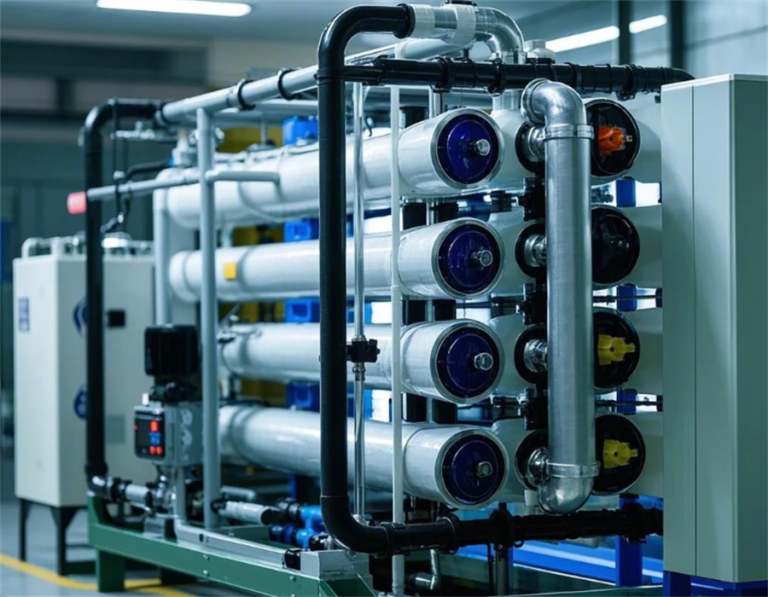
One stop supplier of water treatment parts&accessories


Big Blue Filter Replacement: Easy Steps to Keep Your Water Clean and Fresh!
Okay, so I had to deal with this big blue filter thing in my house. It’s the filter for our water, you know, to make sure it’s all clean and stuff. Time for a replacement. And let me tell you, it was a bit of a process. Here’s how I did it from start to finish.
First thing’s first, I turned off the water. I didn’t want any surprises, like water gushing everywhere. Our main water valve is in the basement, so I went down there and gave it a good twist to shut it off. Easy peasy.
Next, I went to the faucet closest to the filter. I opened it up to let all the water out of the pipes. I figured this would make things less messy when I got to the filter itself. I waited until the water stopped flowing, so I know the pipes were pretty much empty.
- Turned off the water supply at the main valve.
- Opened the nearest faucet to drain the pipes.
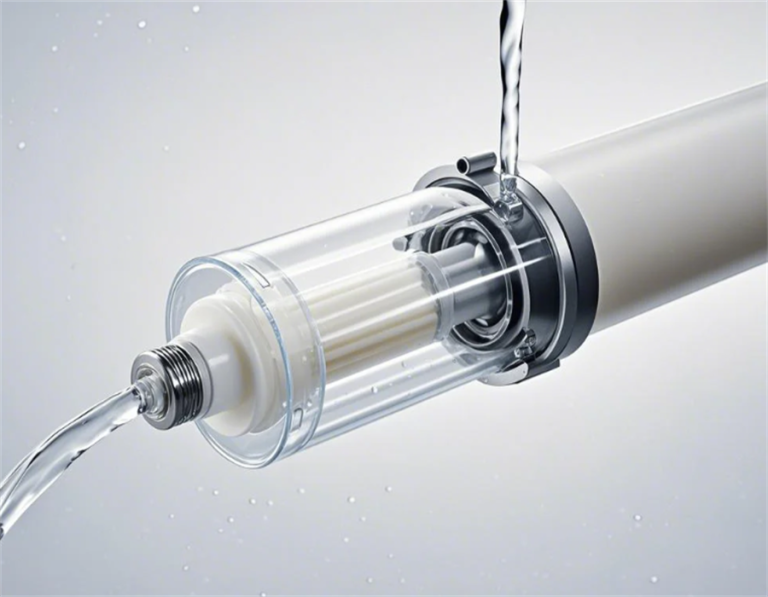
Then came the fun part. I had to get to the filter housing. I grabbed my filter wrench, the one made for this exact filter, and started unscrewing the housing. It was on pretty tight, but I managed to loosen it. Once it was loose enough, I unscrewed it the rest of the way by hand. Water started dripping out, so I had a bucket ready to catch it all.
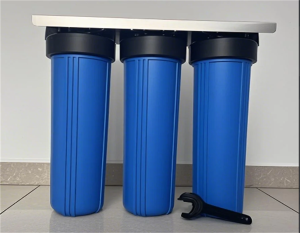
Inside the housing was the old, gunky filter. I pulled that thing out. It was heavy and definitely needed changing. With the old filter out, I rinsed out the bottom of the housing with some water, just to get rid of any leftover gunk.
I noticed there was this rubber ring, an O-ring, at the top of the housing. I took that out, wiped it clean, and put a bit of silicone grease on it. I heard that helps it seal better.
After that, I took the new filter out of its packaging. I made sure it was the right size and type for my system. I slotted the new filter into the housing, making sure it was sitting in there properly.
- Used a wrench to unscrew the filter housing.
- Removed the old filter and rinsed the housing.
- Cleaned and greased the O-ring.
- Inserted the new filter into the housing.
With the new filter in, I screwed the housing back onto the system. I tightened it by hand at first, then gave it a final snug with the wrench. I didn’t want to overdo it, but I made sure it was secure.
Finally, I turned the water back on at the main valve. I kept an eye on the filter housing to make sure there were no leaks. Everything looked good. I ran the faucet for a few minutes, just to flush out any air and make sure the water was running clear.
The Result
And that’s it. It took a bit of time and effort, but I managed to replace the big blue filter all by myself. The water tasted better, and I felt pretty good about doing it myself. No need to call a plumber for this one. Sometimes, these things aren’t as complicated as they seem. You just need to have the basic knowledge. Hopefully, this breakdown helps someone else tackle their filter replacement too. Feel free to ask any questions, I am happy to help.