One stop supplier of water treatment parts&accessories


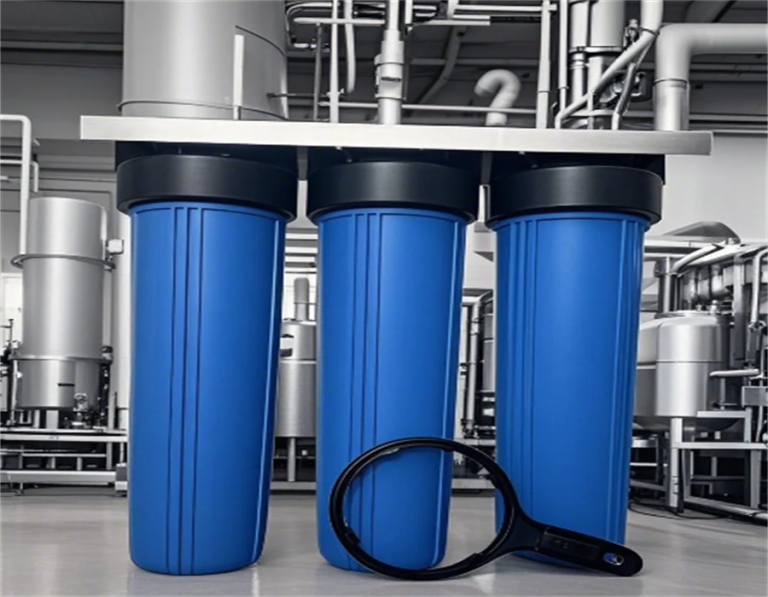
Big blue housing filter installation tips: how to install the filter at home quickly and easily?
Okay, guys, so today I want to talk about this Big Blue filter housing I’ve been messing with. It’s been a bit of a project, but I’m finally getting the hang of it and thought I’d share my experience in case anyone else is thinking about setting one up.
Getting Started
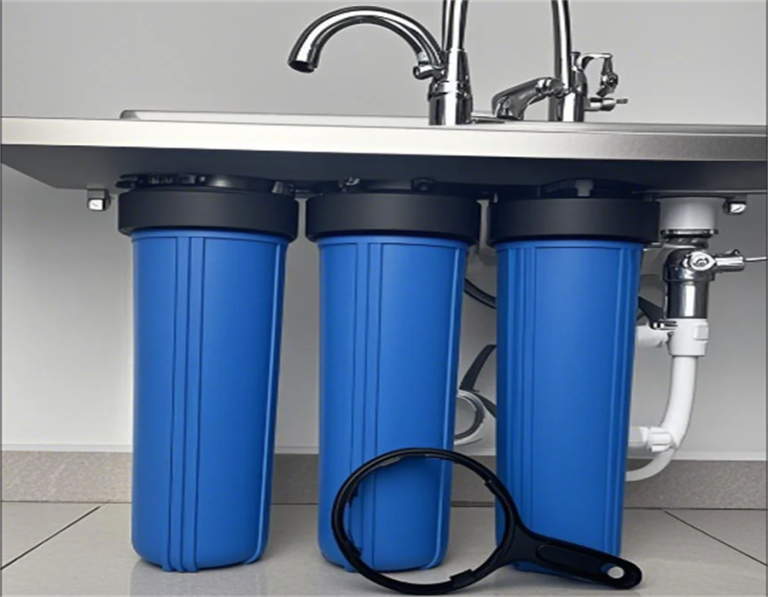
First off, I had to figure out where this thing was going to live in my water treatment setup. I spent a good chunk of time just staring at pipes and trying to visualize the best spot. Eventually, I found a place that seemed to make sense, near the main water line coming into the house.
Mounting the Beast
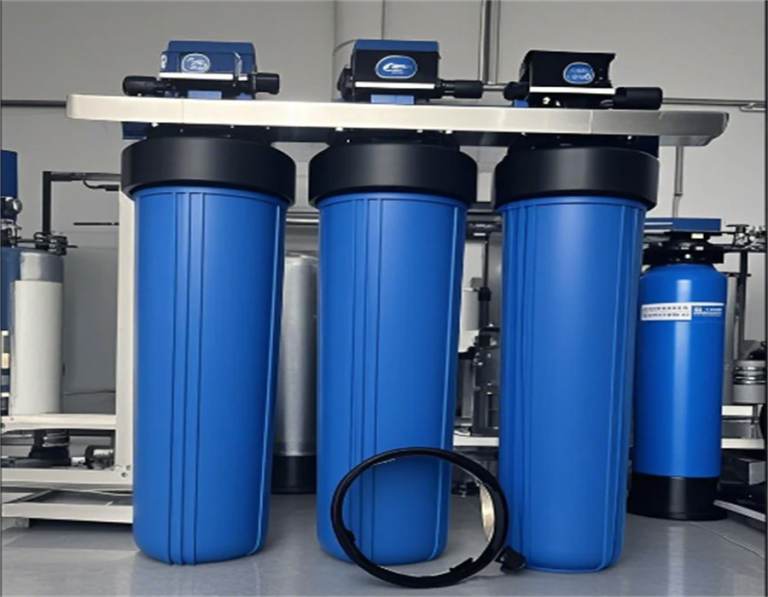
This thing is kinda bulky, so mounting it was the next challenge. The housing comes with a bracket, which is helpful. There were also these self-tapping screws included, which I used to secure the housing to the bracket. Make sure you get it right before drilling, because once the hole is made, it can’t be undone. I had to make sure the housing was oriented correctly to match the flow direction of my water system. I’m not gonna lie, it took me a couple of tries to get it right, but I got it done.
- Check for “IN” and “OUT”: The cap of the housing has these markings, which is super important. You don’t want to install it backward! I almost made that mistake, so double-check before you start tightening things down.
- Line it up: Getting the housing aligned with the bracket took some patience. I used a level to make sure it was straight and not tilted. This is important because you don’t want any unnecessary strain on the pipes.
- Screw it in: I used the screws to attach the housing to the bracket. The self-tapping part was nice, so I didn’t have to pre-drill any holes. Just make sure you use the right kind of drill bit, so you don’t damage them.
Connecting the Pipes
Once the housing was mounted, it was time to connect the pipes. This was probably the trickiest part for me because I’m not a plumber. But I took my time and made sure everything was lined up properly. The key is to make sure you’re connecting the “IN” side of the housing to the incoming water line and the “OUT” side to the line that continues through your system. I used some plumber’s tape on the threads to help prevent leaks, which I highly recommend.
Testing and Tweaking
After getting everything hooked up, I turned the water back on slowly and watched for leaks like a hawk. Of course, there were a couple of small drips at first, so I had to tighten a few connections and reapply some plumber’s tape. It’s a bit of a trial-and-error process, but eventually, I got it all sealed up tight.
Final Thoughts
So, that’s my journey with the Big Blue filter housing. It wasn’t the easiest DIY project I’ve ever done, but I’m pretty proud of myself for figuring it out. Now, I’ve got cleaner water, and I learned a thing or two along the way. If you’re thinking about installing one of these, just be prepared to spend some time and get your hands dirty. But trust me, it’s worth it in the end!